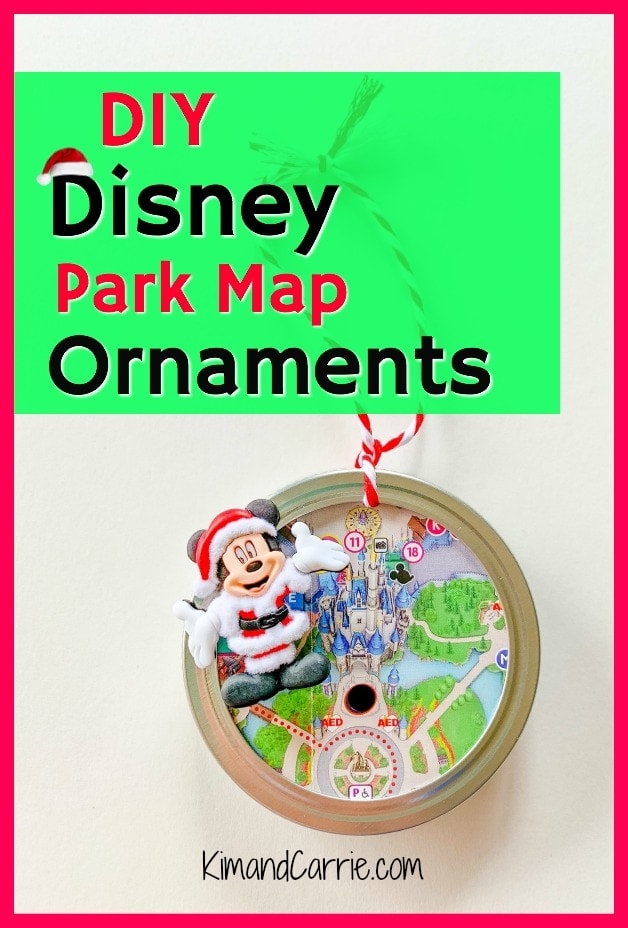
We love how easy this craft is to make a Disney theme park map ornament! Seriously, this simple DIY is SO easy even the kids can do it!
Disney Park Map Christmas Ornament Craft
If you love Disney, either Walt Disney World or Disneyland, then you know what it’s like to grab a park map when you enter the theme park.
Chances are, you’ve got lots of Disney theme parks maps that are in a drawer or box that you don’t want to throw out. They bring a lot of memories and make you think about Disney every time you see them.
So why not use those old Disney theme park maps to create cute Christmas ornaments?
If you have a Disney Christmas tree (and so many of us do!), these are the perfect DIY Disney ornaments to make!
Related Post: Get our Free Printable Disney Christmas gift tags!
You can choose which theme park to feature. Choose which part of each park you want to show off. And then customize your Christmas ornament any way that makes you happy!
These easy DIY Disney ornaments can be customized easily to what you do have on hand at home. We have provided a lot of substitutions along each part of the ornament tutorial. So use what materials you have on hand.
Also, these Disney ornaments are SO FAST to make! Seriously, you can make a whole batch of these Christmas ornaments in a matter of minutes.
AND, these are a great idea for keeping kids busy when they are on Christmas break holiday. OR, bring the lightweight materials to Disney World or Disneyland with you and have the kids craft ornaments while spending a week at Disney.
Related Posts:
- DIY Farmhouse Mickey Mouse Wreath Ornaments
- Mickey and Minnie Mouse Sock Snowman Craft
- Christmas at Disney World
- Disney’s Yuletide Fantasy Tour
- Disney’s Germany Christmas vs. a Real German Christmas
- Christmas Decorations at Disney’s Yacht Club
Canning Jar Ornaments
Even if you don’t have canning jars at home, you can easily make these Christmas ornaments.
Did you know that you can buy canning jar lids? Without buying the canning jars? Yep! And that’s what makes these Disney Christmas Ornaments so easy to make.
Now, if you have canning jar lids already, it’s definitely a great way to use up those old canning jar lids. Just make sure that they are clean.
What if you only have the outer ring for a canning jar lid and not the inner lid? That’s fine! Simply cut a piece of cardboard to fit inside the outer ring (just trace the ring on a piece of cardboard and cut inside the line) and use it.
Either regular or wide mouth canning jar lids can be used. It depends on how big you want your Disney ornament to be.
Personalize Your Disney Theme Park Map Ornament
Making these super cute Christmas ornaments already preserves precious memories at Disney. But you can add even more personalization.
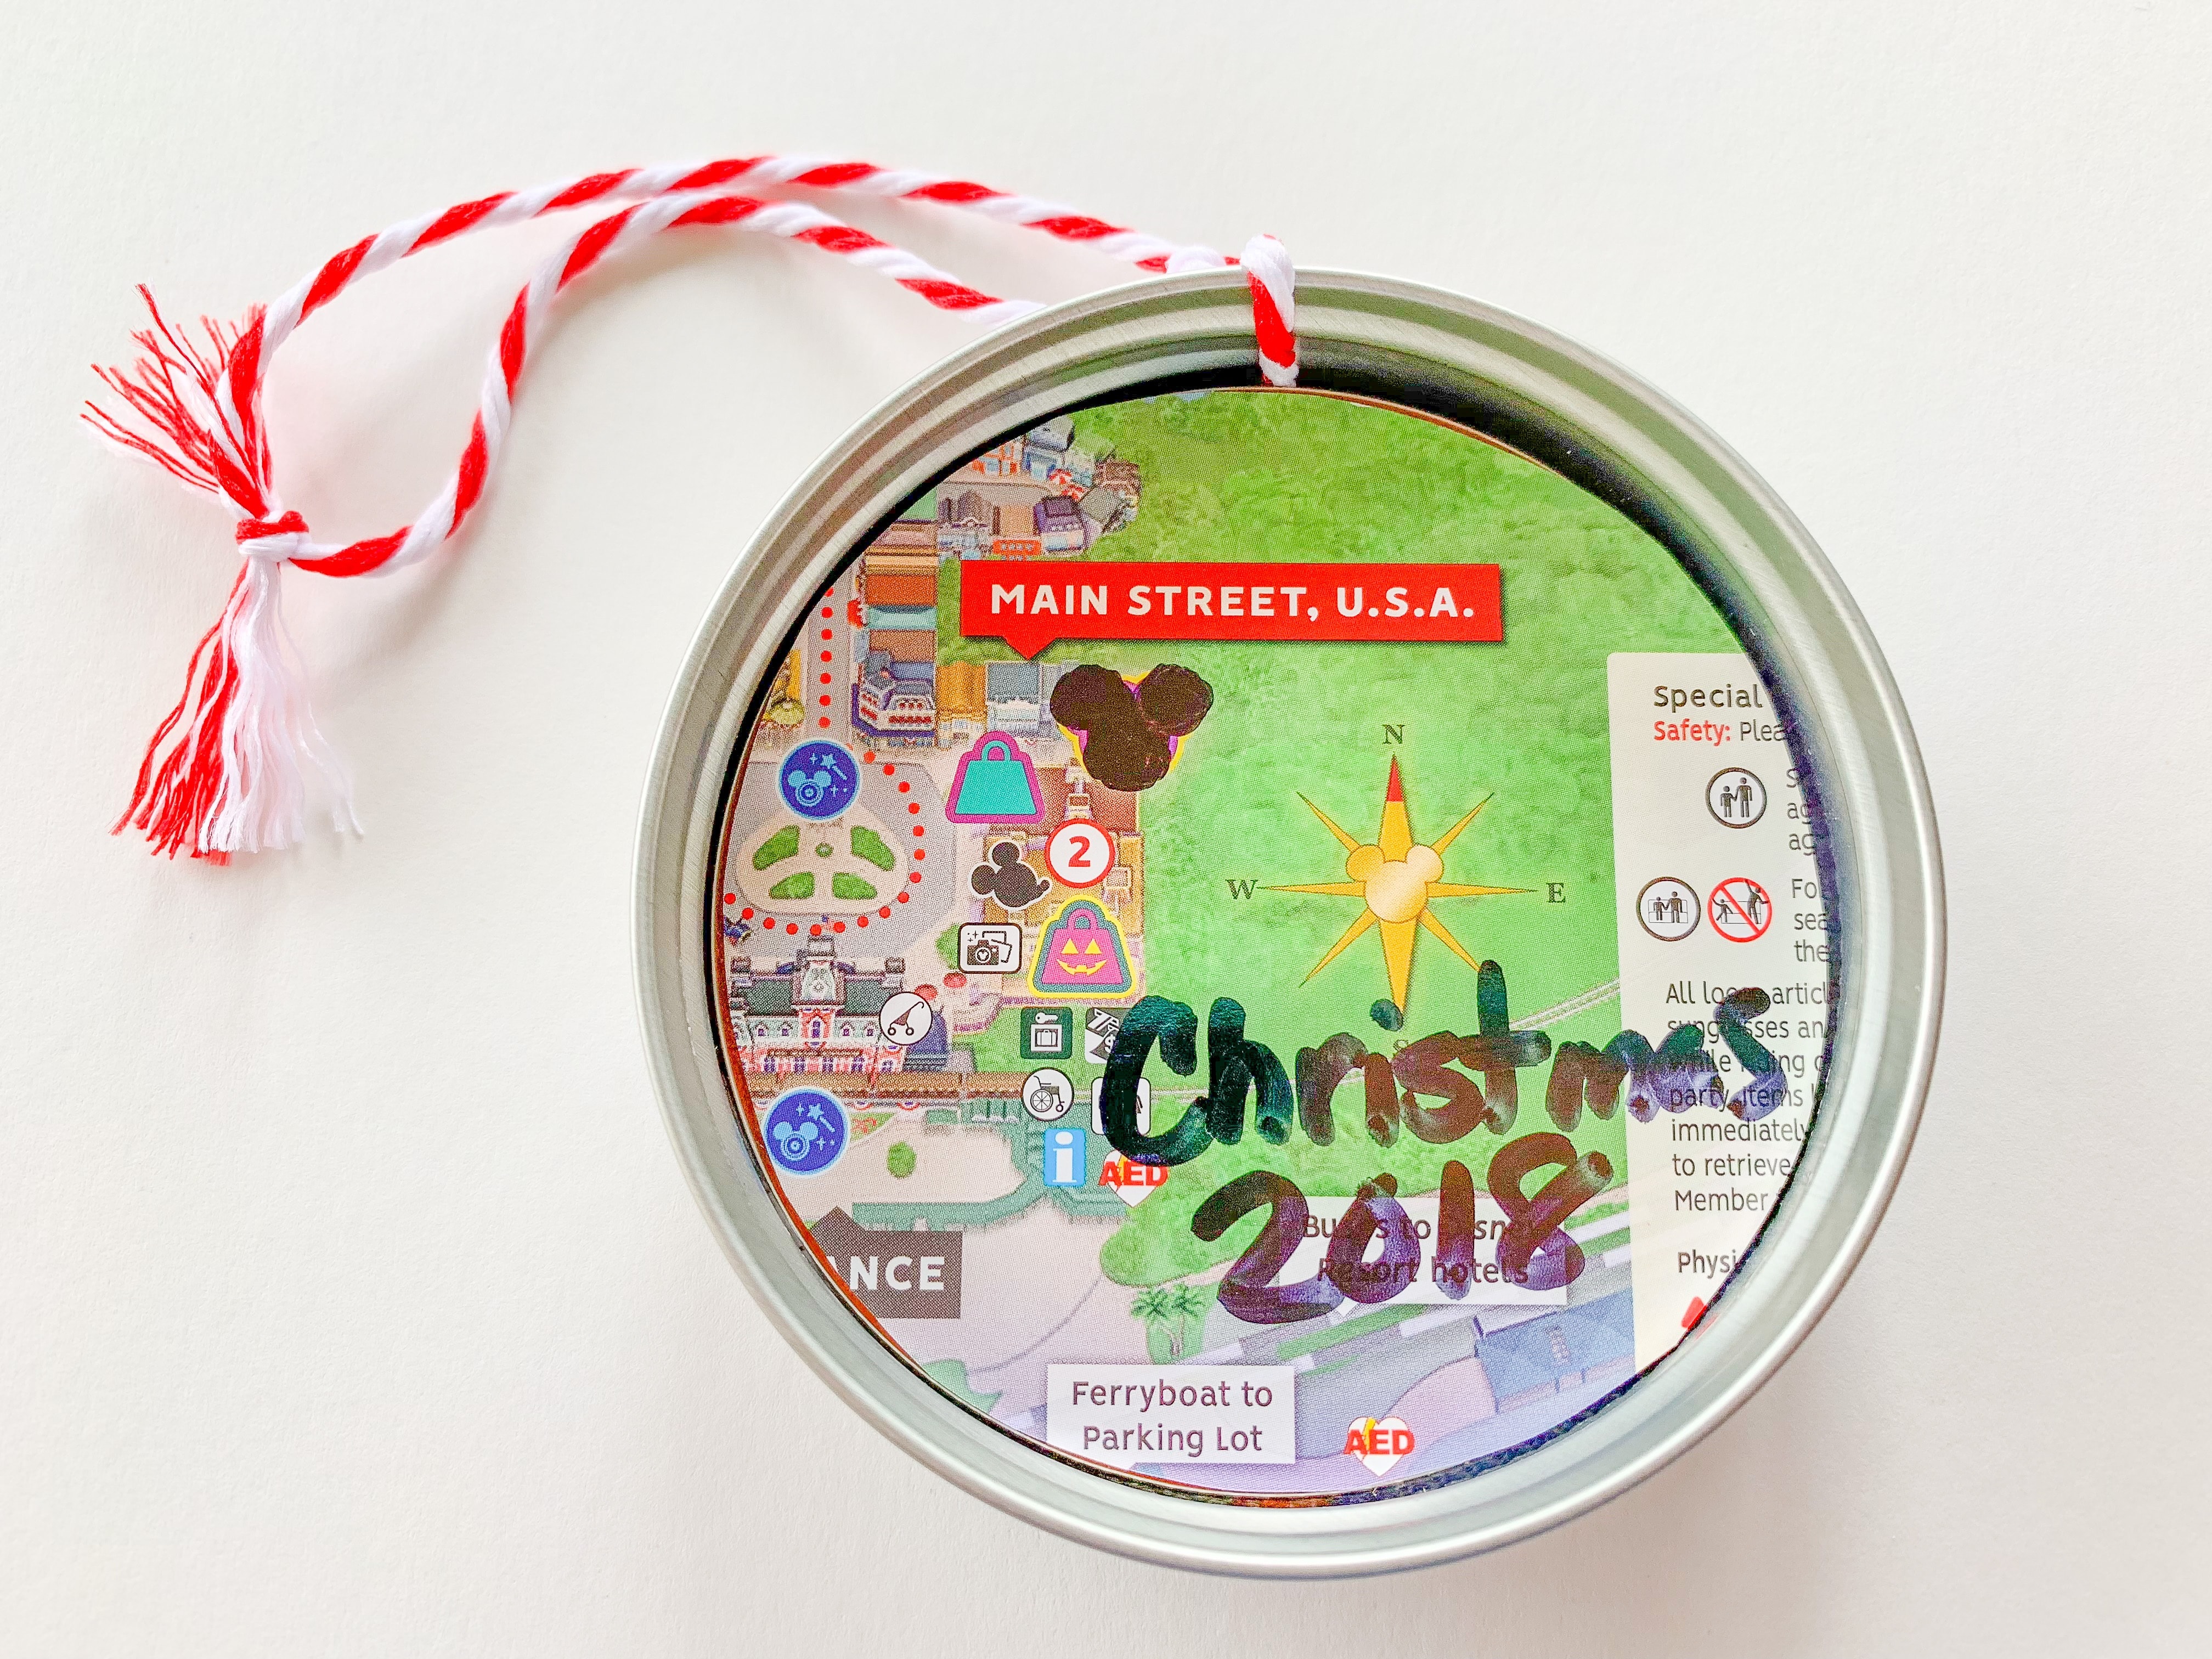
In the DIY tutorial below, we do not have instructions for adding a backing to the ornament.
However, you can cut an additional circle from a theme park map and glue it into the back after you’ve attached the inner ring to the outer ring. Then, using a permanent marker, write one of the following on the Disney map so that you can always remember when it was from:
- year of your vacation
- family names
- dates of your vacation
- a special memory
Customize Your Disney Ornament DIY
What’s great about this Disney ornament DIY is that it is so easy to customize to what you need. Here are some suggestions:

For the baking twine (we found a roll of baking twine in the Dollar Spot at Target), you can substitute:
- gift wrap curling ribbon
- needlepoint thread
- yarn
- raffia twine
- ribbon
To attach the inner ring to the outer ring, use one of these options:
- hot glue
- super glue
- craft glue (keep in mind, the glue must adhere to metal)
- tape
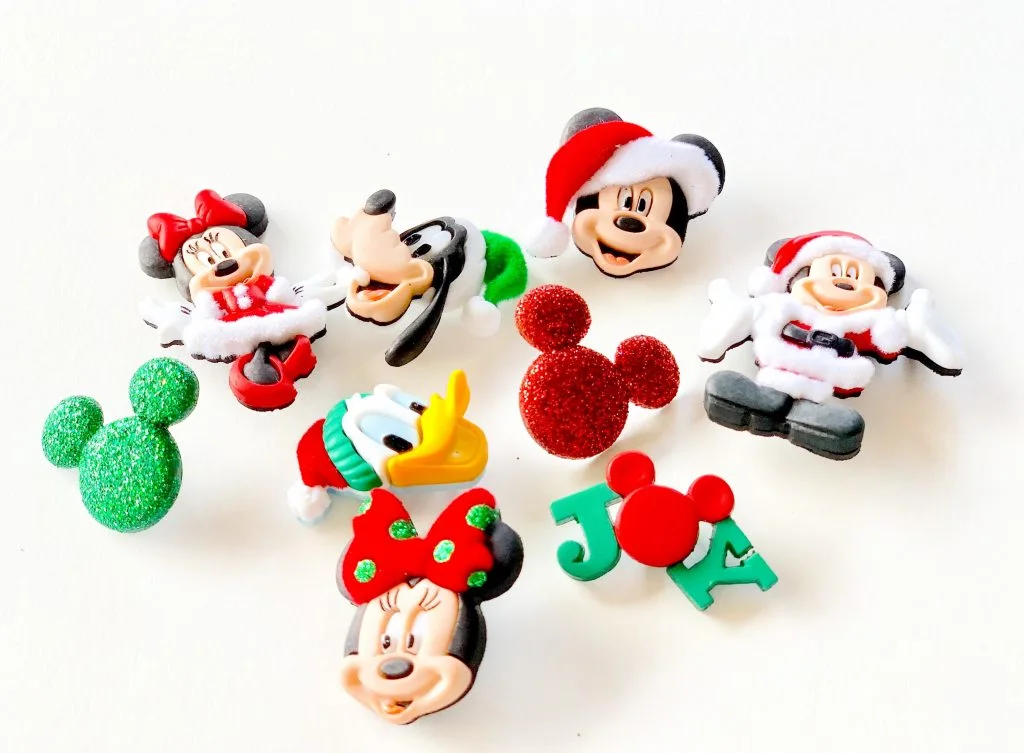
While the Disney holiday buttons certainly aren’t necessary for these ornaments, they really do make them extra cute!
So, if you don’t have the buttons, the canning jar ornaments will still be magical and preserve your Disney memories!

Disney Park Map Christmas Ornament

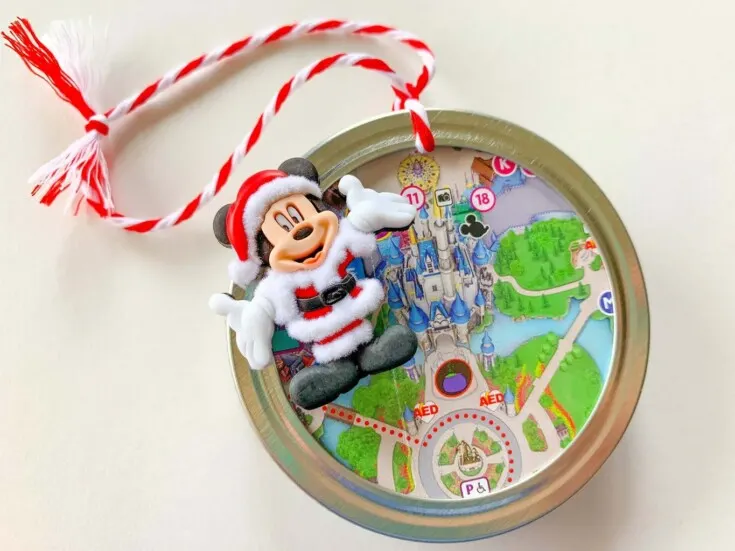
Keep Disney theme park memories alive all year long! This easy Disney park map ornament uses theme park maps from your vacation for a super simple DIY.
Materials
- Disney theme park map
- Canning jar lid
- Twine (we used about 12 inches per ornament)
- Disney holiday buttons
Tools
- Scissors
- Pen
- Tape
- Glue
- Nail Clippers (optional)
Instructions
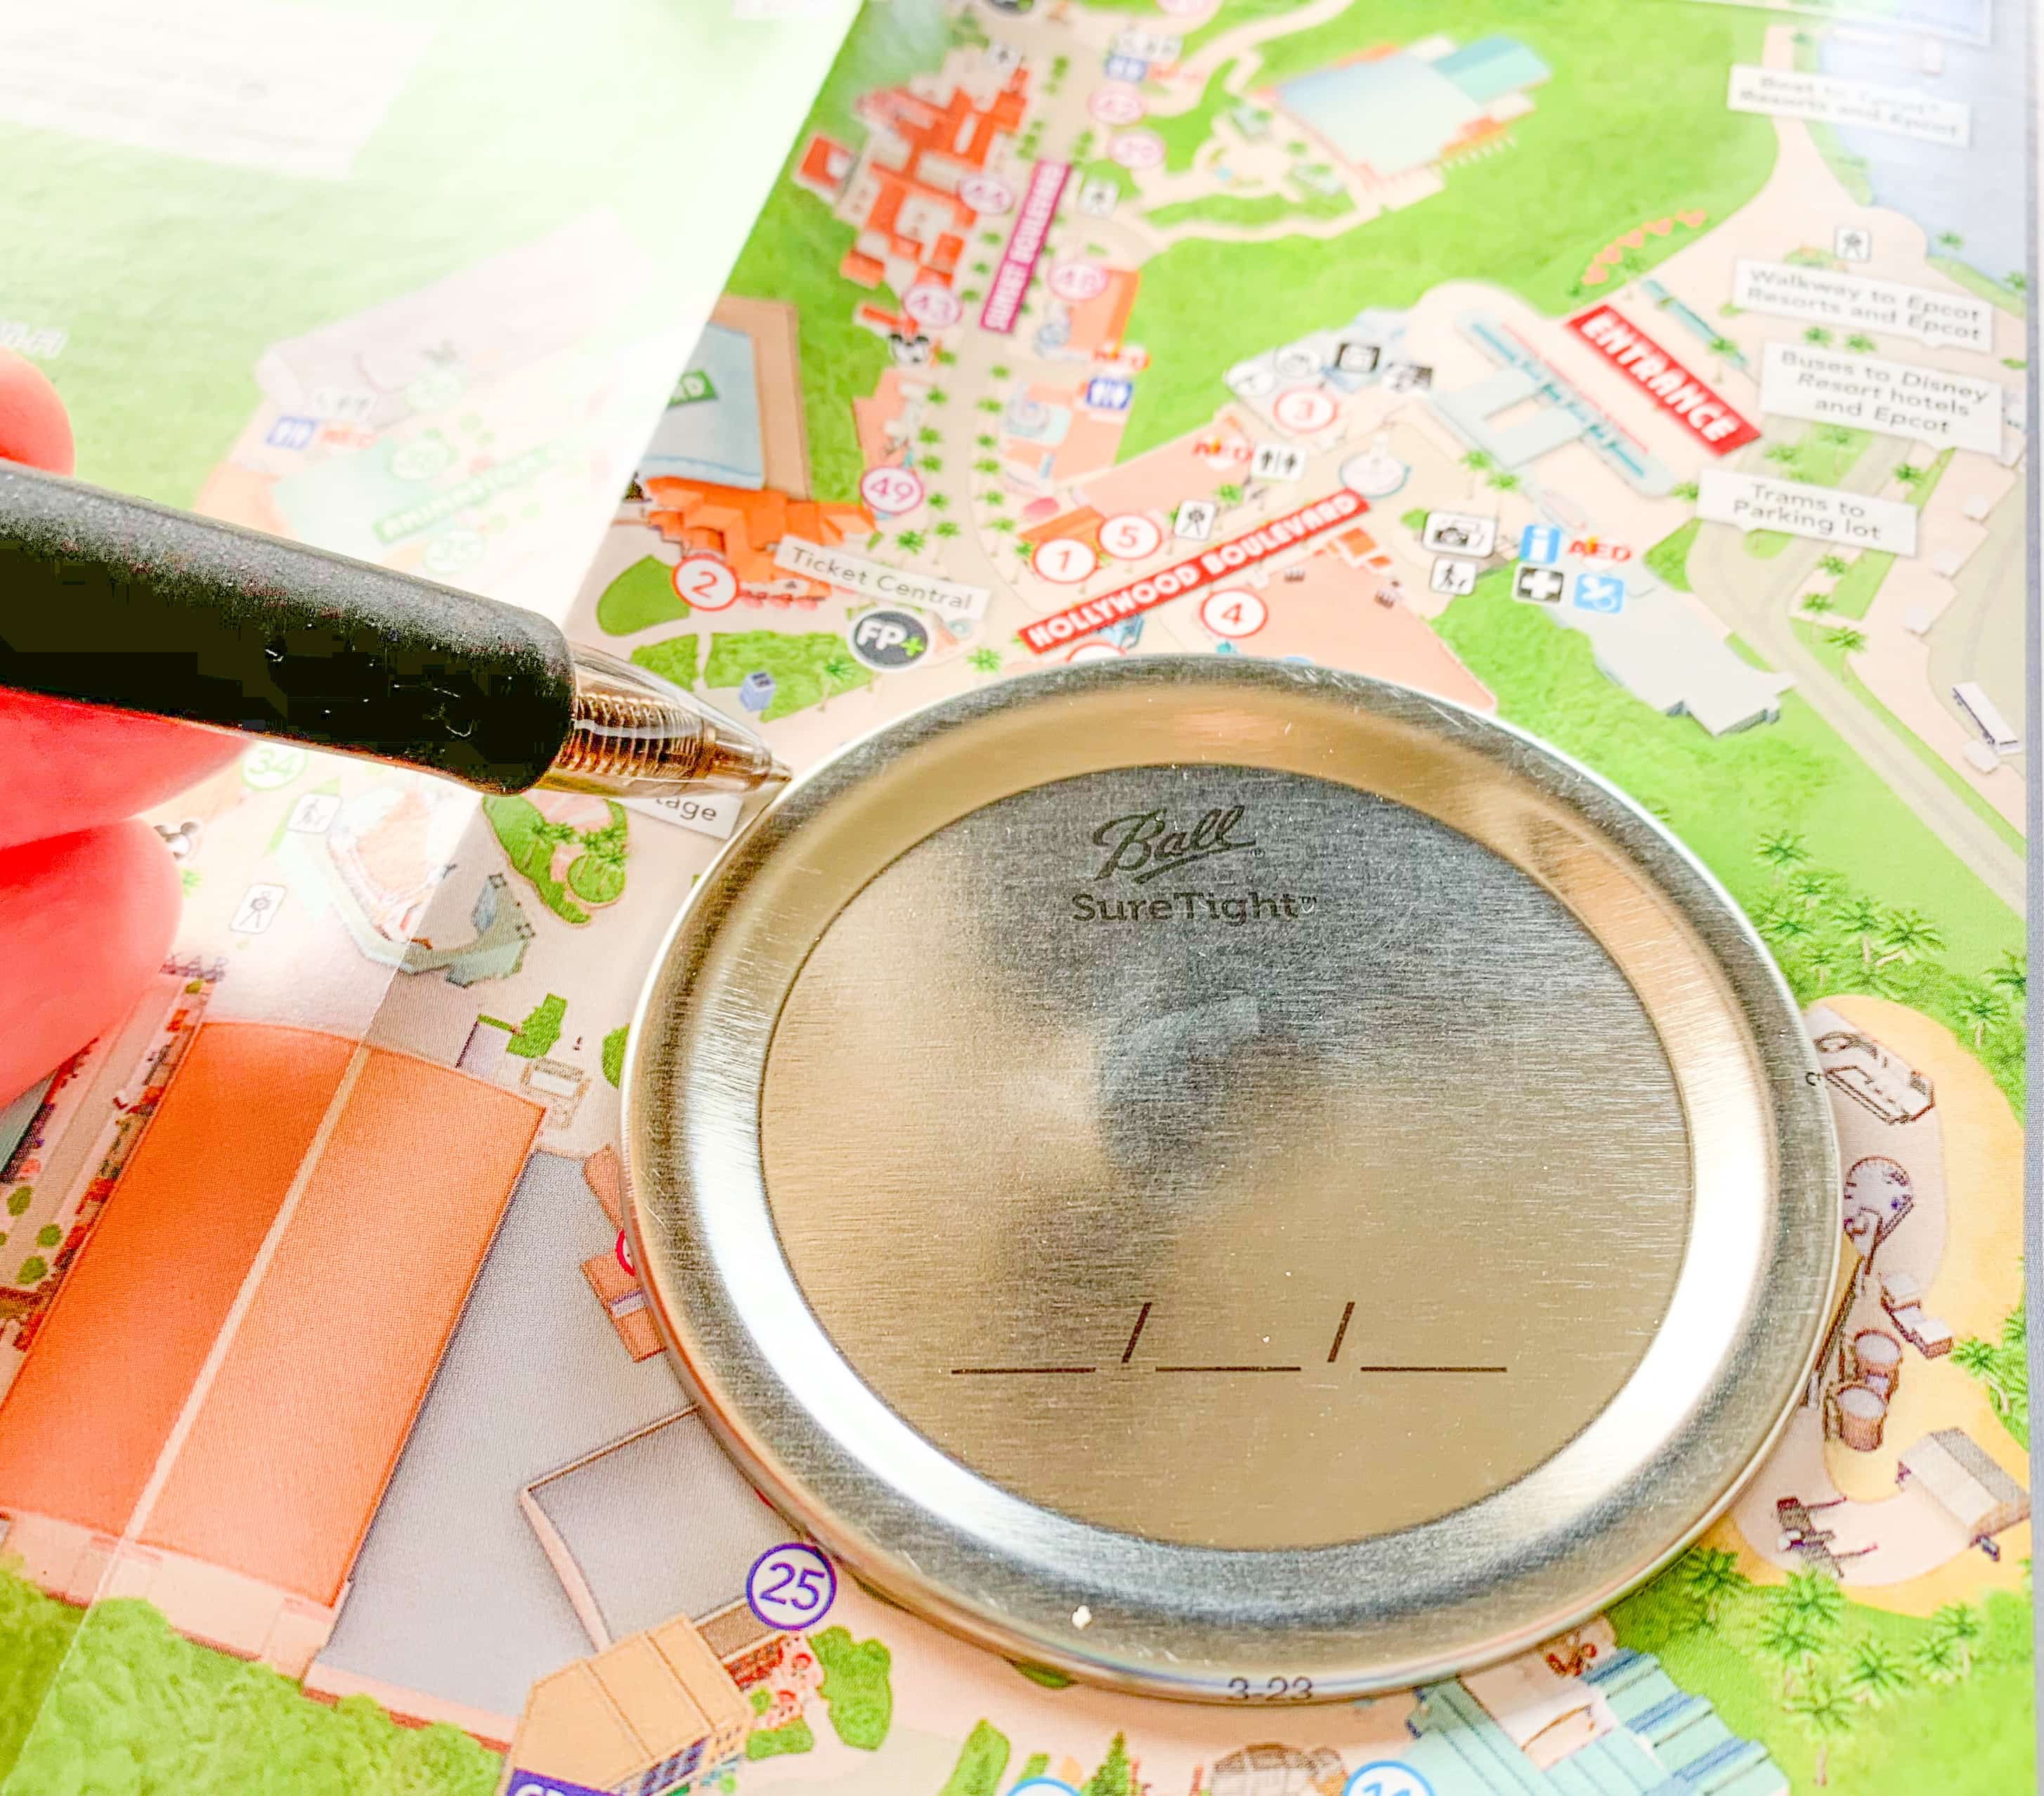
- Place the lid of a canning jar on top of the part of a Disney theme park map that you'd like to show. Trace around the lid.
- Cut out the circle.
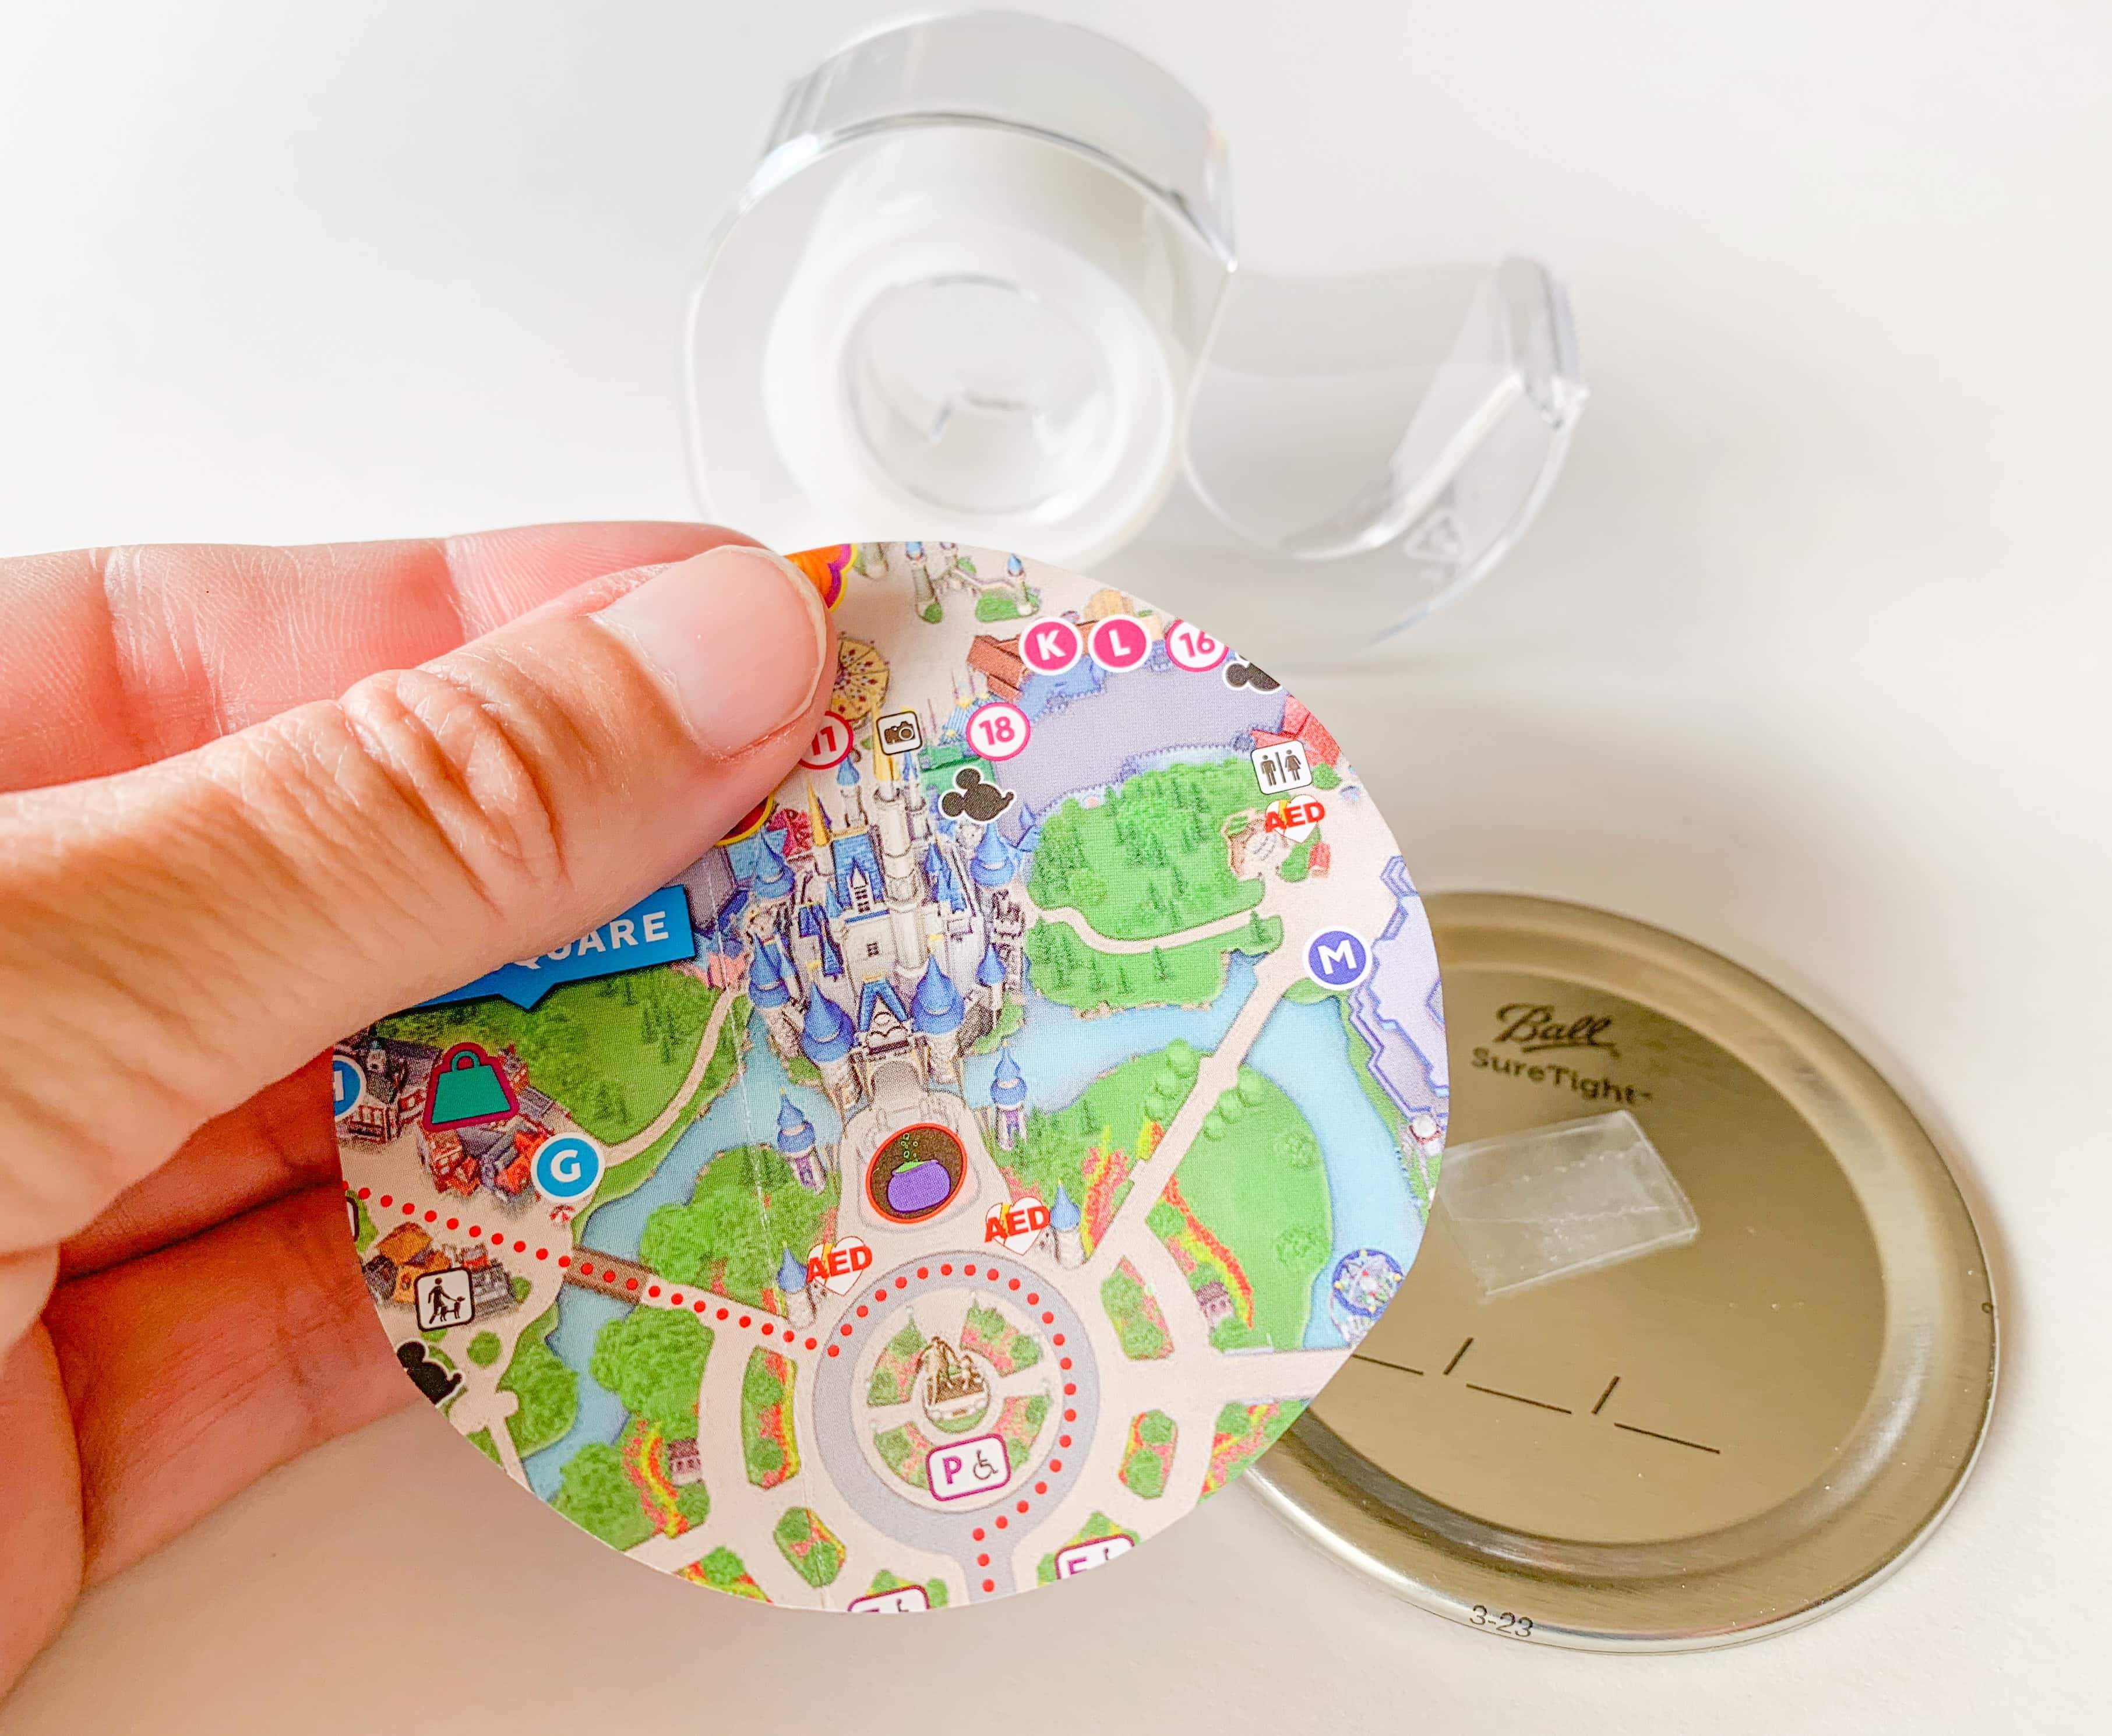
- Tape the cut out map circle to the top of the canning jar lid (the metal side).
- Tie the twine around the outer edge of the canning jar lid and make a knot. Make sure the knot is loose or can be loosened. You don't want it too tight because there needs to be enough slack in the twine to allow the inner canning jar lid to be pushed in and attached to the outer ring.
- Tie a knot with the cut ends of the twine to create a hanging loop. Make it as large or as small as you would like.
- Insert the map-covered canning jar lid into the outer ring. Make sure it will fit snug. If you need to adjust the twine, or cut more paper off of the map, do so now.
- Attach the map-covered lid to the outer ring. Do this with either super glue, craft glue or tape.
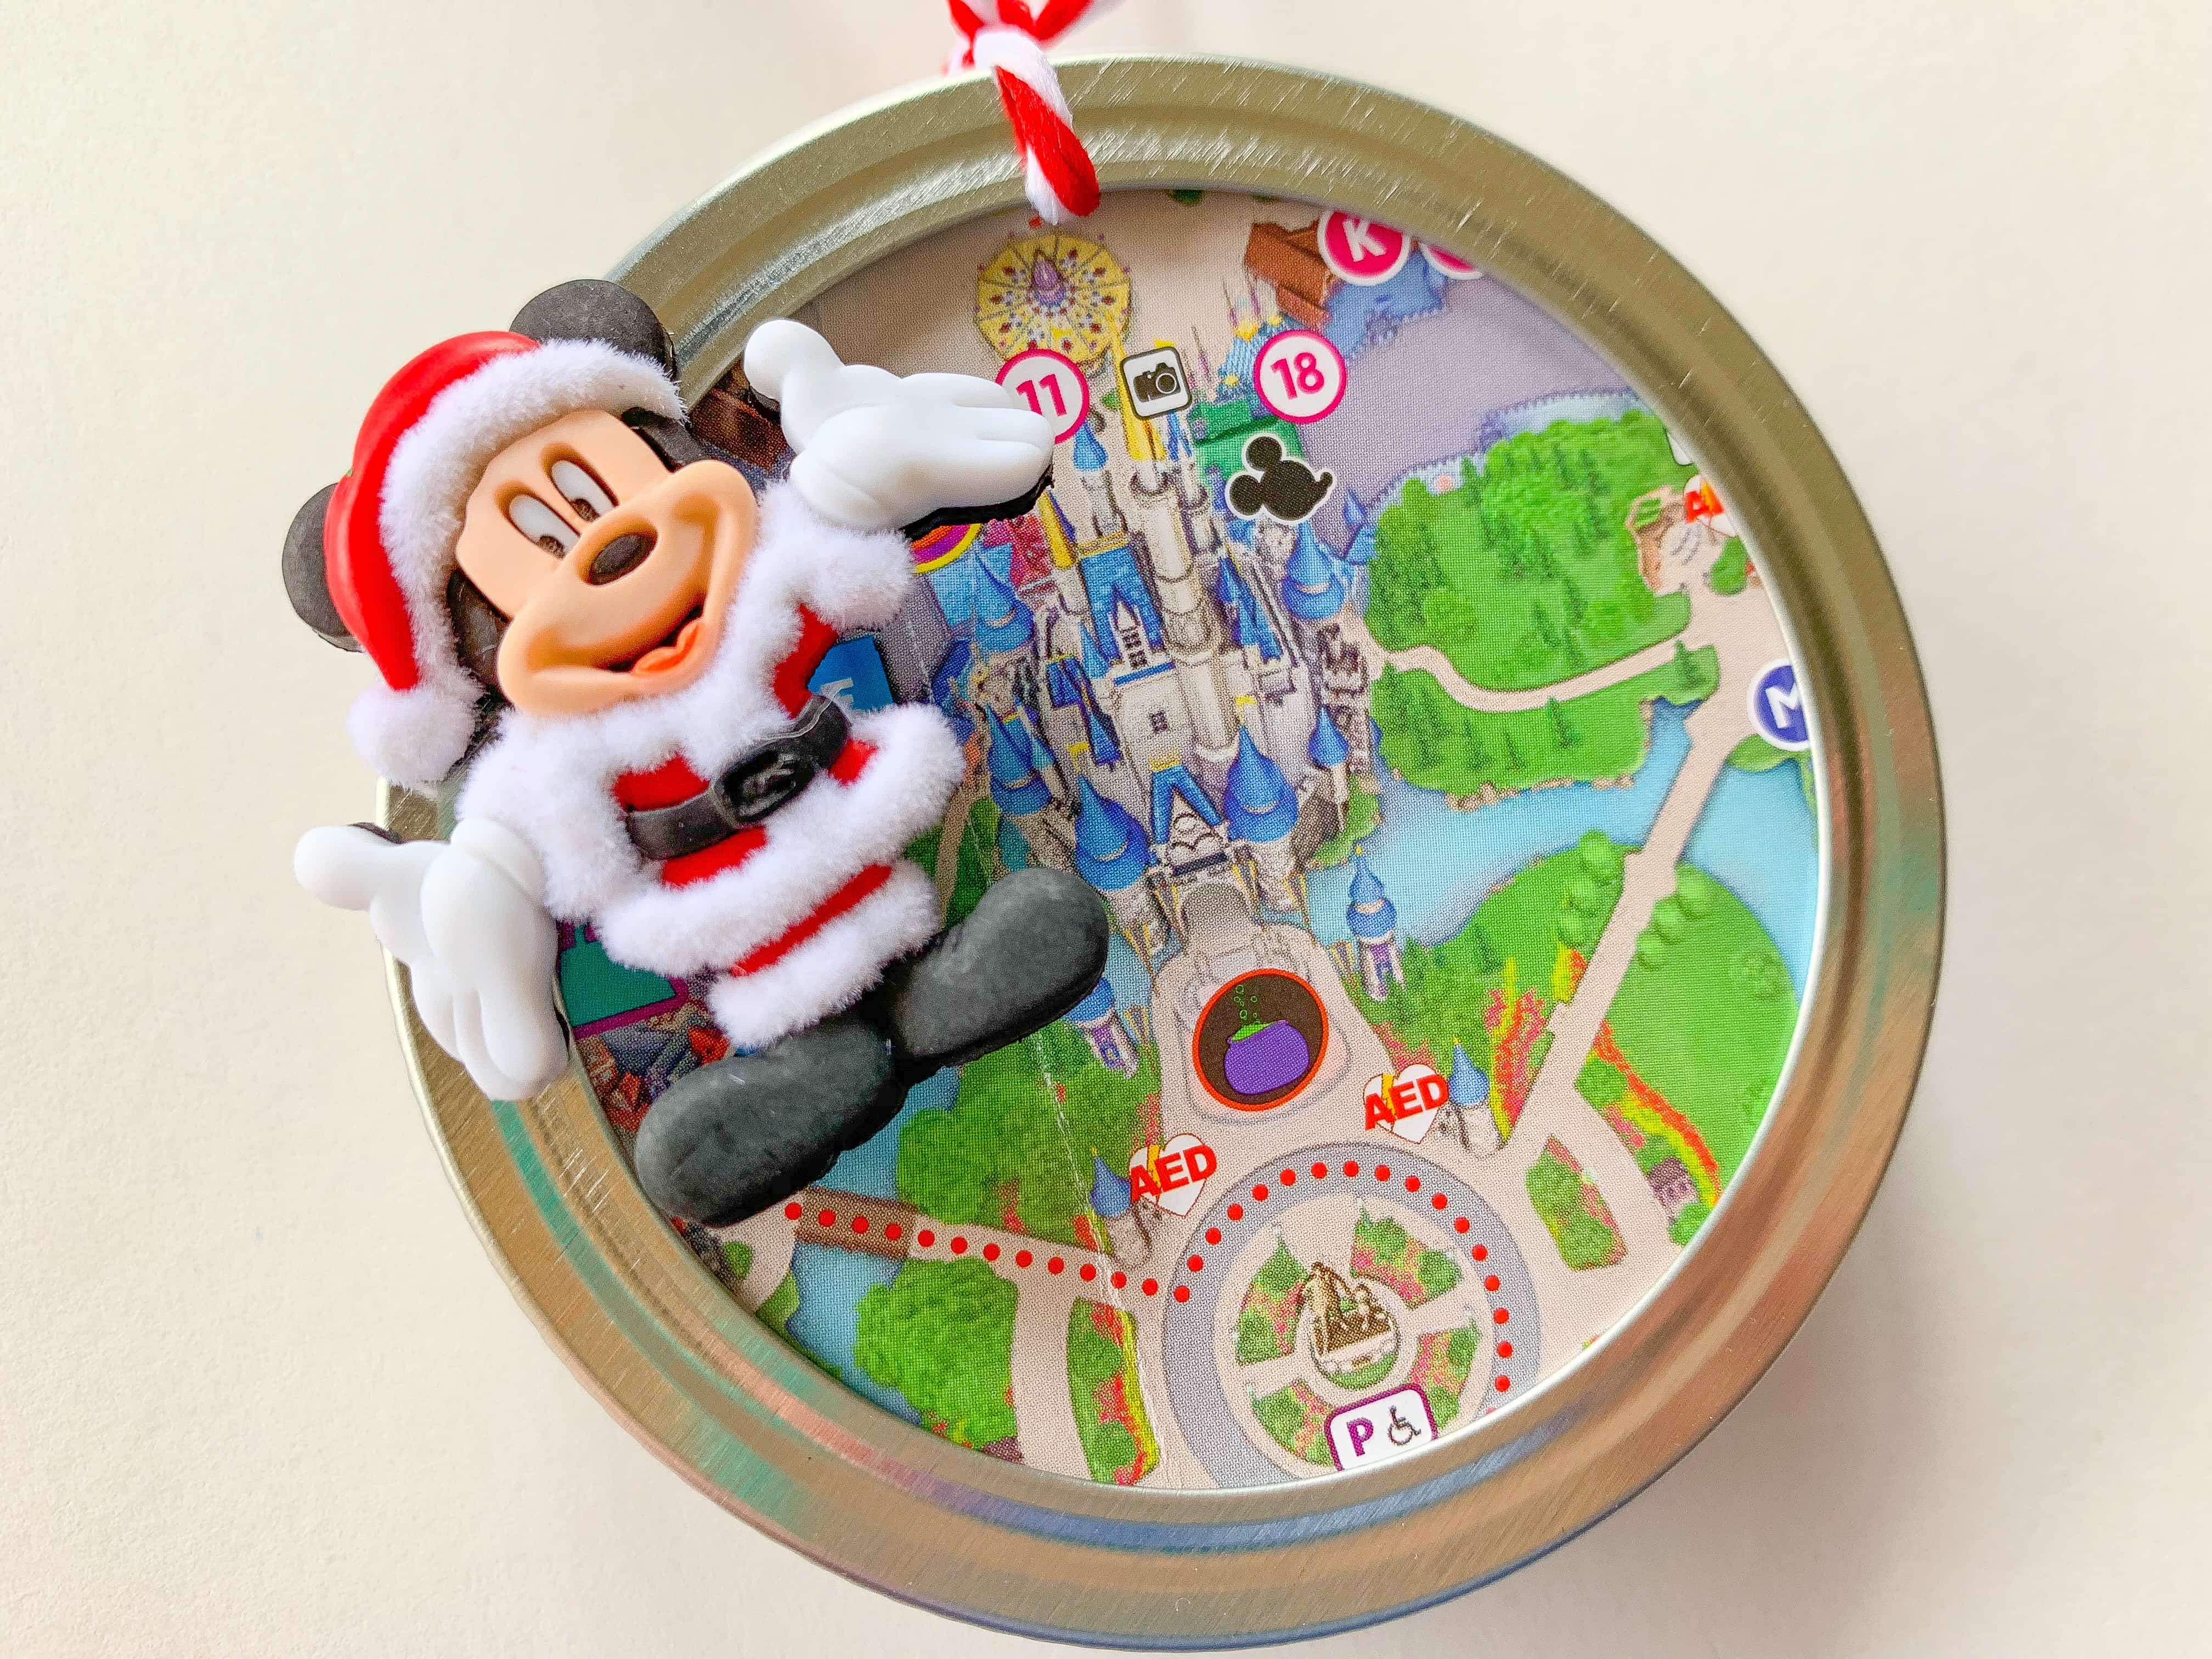
- For extra Disney magic, attached Disney holiday buttons to the top of the theme park map. We clipped the ring on the back of the buttons off with nail clippers for a flat surface. Attached with glue and let dry.
Notes
*See Disney ornament materials possible substitutions in blog post.
Recommended Products
As an Amazon Associate and member of other affiliate programs, I earn from qualifying purchases.
-

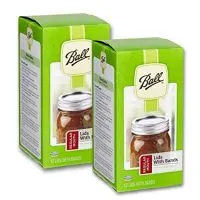 (2 Pack) Ball Regular Mouth Lids with Bands - 12 Lids with Bands per Box
 -

 KINGLAKE 328 Feet Cotton Bakers Twine Crafts Gift Twine Christmas Twine Durable Packing String Red & White
 -

 Dress It Up 8236 Disney Button & Embellishments, Holiday Heads
 -

 Dress It Up 8235 Disney Button & Embellishments, Mickey & Minnie