My Little Pony Plush Pattern
Who loved My Little Pony as a kid? I know I sure did! Create your own magical ponies with this easy felt My Little Pony plush pattern.
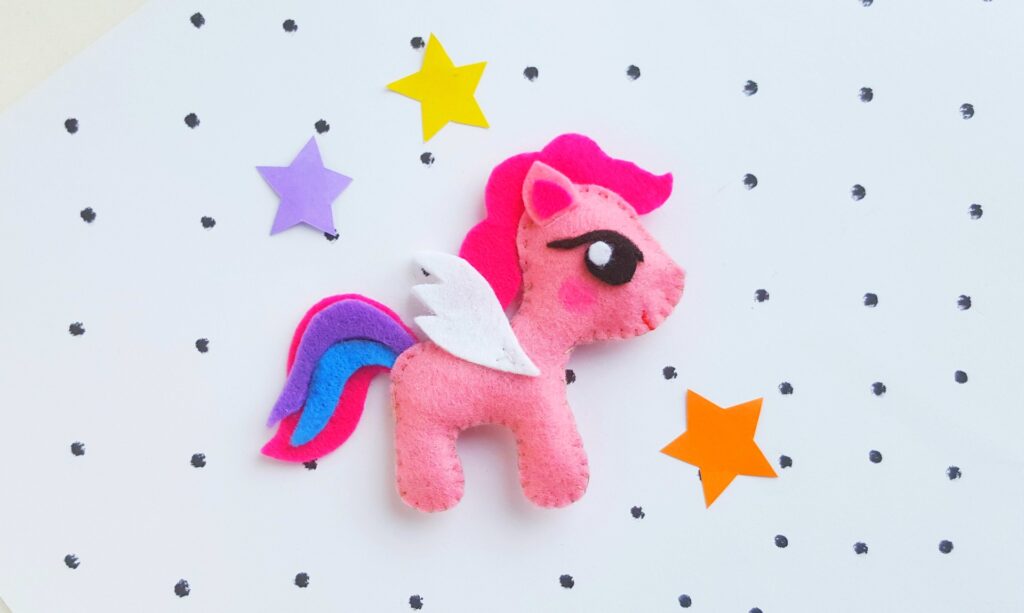
My Little Pony felt crafts bring back the joy of childhood. This pattern is easy enough for an older child to do on their own. It’s also a super cute craft to make as an adult, too, whether you’re making it for gifts or simply to add a smile to your day.
This is a great sewing pattern for a My Little Pony themed birthday party or summer activity.
My Little Pony Plushie Sewing Pattern
Supplies
- Felt fabric – colors of your choice
- Scissors
- Pencil
- Craft glue
- Needle and thread (thread should be the color of the felt for the body so that it blends in)
- Free Pony Sewing Pattern
Instructions
Step 1
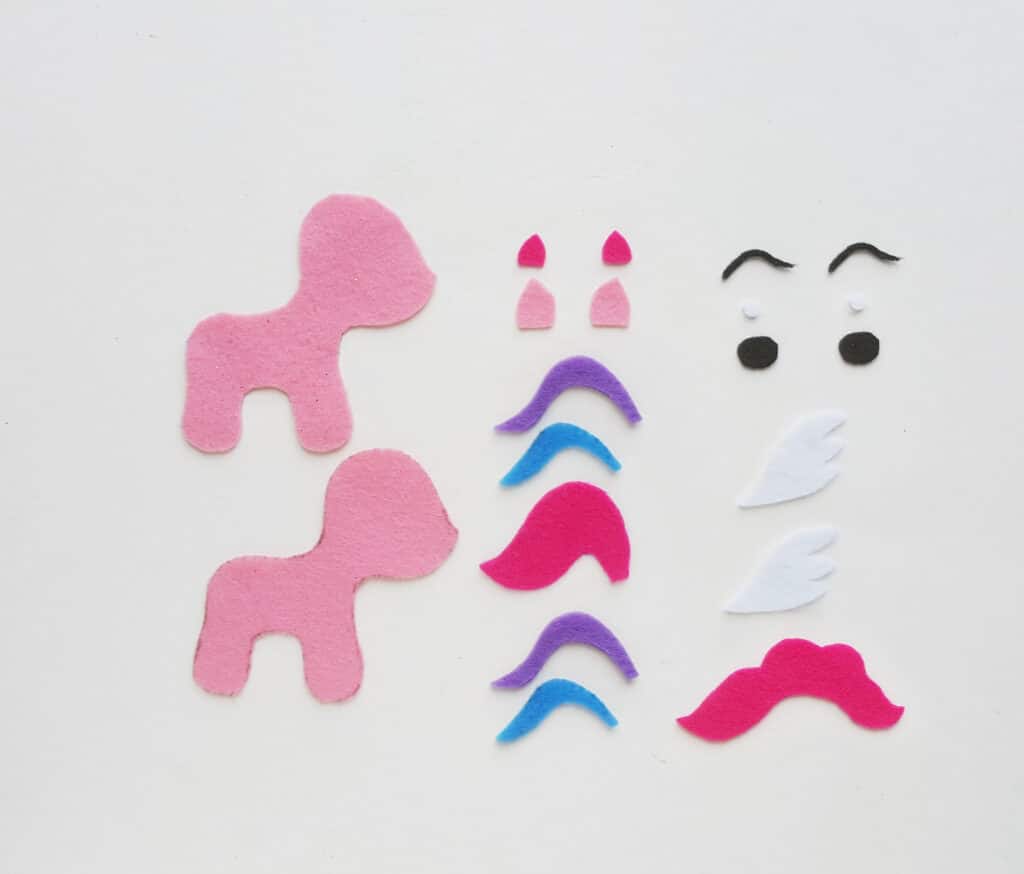
Print and cut out the patterns from the template. Select the felt fabrics of your choice and trace the patterns on them.
Use scissors to cut out the patterns.
Step 2
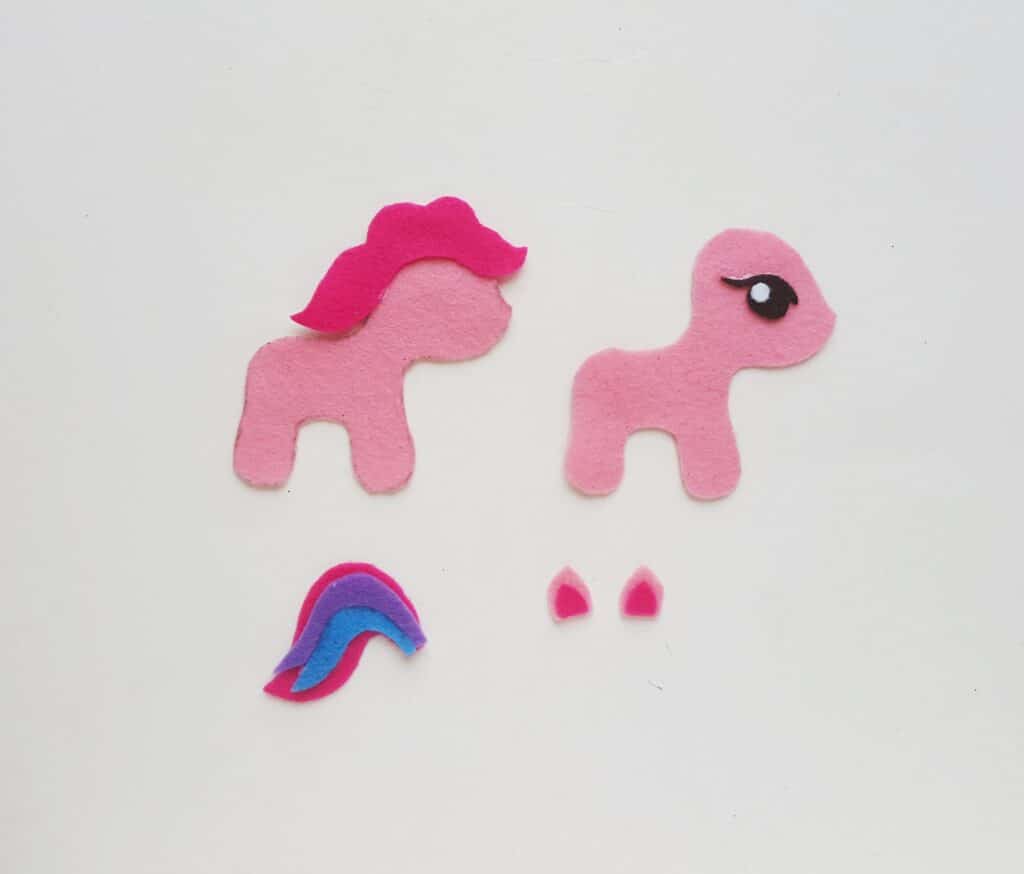
Lay the two body pieces on a flat surface. Using the pieces for the eyes, assemble them on the front body piece and glue them in place.
Glue the hair on the back body piece. Attach the inner parts of the ears on the large parts of the ears with glue.
Glue the four tail parts on the base, putting two on each side.
Step 3
Place the tail on the back side of the back body piece.
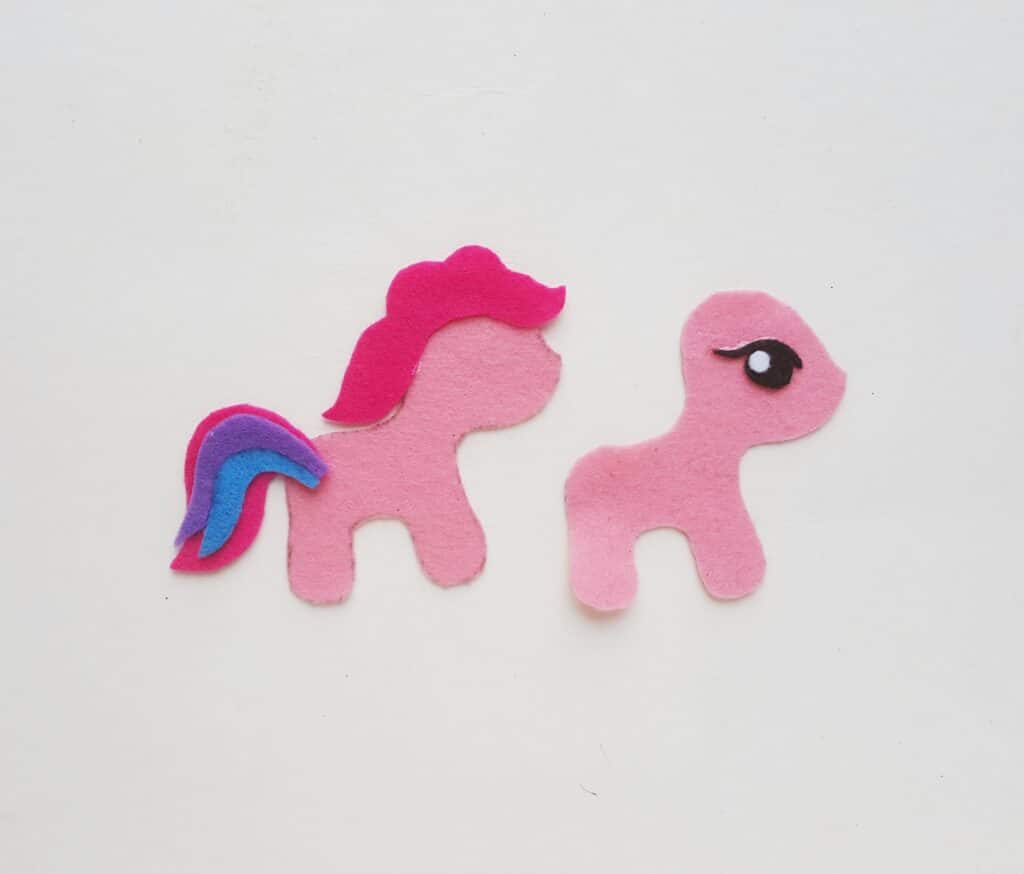
Then place the front body piece on the back body piece, making sure to match all sides of both body parts.
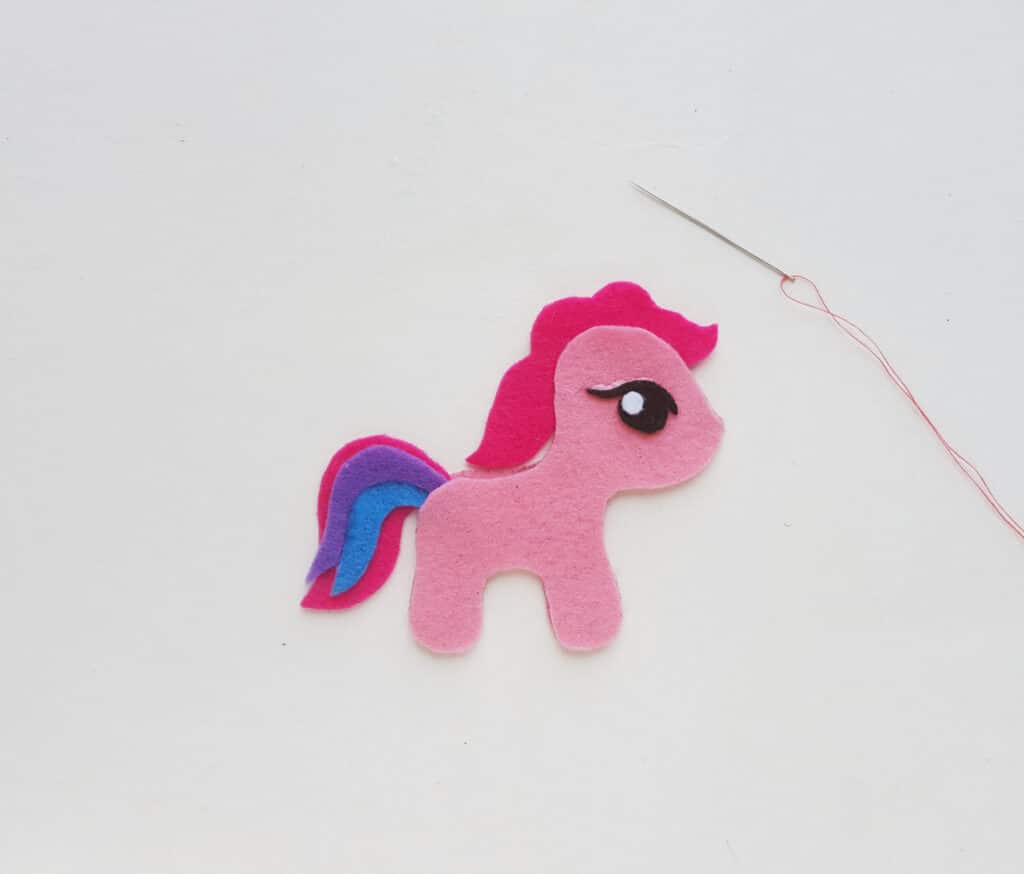
Thread a needle with matching thread.
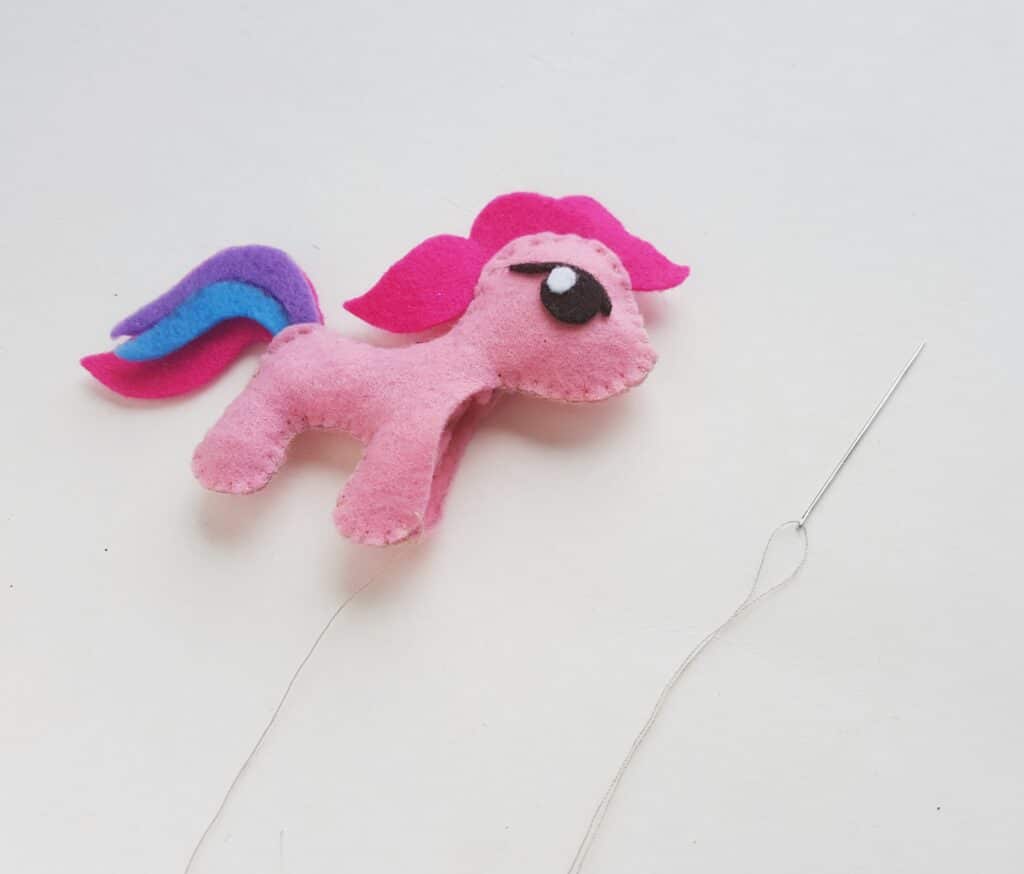
Step 4
Start stitching from either the head part or the back leg. Do an easy flat blanket stitch along the side to attach both body parts together.
Do NOT stitch the entire body together, though. Keep a small opening for stuffing the felt pony.

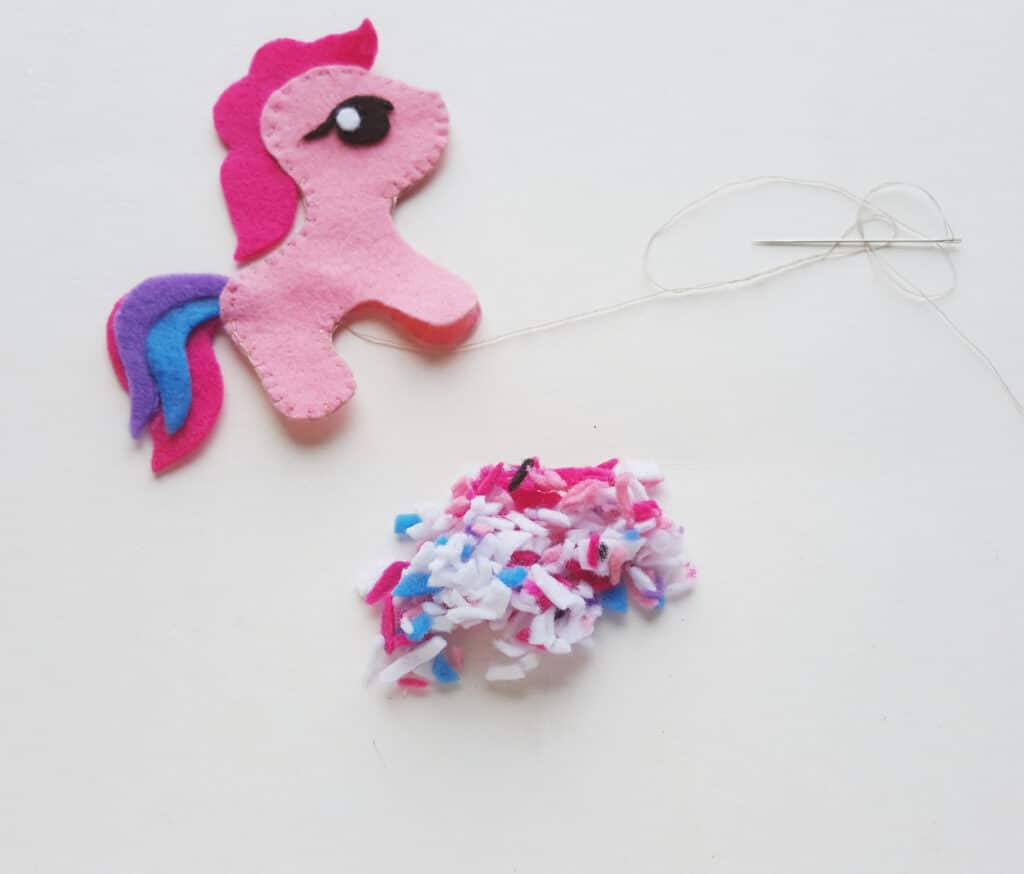
Step 5
Use the leftover felt fabrics from this project for the stuffing. Use scissors to cut them into small pieces. Or use a polyfill stuffing. You could even just use cotton balls or facial tissue.
Stuff the plush to be as thick or thin as you would like.
Step 6
Use needle and thread to close the open end.
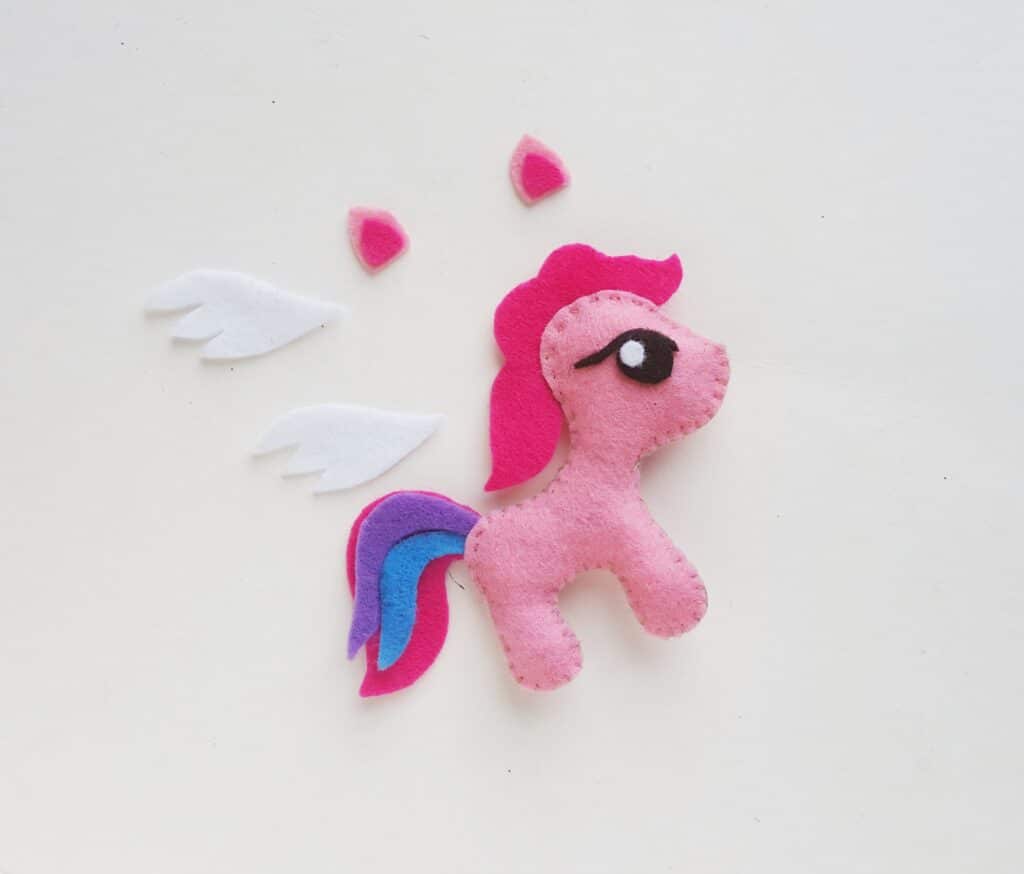
Step 7
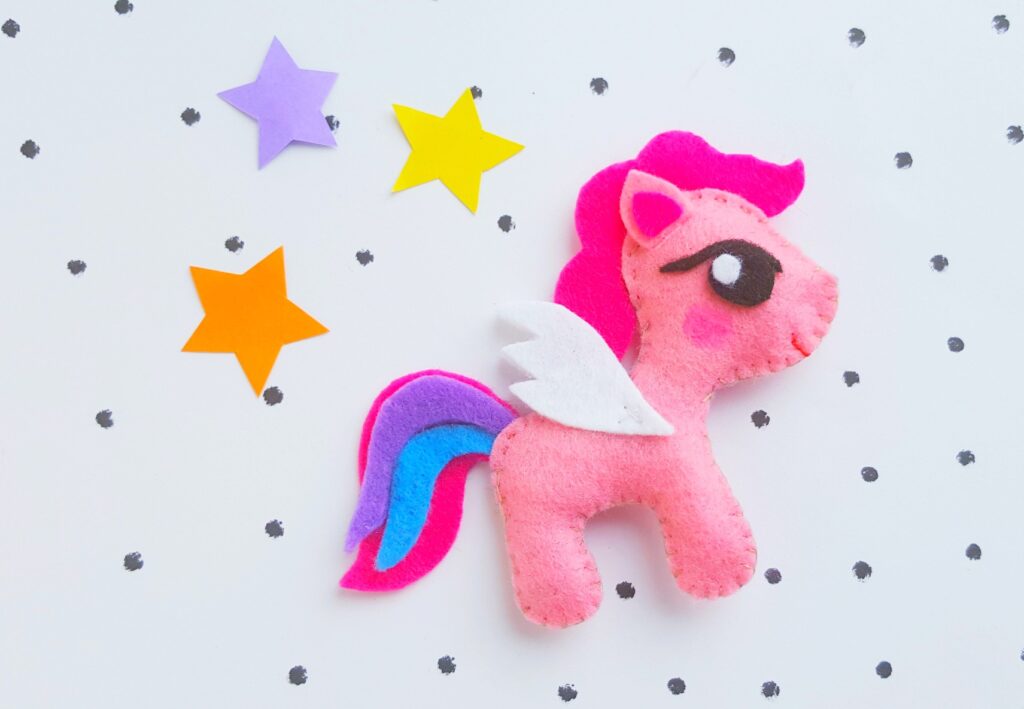
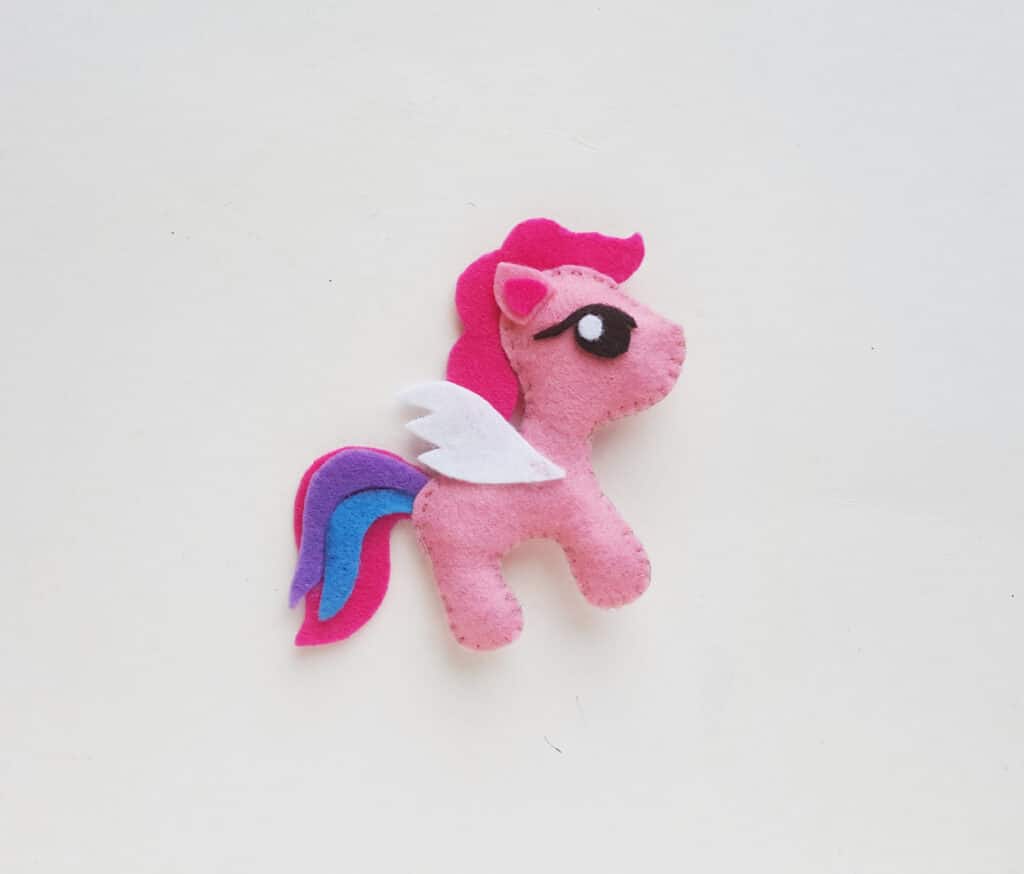
Place the ears and the wings on their positions and stitch or glue them.
For the wings I did a simple cross stitch on one side with the body parts.
Be sure to Pin This My Little Pony craft with free pattern to save for later!
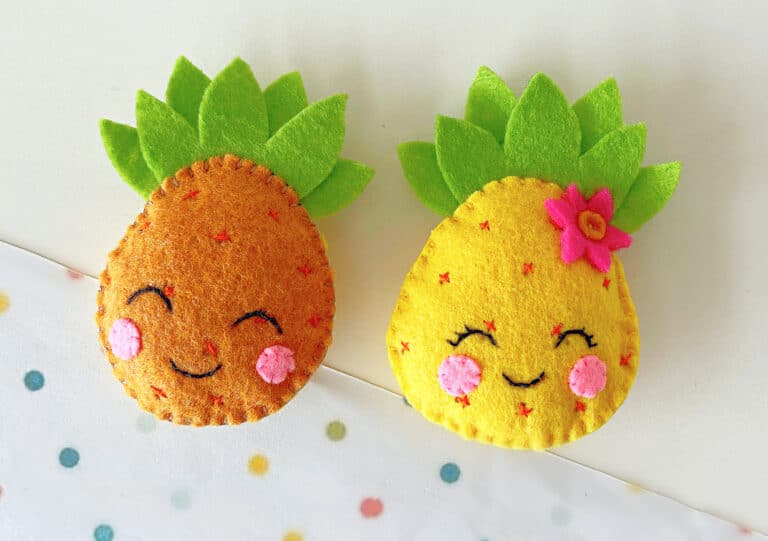
See these felt plushies next for even more ideas!