
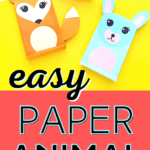
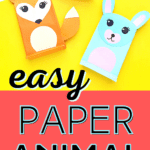

These adorable woodland paper bag animal crafts are cute as puppets or to give with a gift inside.
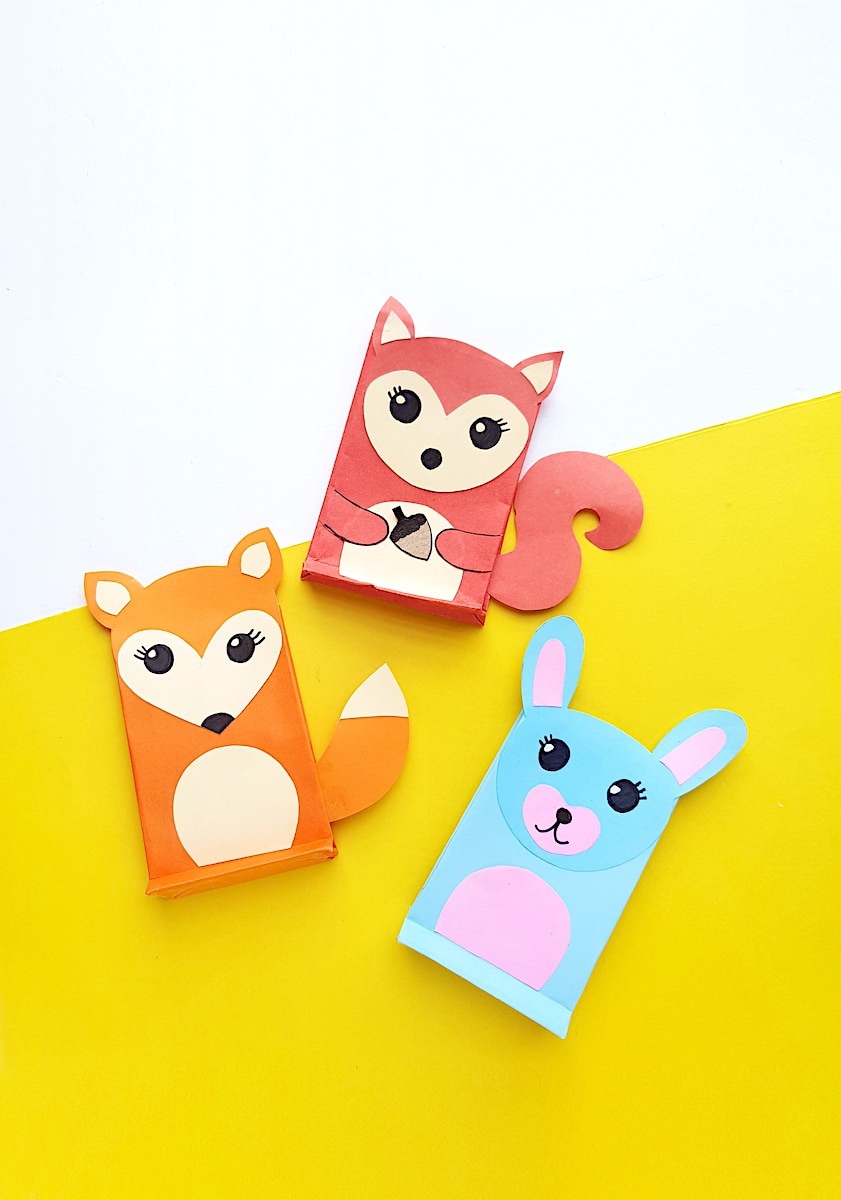
If you liked my easy Woodland Animal Paper Wreath, you’ll love these paper bag forest animals, too!
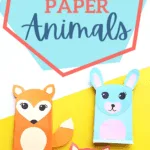
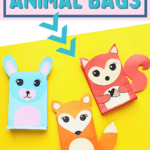
Using our free template for a rabbit, fox, bear and squirrel, you can cut out these patterns right now and start making paper bag animals using craft papers.


While we used colored construction paper to make bags in accompanying colors (see a video of how to do it below), you can add the animal shapes to plain brown paper bags, too.
Or, just use the forest animal templates in other unique ways that you can think of!
How to Make Cute Forest Paper Animal Bags
Supplies
- Free Woodland Animal Printable Templates
- Colored craft papers
- Pencil
- Scissors
- Craft glue
- Black sharpie
Instructions
Step 1
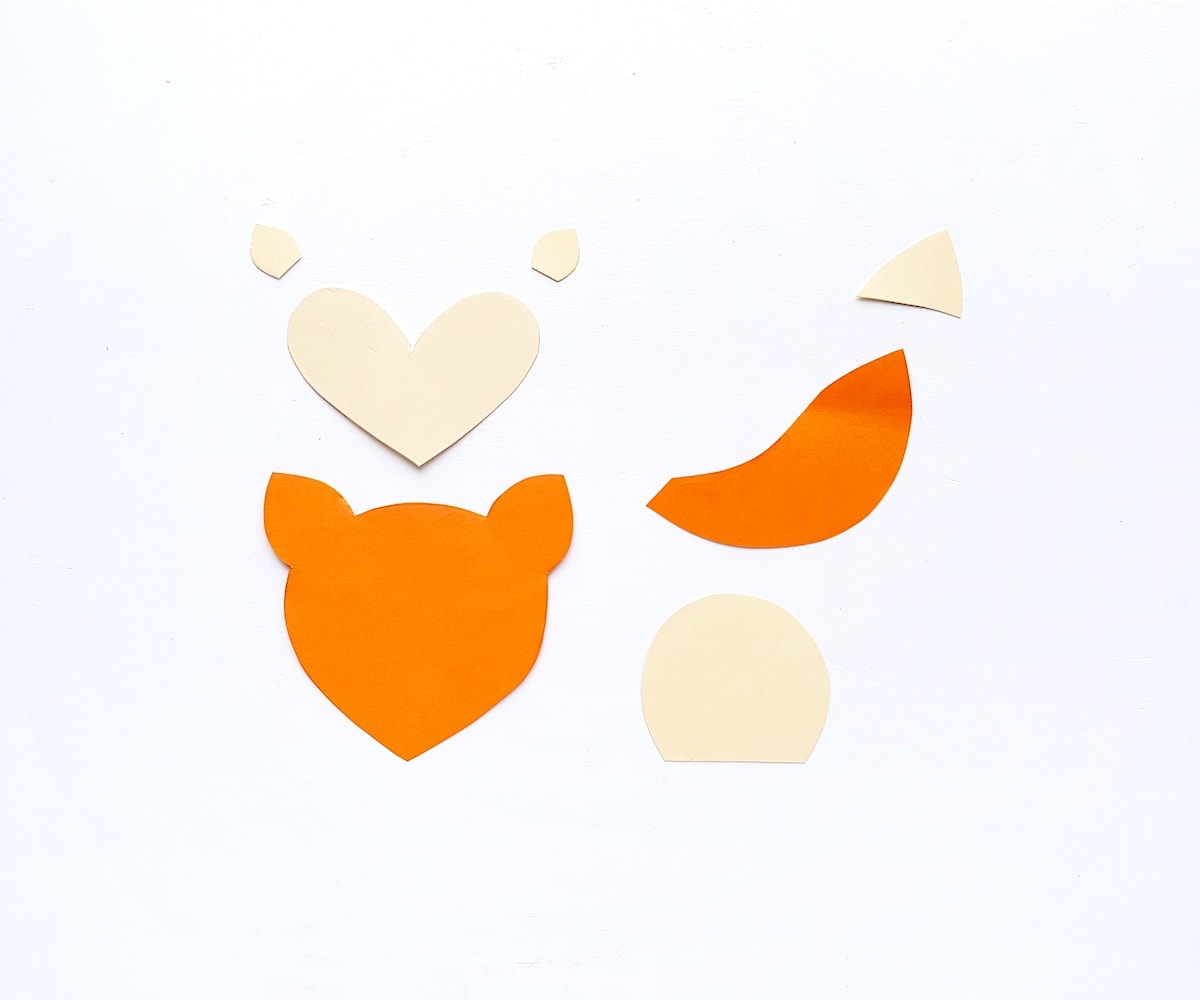
We are going to make the paper fox in this example. All of the rest of the forest animals can be made following similar instructions.
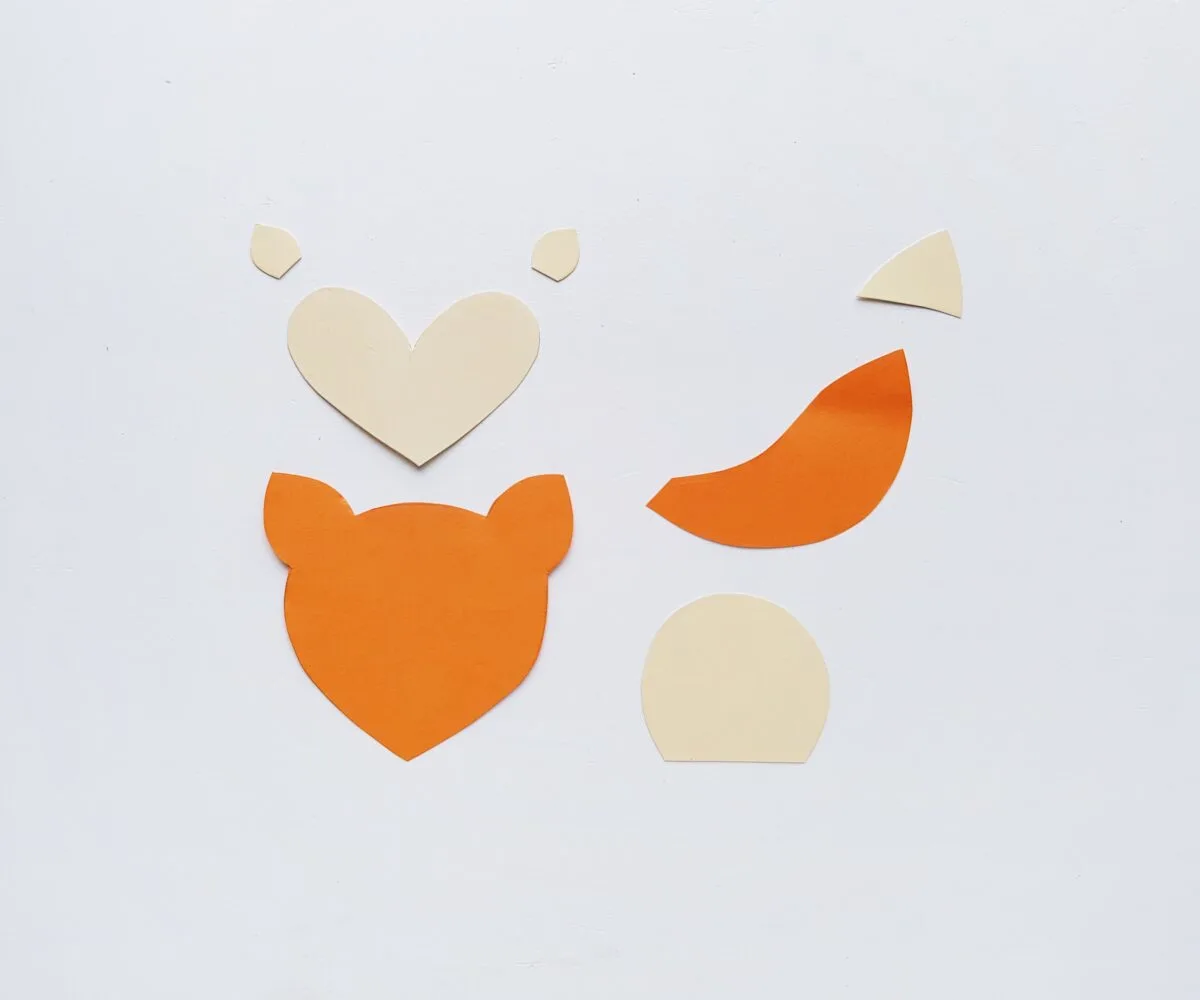
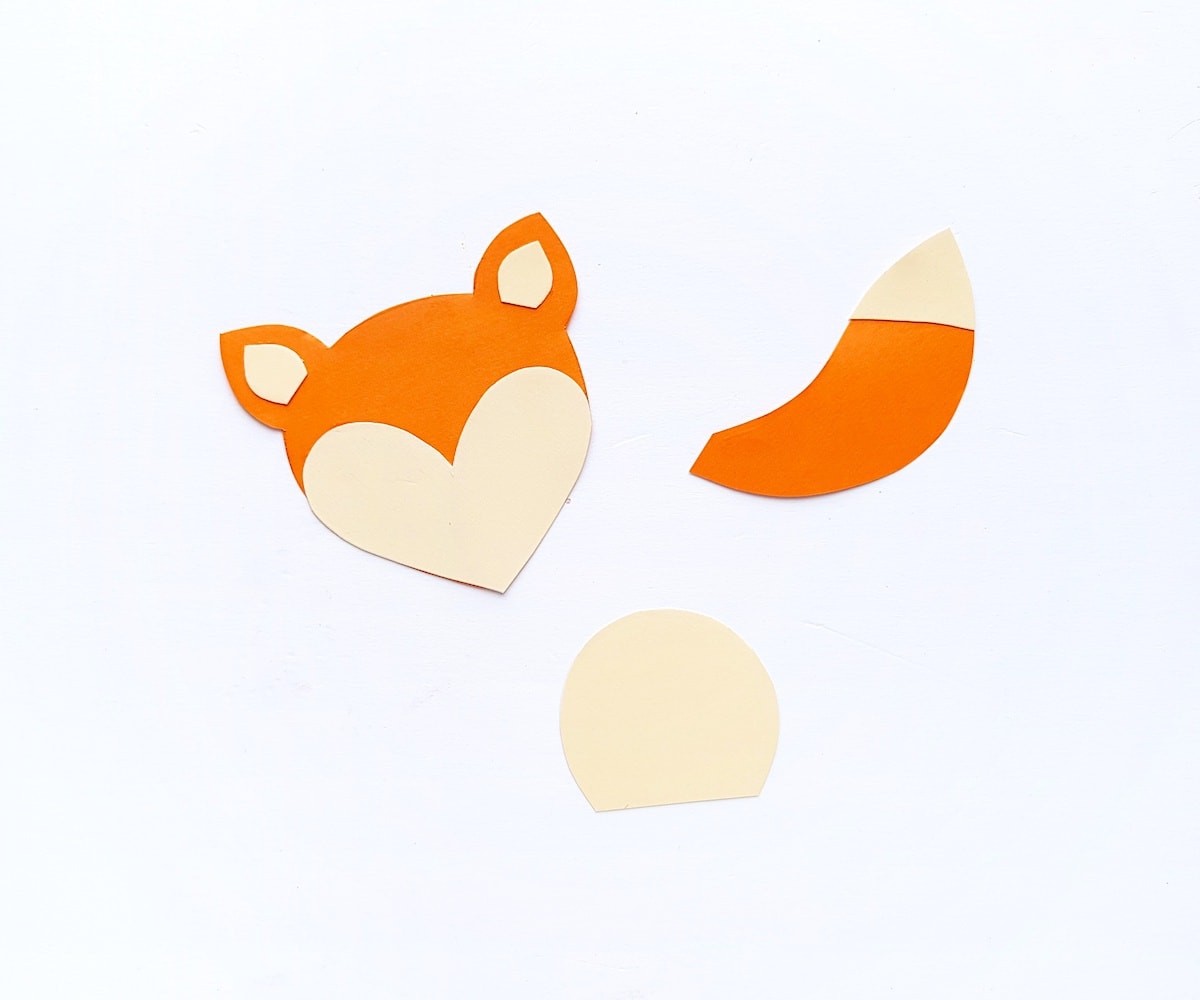
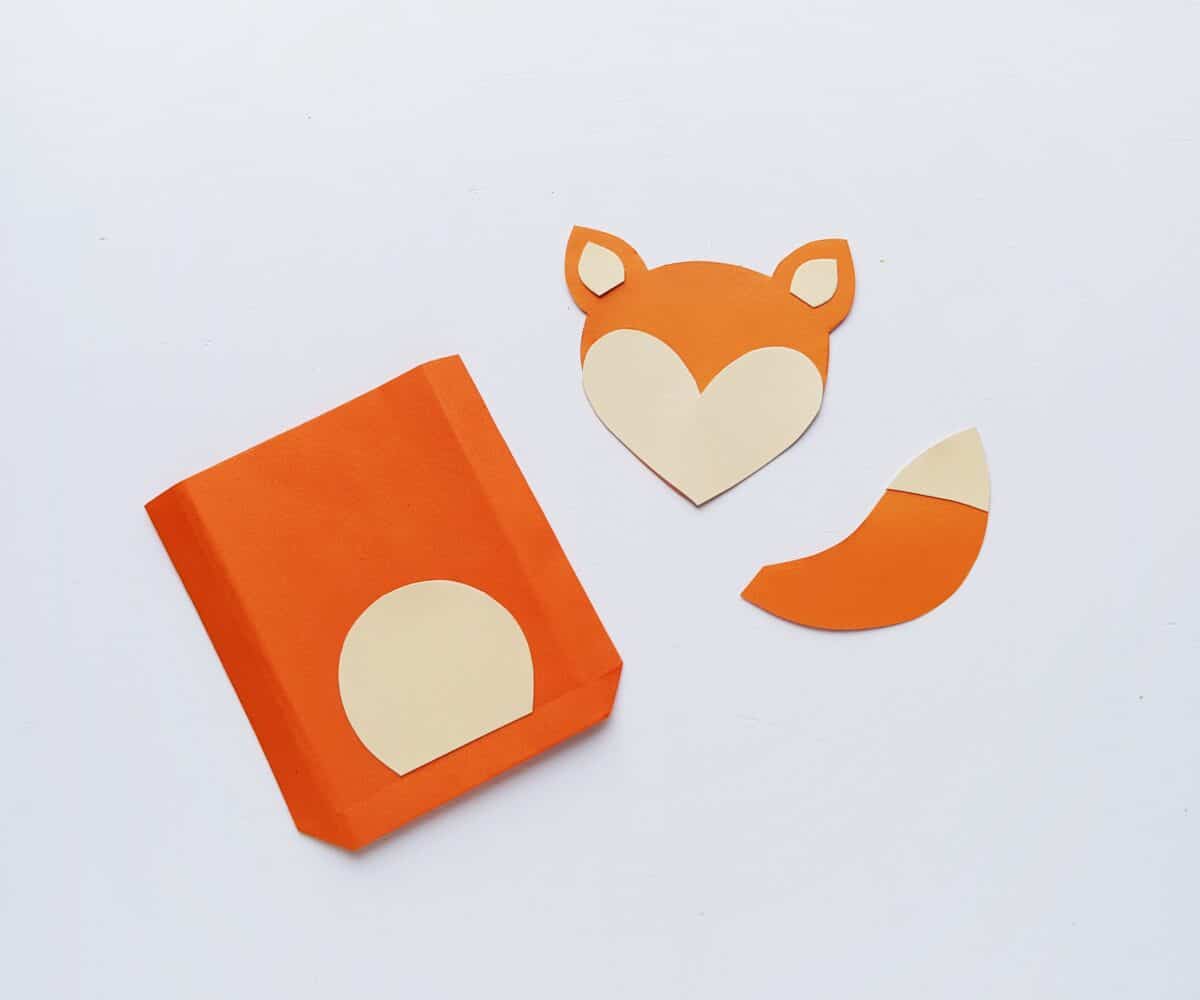
Trace the template patterns on the colored papers. Cut out the patterns.

Step 2
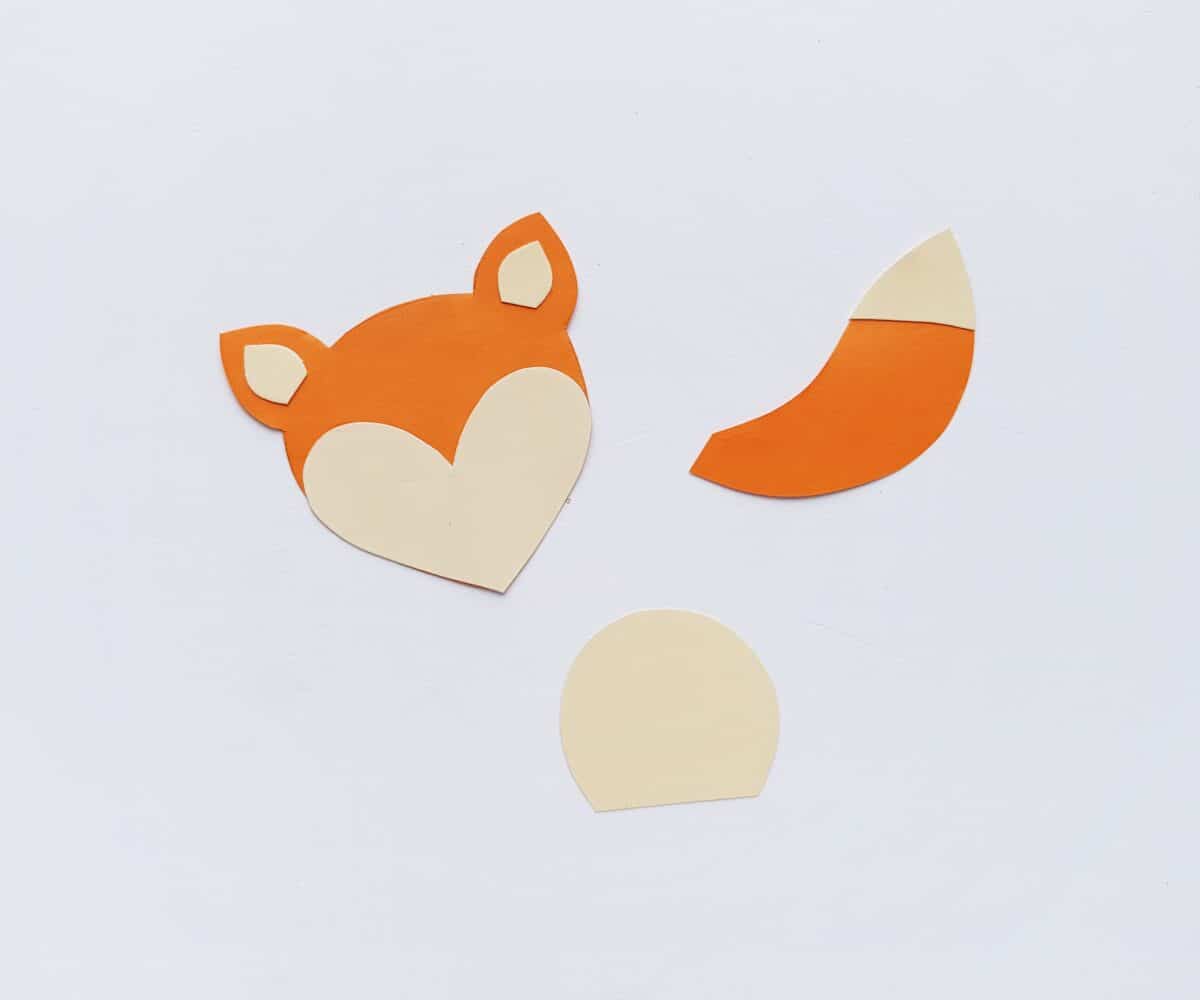
Glue the inner ear patterns (2 small triangular pieces) on the ears of the fox’s head pattern.
Now glue the heart shaped piece on the bottom side of the fox’s head, with the point side down.
Glue the small pattern of the tail on the tip of the big tail pattern.

Step 3
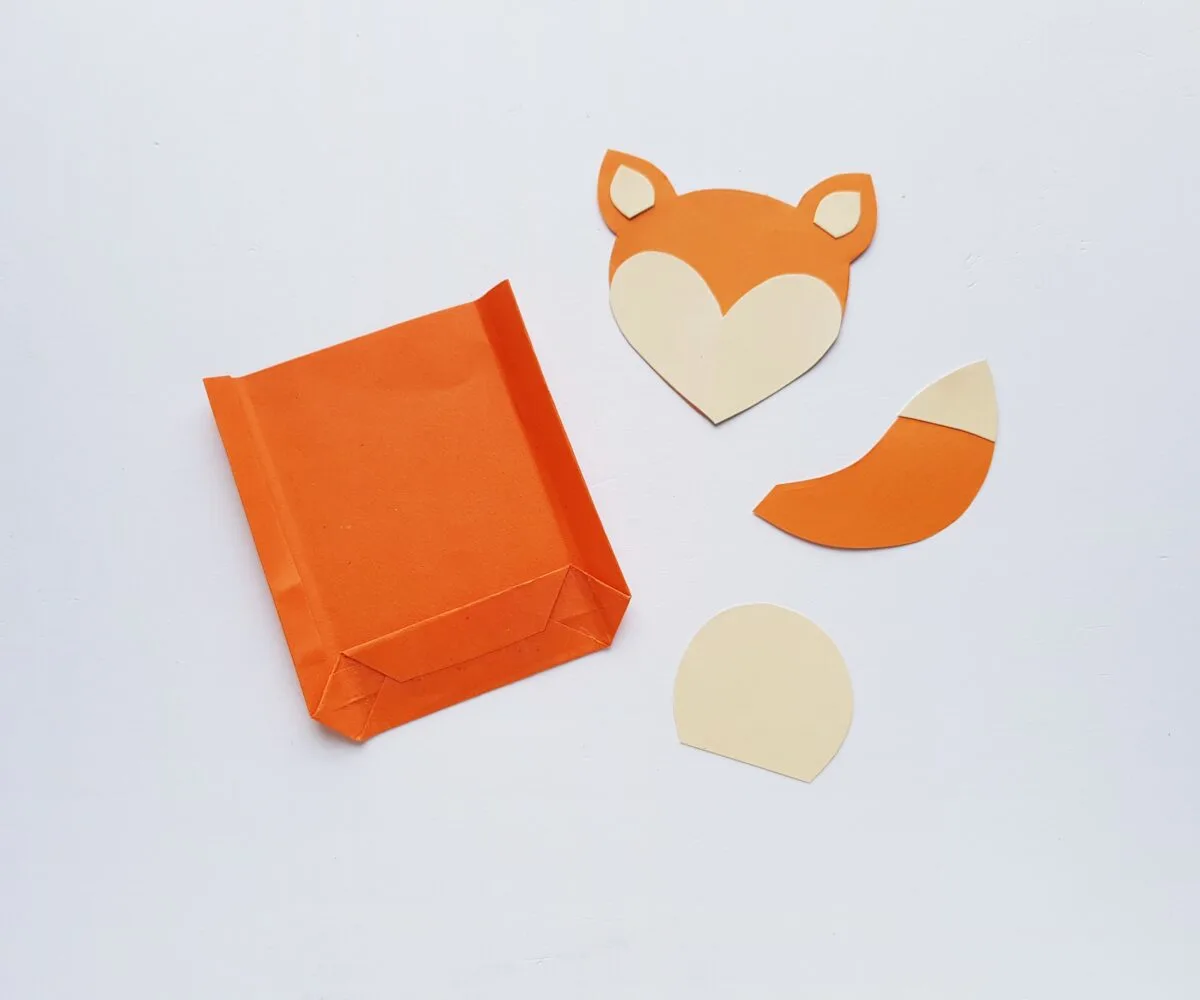
Make a paper bag using an 8 inches × 8 inches orange colored craft paper or any colored craft paper you prefer. See this video tutorial for help in making a bag.

Step 4
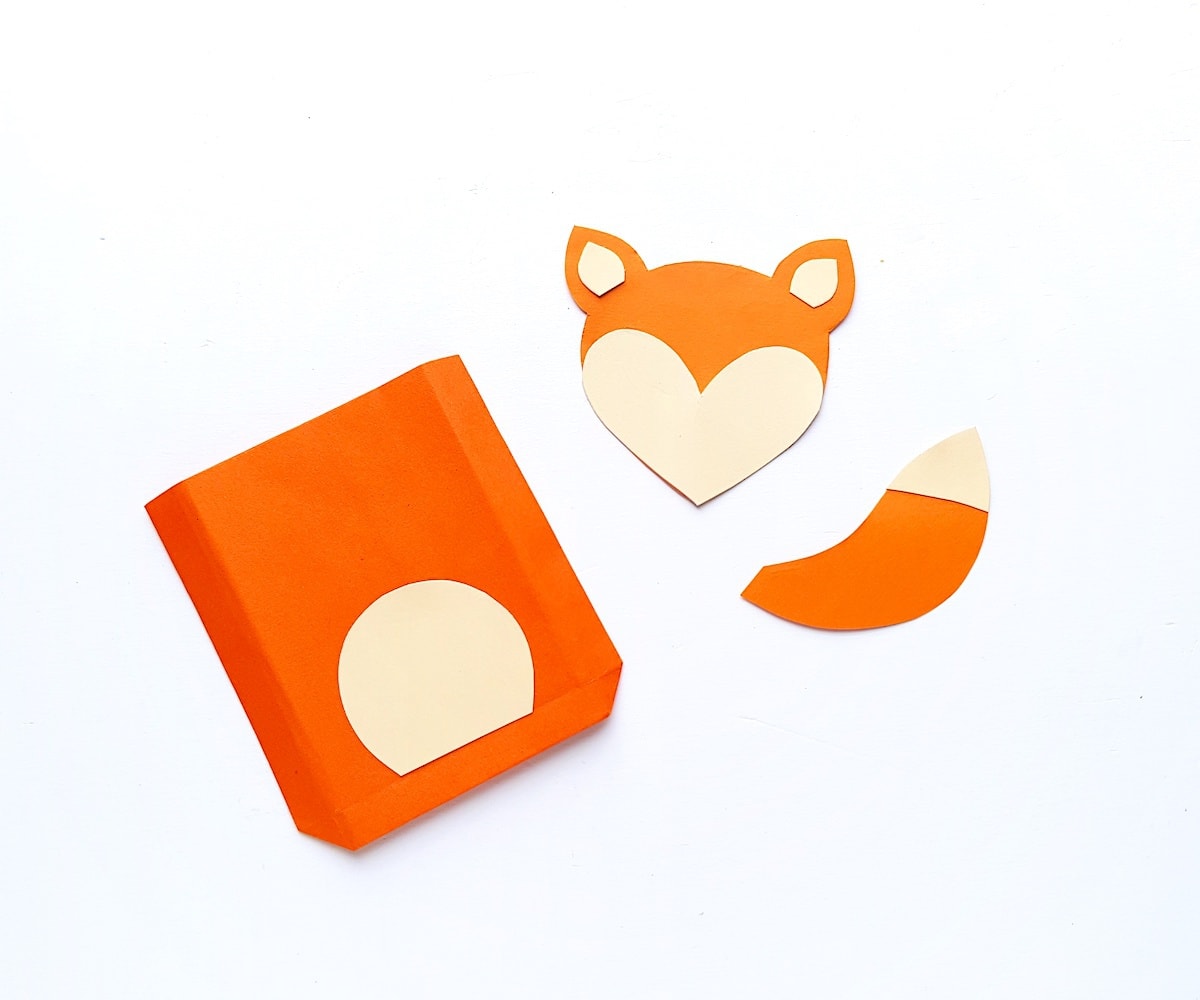
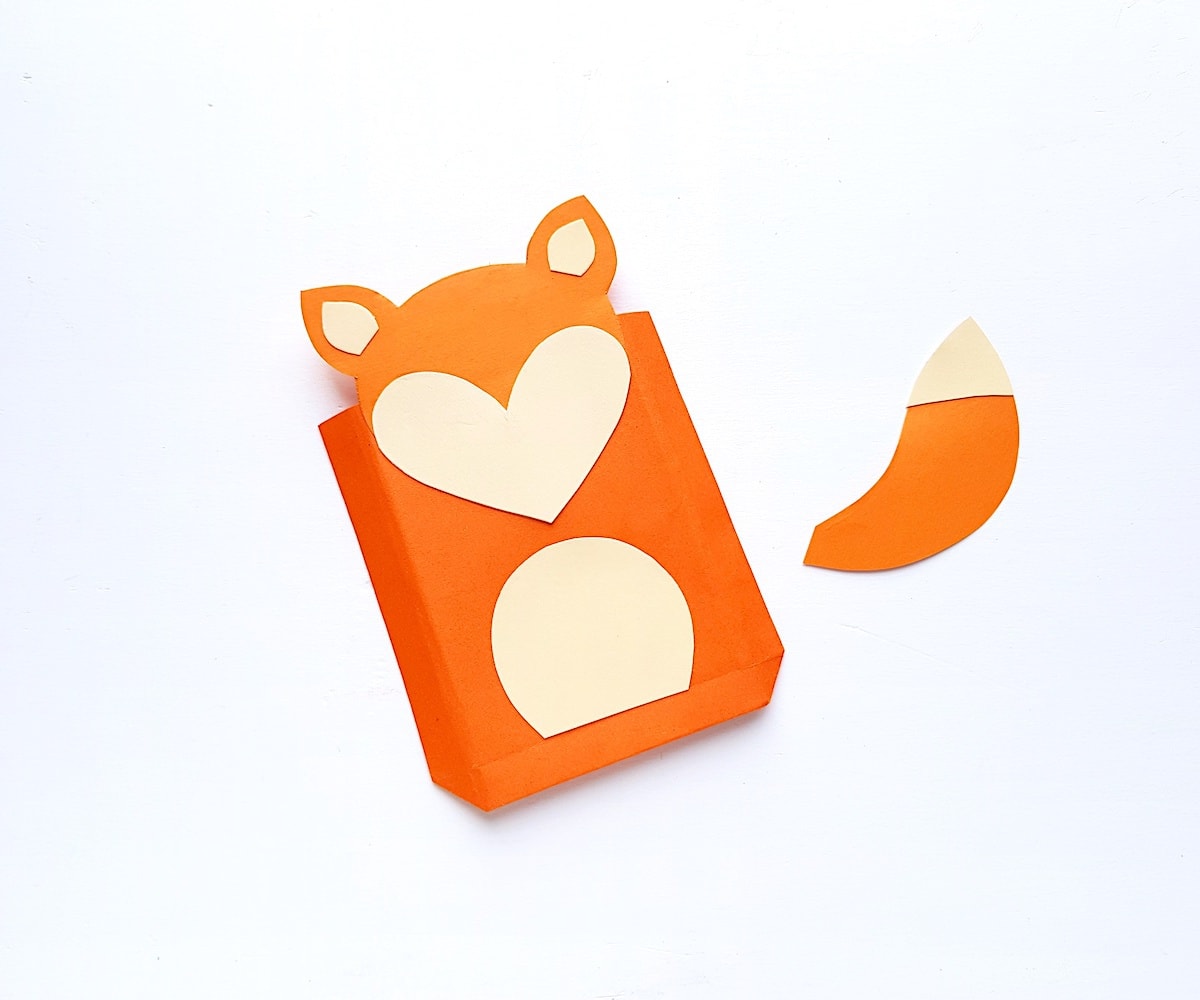
Attach the belly template of the fox below the head (or in the middle part of the bag or piece of paper).

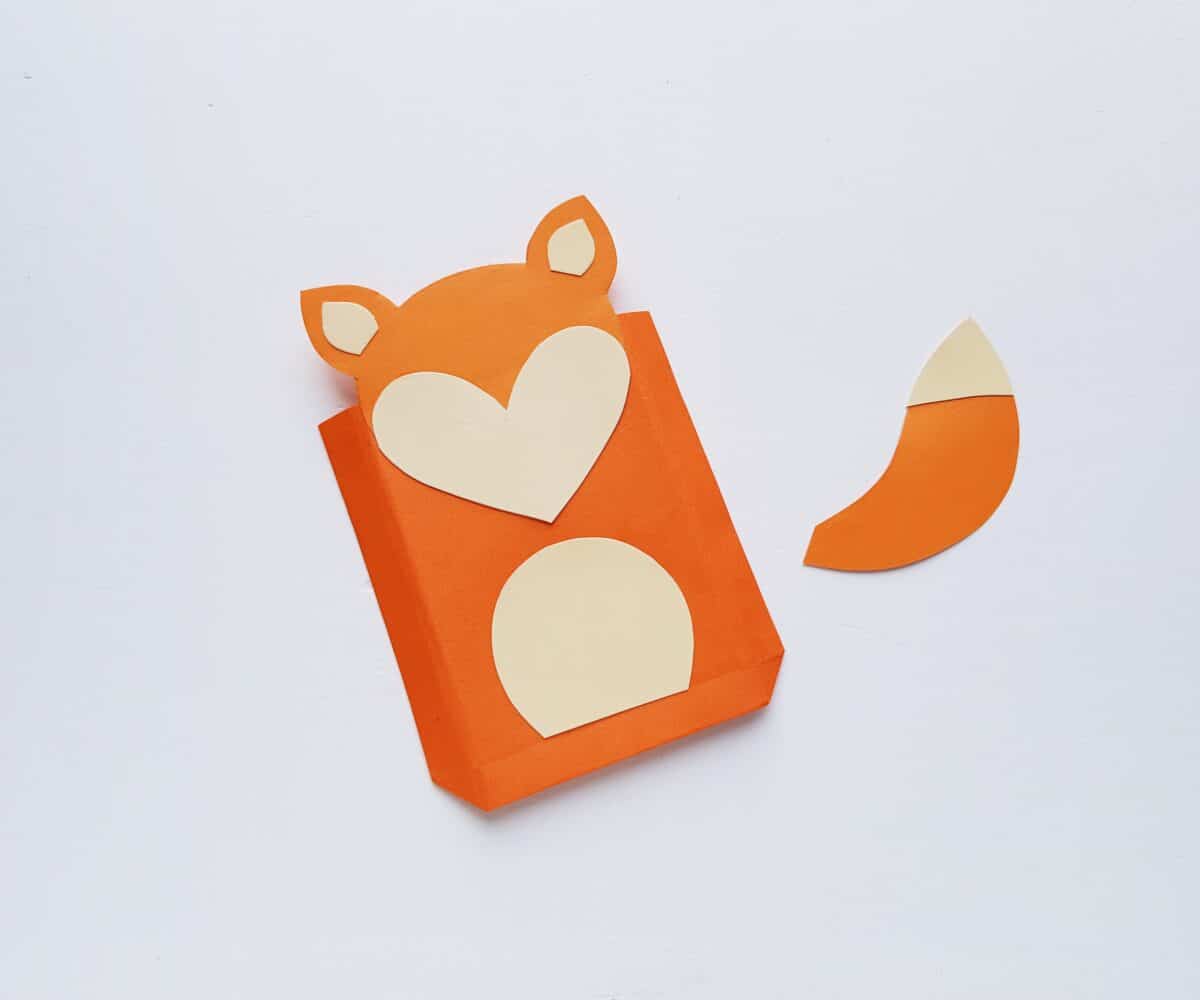
Step 5
Attach the head of the fox on the top side of the bag. Keep about half of the head above the top of the bag.
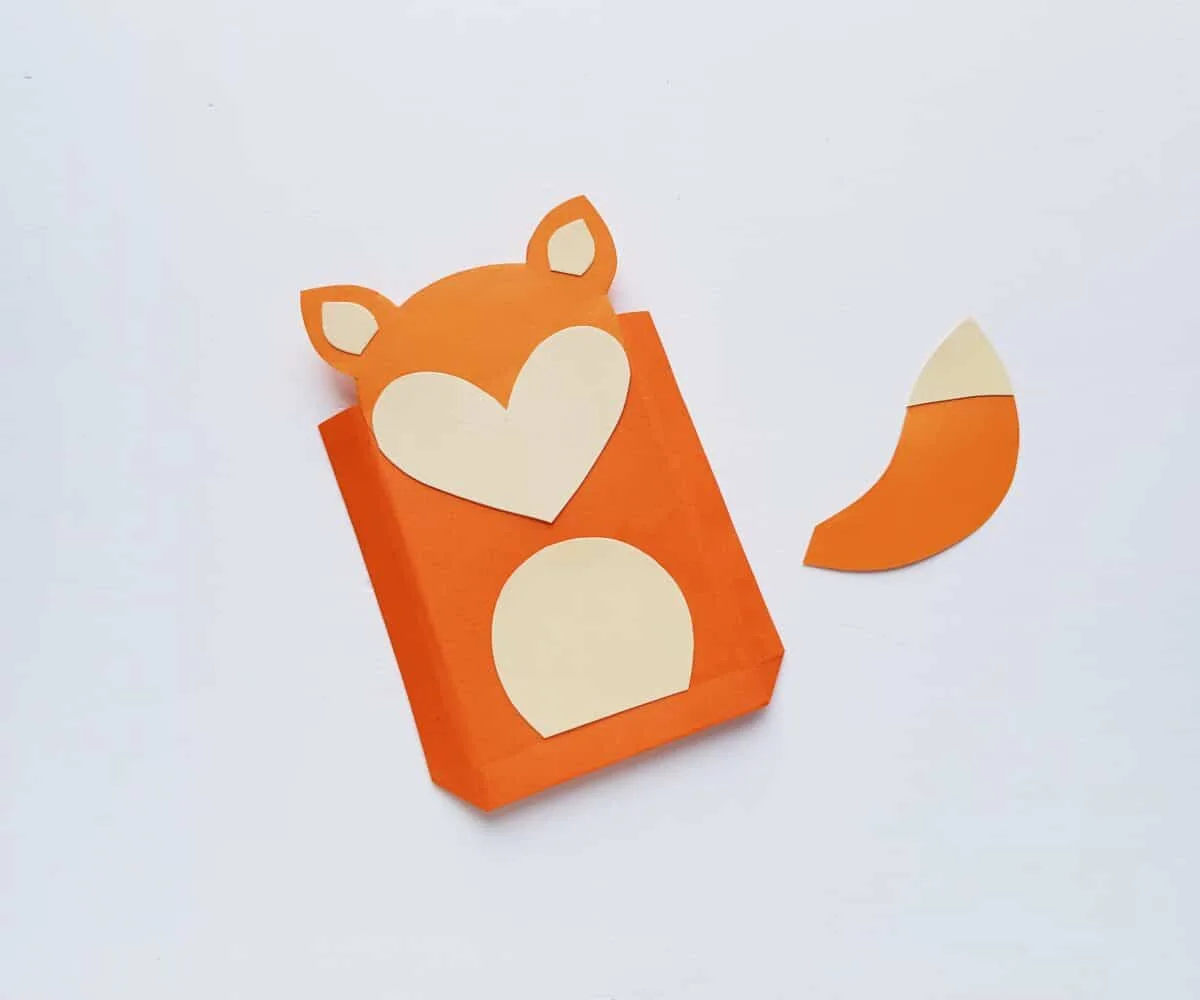
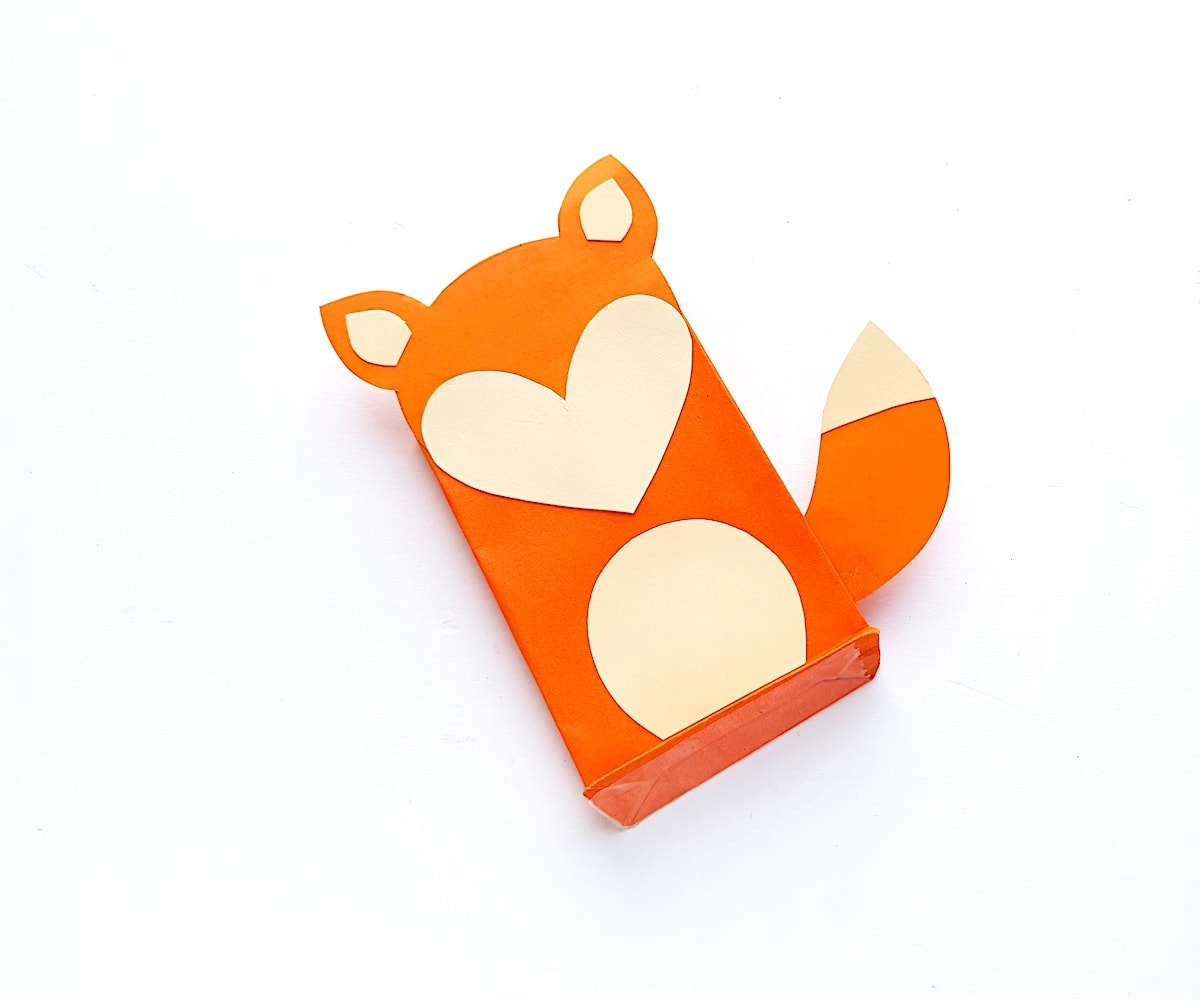
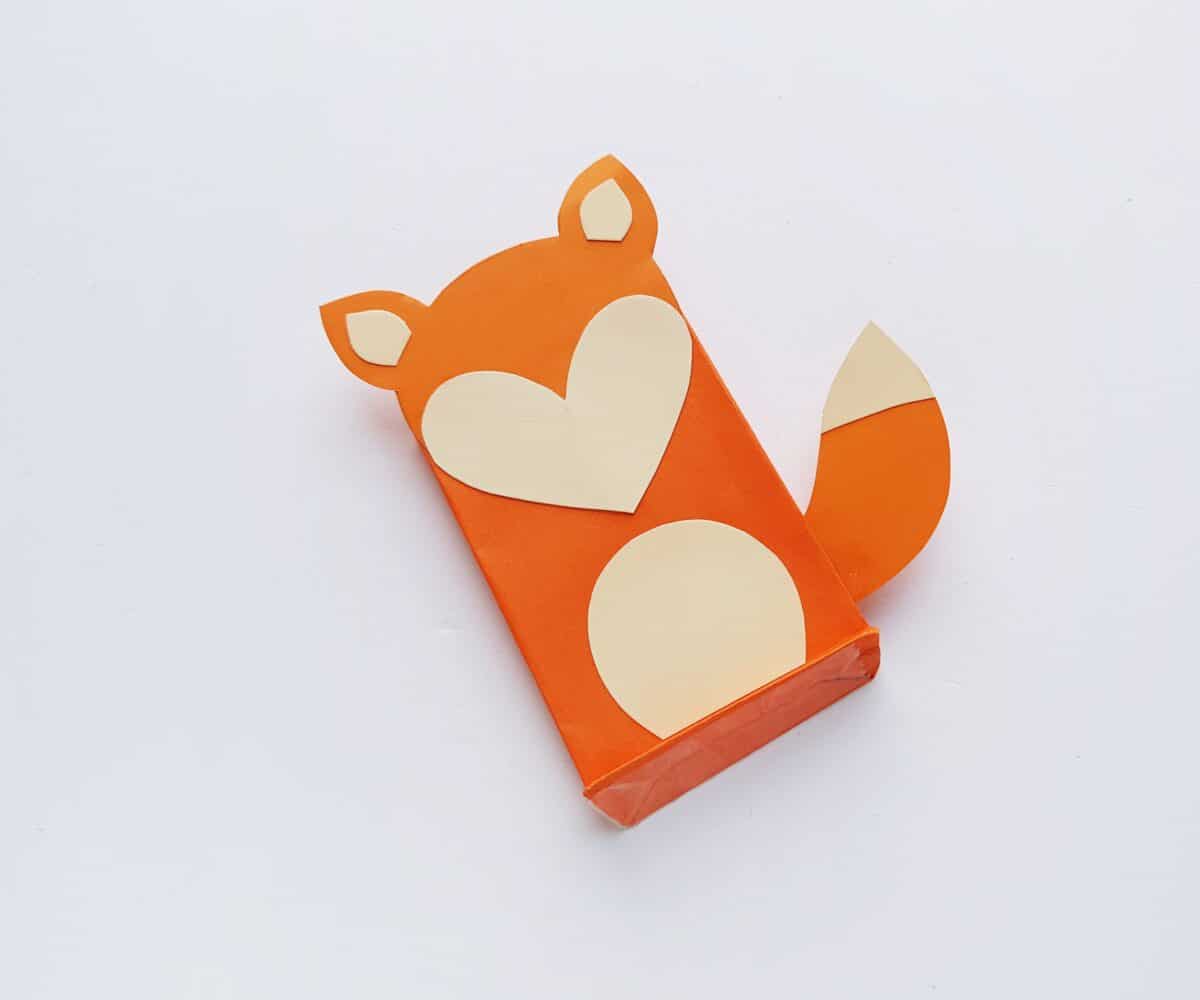
Step 6
Attach the tail in between the side folds of the bag.

Step 7
Use a black marker, such as a Sharpie, to draw the eyes and nose of the fox on the heart shape of the head.


Repeat the same steps for the other forest animal templates in your free download.
