Do you have some favorite theme park souvenirs that you would like to display but can’t find the best way to showcase them?
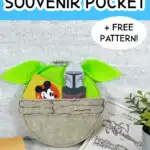
Our easy Star Wars-themed keepsake pocket is a great place to keep your treasures! There is no need to sew this cute souvenir holder, just cut and glue!
This Yoda keepsake pocket is such a cute way to show off your favorite theme park souvenirs, such as:
- Park tickets
- Postcards
- Printed photos
- Maps
- Annual Pass
- Movie tickets
Why stuff the flat souvenirs and pieces of paper in a drawer or box, when you can see them every day by hanging them on the wall?
Many of these materials can be found at the Dollar Tree to make this an inexpensive craft.
See all of our Star Wars ideas:
- Yoda Cork Craft
- Darth Vader Helmet Hat
- 9 Star Wars Drinks for Kids
- Star Wars Light Saber Cookies Recipe
How to Make a Baby Yoda Keepsake Pocket
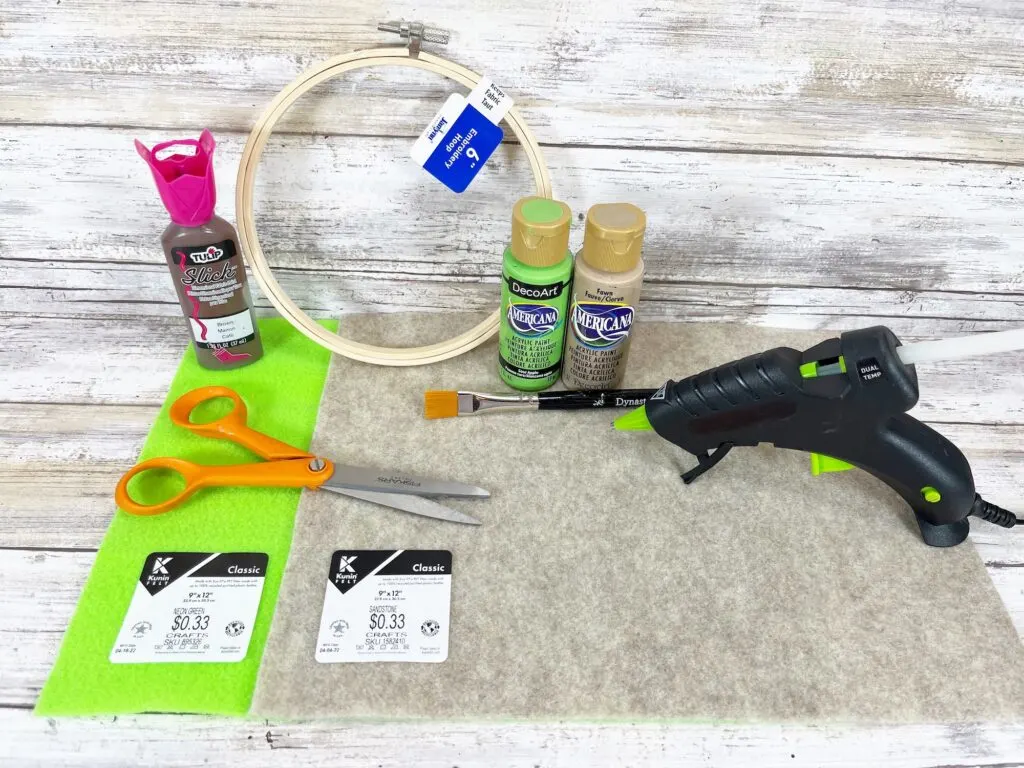
Supplies
- Free Baby Yoda Pocket Hoop Patterns
- Unfinished Wood Embroidery Hoop, 6″ in diameter
- Neon Green Felt Sheet, 9″x12″
- Sandstone Colored Felt Sheet, 9″x12″
- Acrylic craft paint, Tan & Bright Green
- Brown Dimensional Fabric Paint (puff paint)
- Scissors
- Straight pins (optional)
- Glue gun and glue sticks
- Paintbrush
Instructions
Step One
Loosen the screw at the top of the wooden embroidery hoop.
Separate the inner ring from the outer ring of the embroidery hoop.
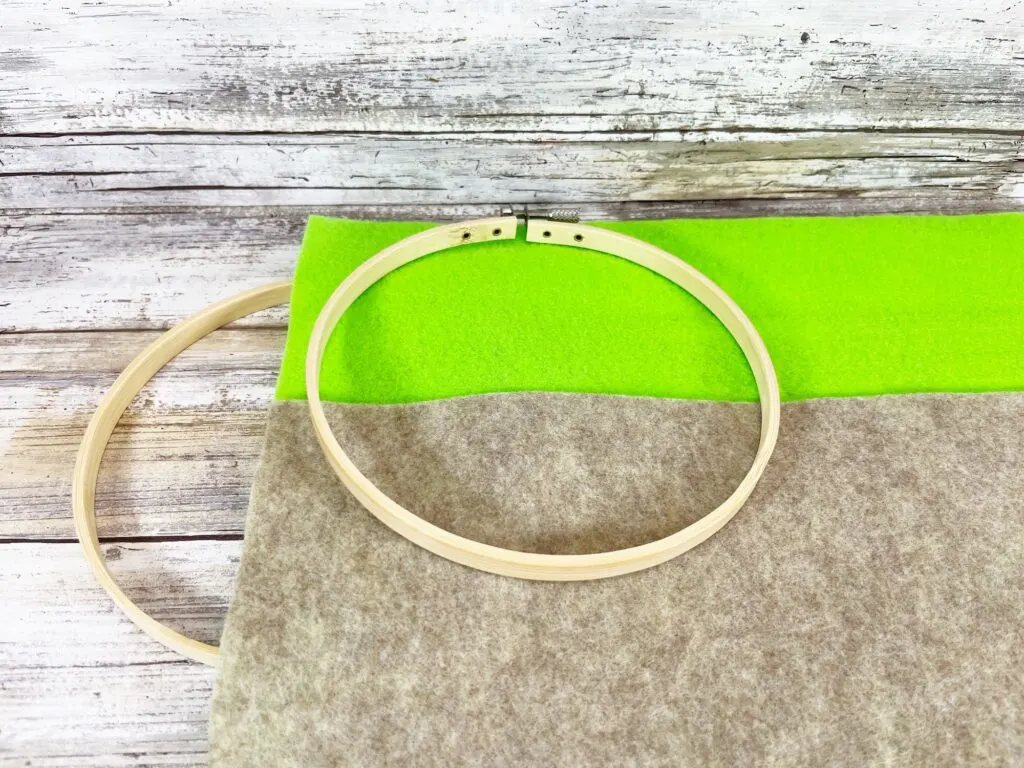
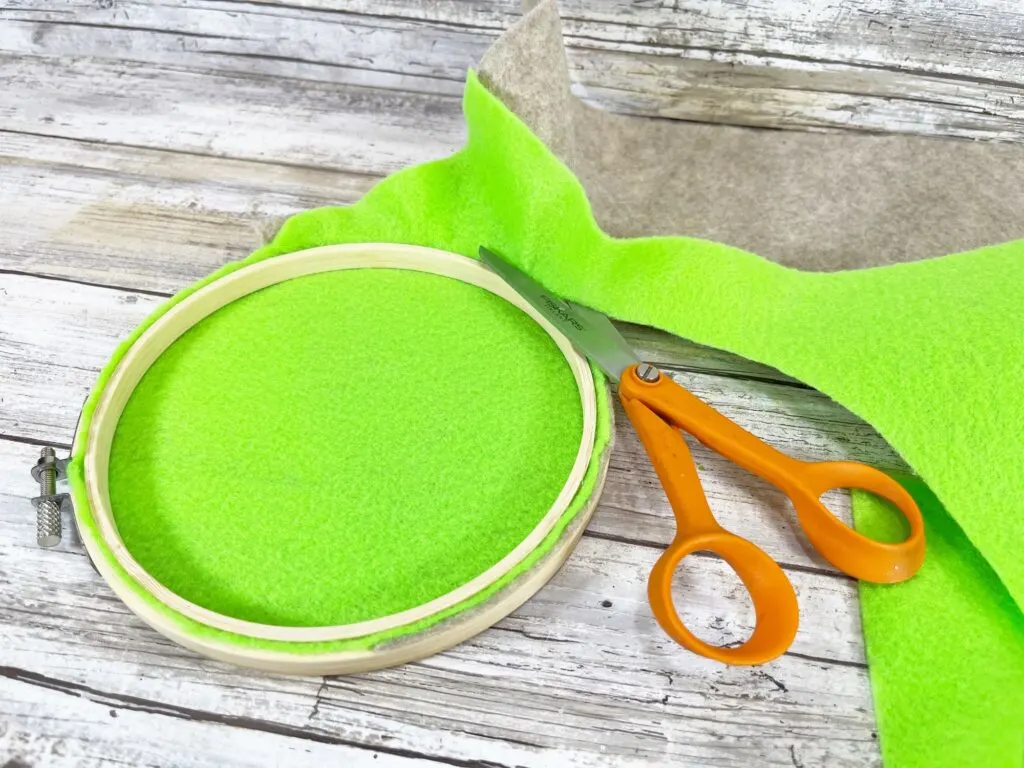
Lay the tan-colored felt on top of the neon green felt so that 4″ of the green is at the top and 3″ of the tan is at the bottom.
Place the smaller, inner hoop underneath the two pieces of layered felt.
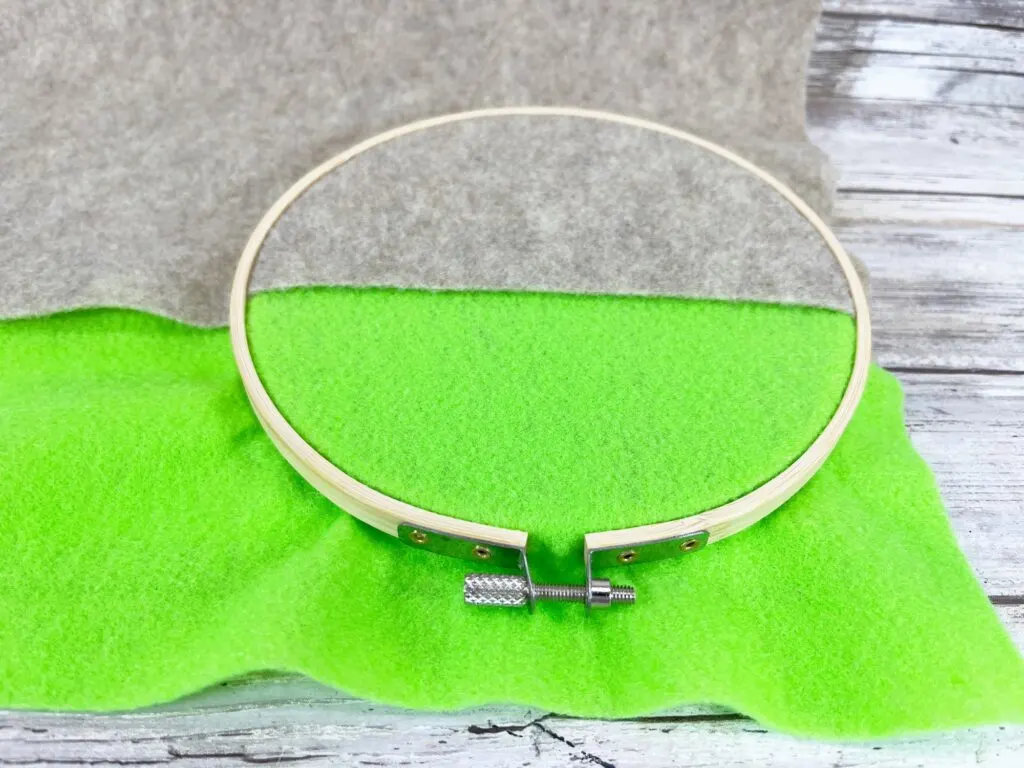
Fit the felt loosely into the outer ring of the hoop, with the inner hoop underneath. Gently pull the felt on the sides to make sure that the felt is taught. Then tighten the screw at the top of the hoop, pulling out any small wrinkles as needed before fully tightening the screw.
Step Two
Cut off the excess felt from the back of the embroidery hoop with scissors.
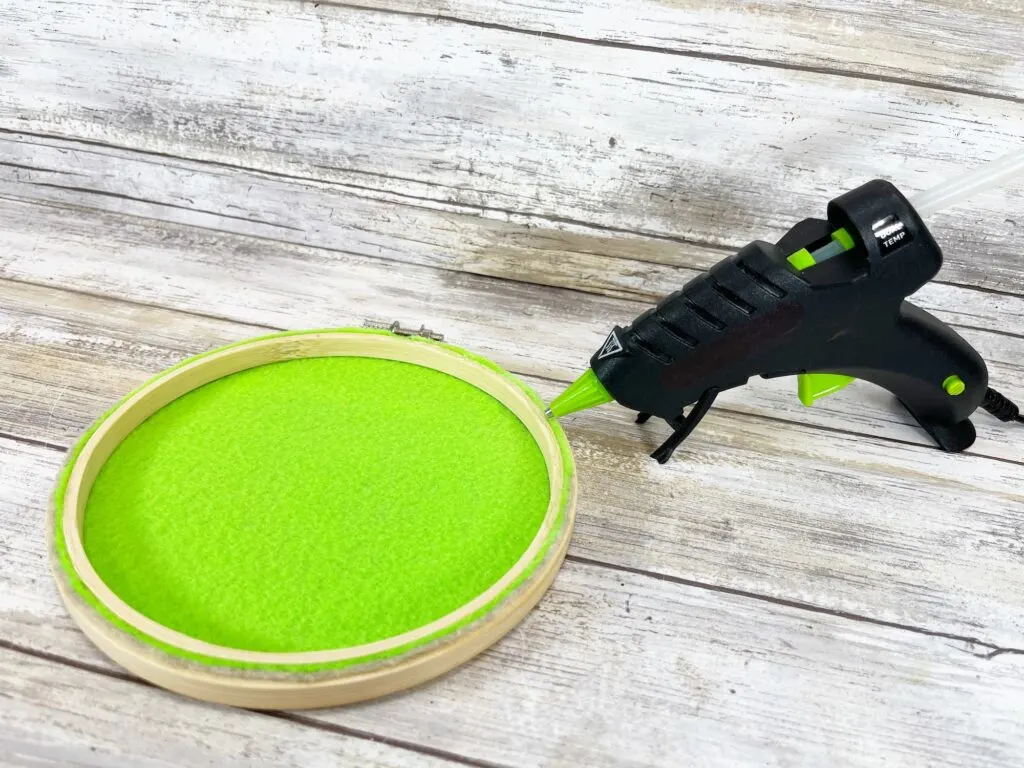
To secure the felt and prevent any fraying, you can apply a thin line of hot glue with a glue gun along the cut edge and the hoop.
You could also use craft glue but you will need to let it dry.
This step is optional and not needed, but can allow the hoop to last a lot longer for your keepsakes.
Step Three
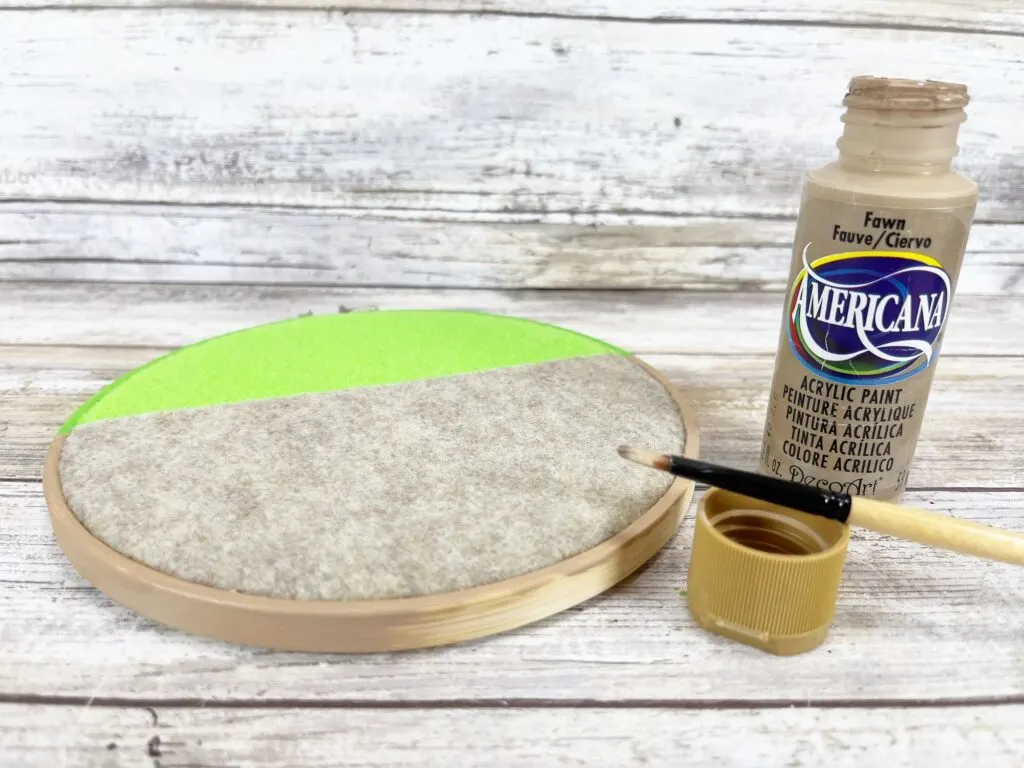
Now paint the embroidery hoop to match the felt.
Using green paint, apply a coat of paint along the embroidery hoop adjacent to the neon green felt.
Then, using the tan paint, apply a coat of paint on the hoop adjacent to the sandstone colored felt.
Step Four
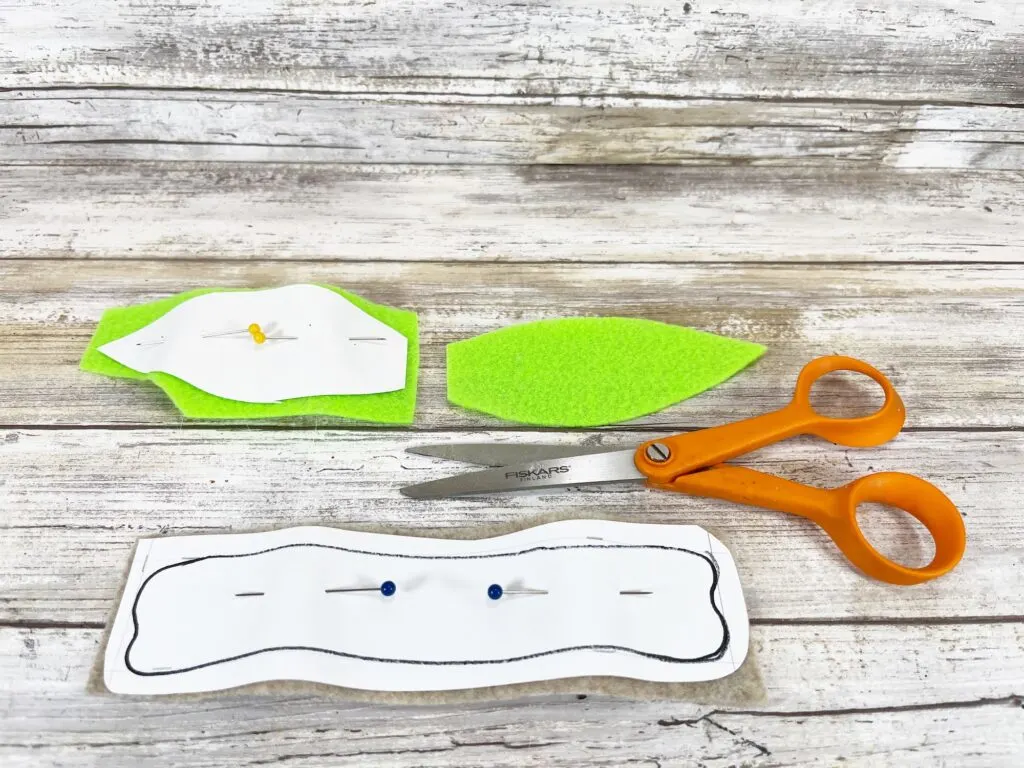
Download, print out, and then cut out the Baby Yoda patterns on the felt. Cut out the ears on the neon green felt and the collar on the sandstone colored felt.
Cut out two ears and one collar with scissors.
Step 5
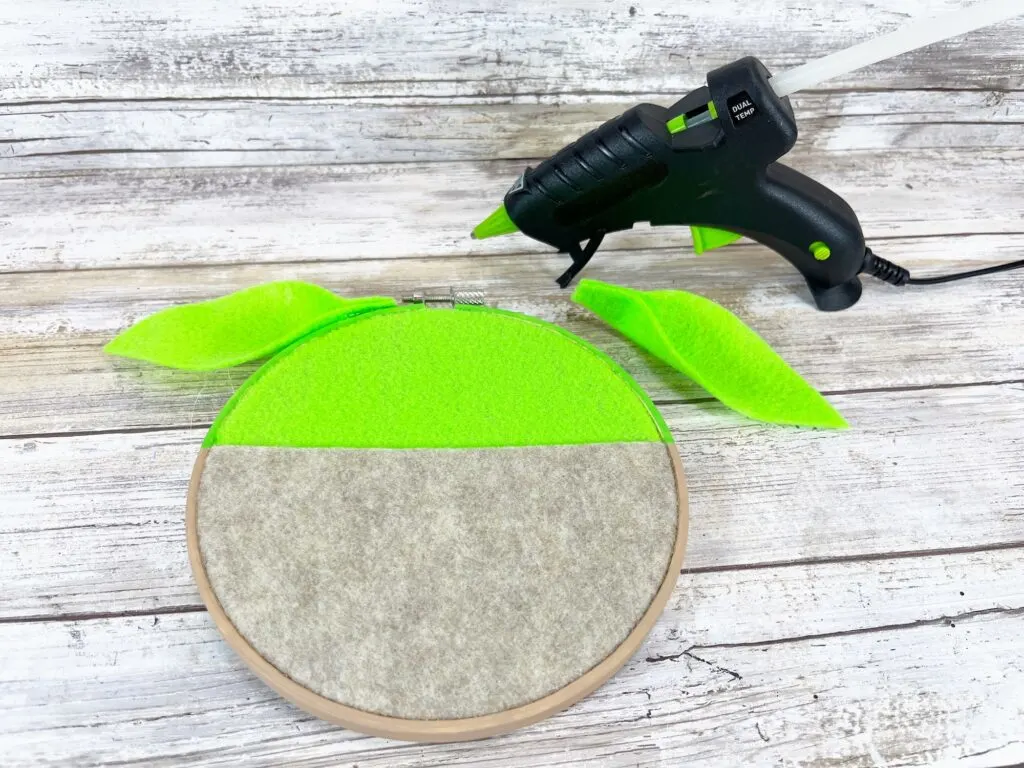
Pinch the bottom of the ears together at the base. Add a small dot of glue in the fold to hold the ears in a folded position.
Then glue the ears to the top of the embroidery hoop on either side of the metal screw, with the points of the ears facing outwards.
Step Six
Slide a piece of scrap paper into the top pocket so that the glue doesn’t seep through.
Attach the collar to the top edge of the tan felt pocket with a hot glue gun.
Using the brown dimensional fabric paint, draw an outline on the collar. Then draw on “folds” to look like folds in the fabric.
If giving as a gift you can finish the back with a circle of neon green or tan craft felt.
