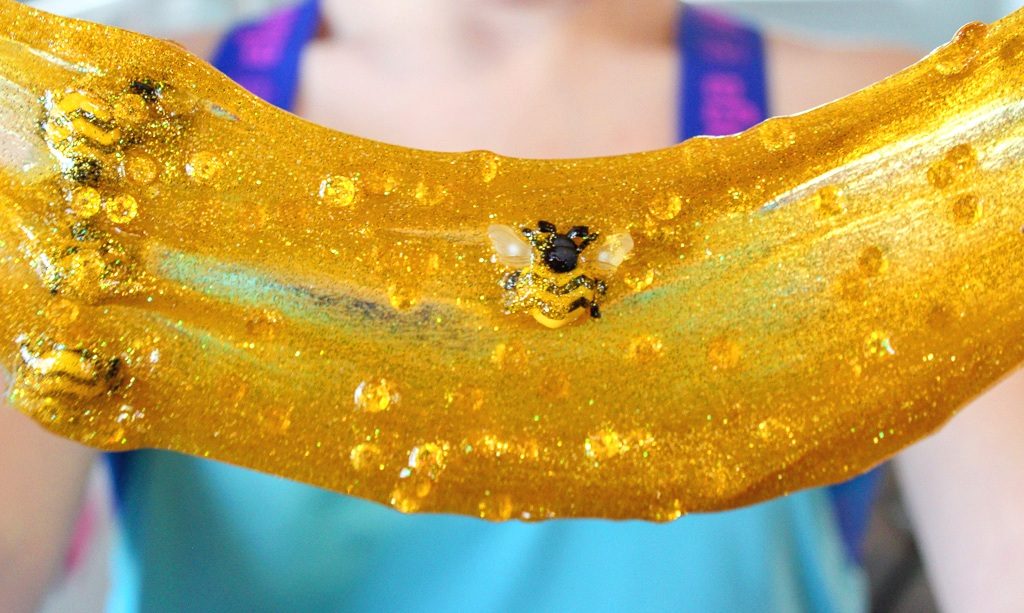
If there’s one thing kids love playing with it’s slime. As an adult, I sheepishly admit it’s still kind of fun, too! That’s why we love this DIY Honey Slime recipe for kids. Not only is it a cool slime recipe, but it also is a fun way to teach about the need to save the bees and think about the pollinators that are so important for growing food.


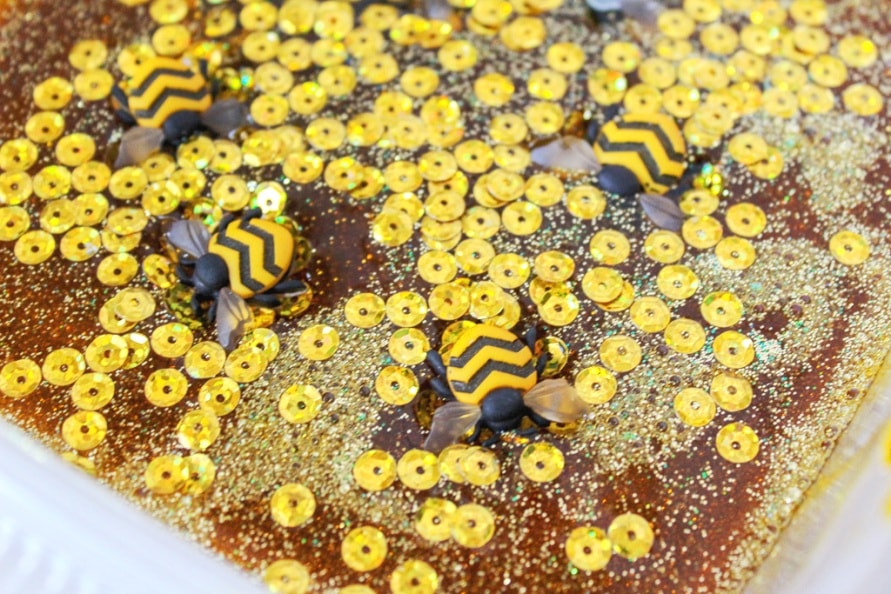
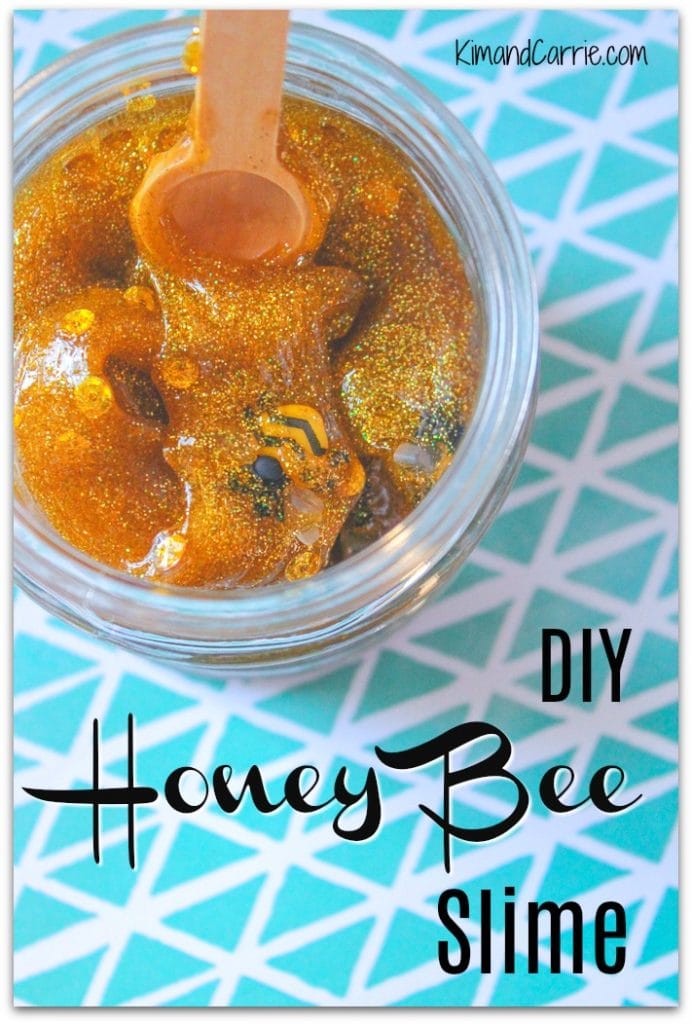
This cool slime recipe looks like a golden honeycomb with bees after it is made. When we were thinking of cool things to add in slime, we loved the idea of adding in glitter and sequins, along with bee buttons, to make a fun slime that looks like honeycomb.
If you were wondering how to make slime, this is a simple recipe. You could make an easy slime without the glitter and buttons and fun things that were added. So it’s really a versatile slime recipe with the main ingredients of glue and borax. Customize it with whatever colors you want.

Earth Day is always important to us all year round. And we are always advocates of living a greener life and being kind to our environment. That includes saving the bees! We’ve put some resources below if you would like to pair this easy honey slime recipe with a homeschooling lesson or teaching class for kids to teach the importance of bees in our food chain.
Easy Honey Slime Recipe with Bees
Ingredients for Slime
- 1 Cup Hot Water
- 1/3 teaspoon Borax
- 1.5 ounce bottle of Clear Elmer’s Glue
- 1/4 Cup Room Temperature Water
- Food Coloring – We used gel food coloring – golden yellow and brown
- Gold Sequins
- Extra fine glitter – We used a mix of two different glitters. One was light golden tan and one was gold.
- Bee Button Embellishments

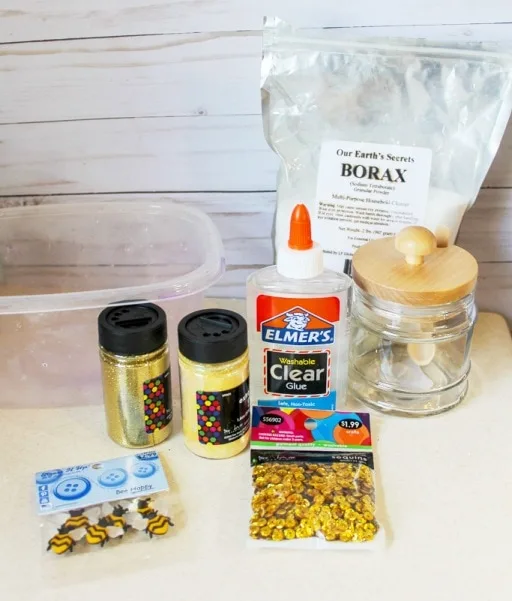
Supplies for Making Slime
- 2 Plastic Containers for mixing
- 1 Plastic Container for storing
Instructions for DIY Slime
1. In a plastic container, pour in 1 cup of hot water and stir in ⅓ tsp. of Borax.
2. In a separate plastic container, pour the entire bottle of glue in and ¼ cup room temperature water. Mix together gently.
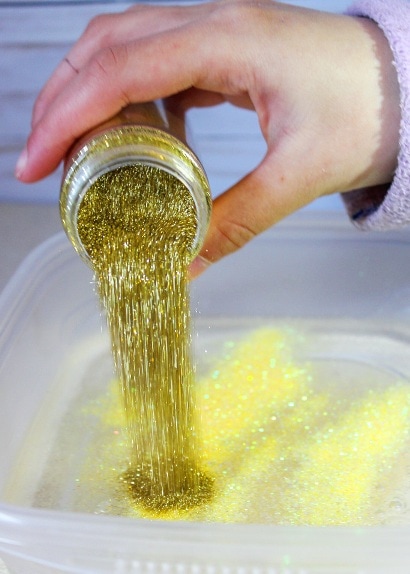
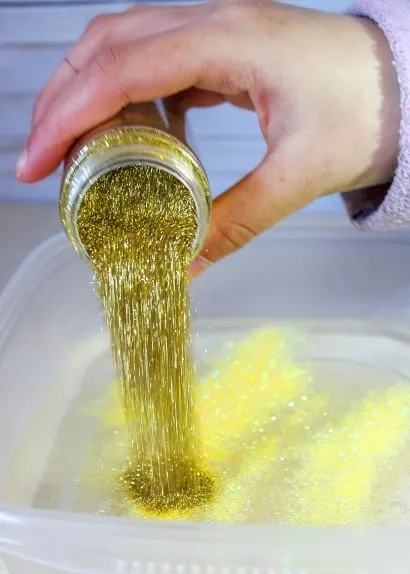
3. Add the glitter to your glue mixture container.
4. Next, add the gold sequins to the glitter and glue mixture.
5. Add food coloring to get the perfect honey color. Use only a tiny amount of each color and add more as needed. We put a knife in the gel food coloring and only used the amount that stuck to the knife. So don’t put in too much all at once! Add a bit of gold and brown until you see the color that you’d like. It doesn’t need to be equal parts of each color. Mix and match with amounts until you are happy.
6. Next add bees to the glue mixture.

7. Pour the container of the glue mixture into the water and borax solution.
8. Let the honey slime sit for 30 seconds. You will see it instantly start to glob up and get thick.
9. Rinse out your glue mixture container while the honey slime is sitting for 30 seconds. Dry with a paper towel.
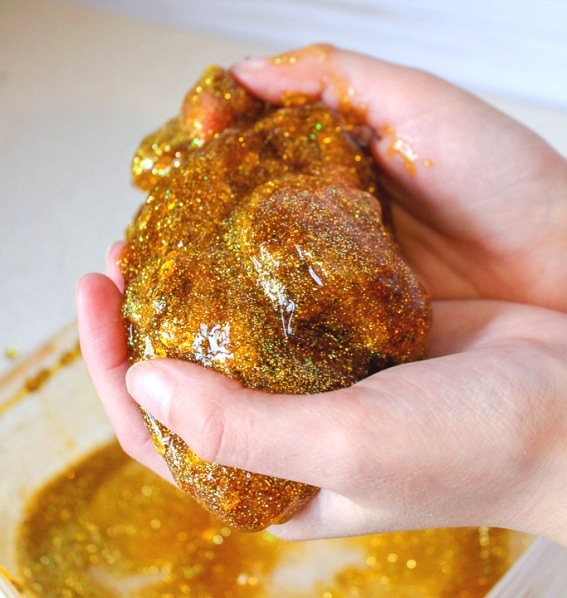

10. Pull out the honey slime mixture from the container and add it to the dried plastic container. It will be sticky! Knead the honey slime for a few minutes. If you need to firm it up, add a touch of the remaining borax and water mixture.
11. Store in an airtight container.

Kid-Friendly Honey Bee Education Resources
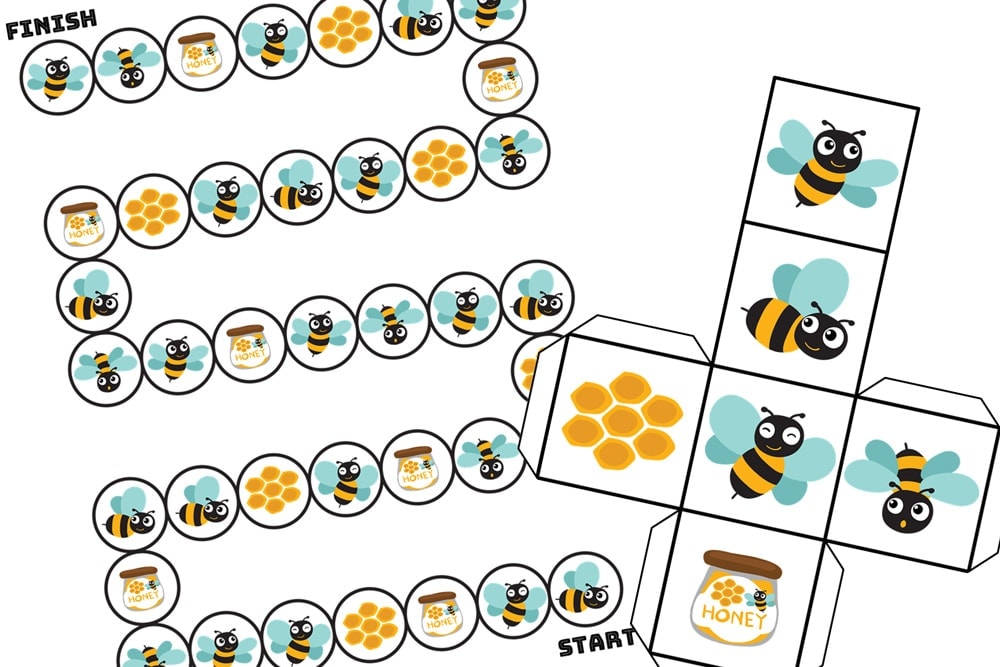
We have a fun bees and honey board game that you can print out right now to play! It’s a fun way for kids to match bees, honey pots and honeycomb while playing a game.
See these other educational resources, too:
Bee activity sheets and honey recipes
Kids and Bees Activities and Resources from the American Beekeeping Federation
Bee Posters, Activities and School Projects
Related DIY Posts: