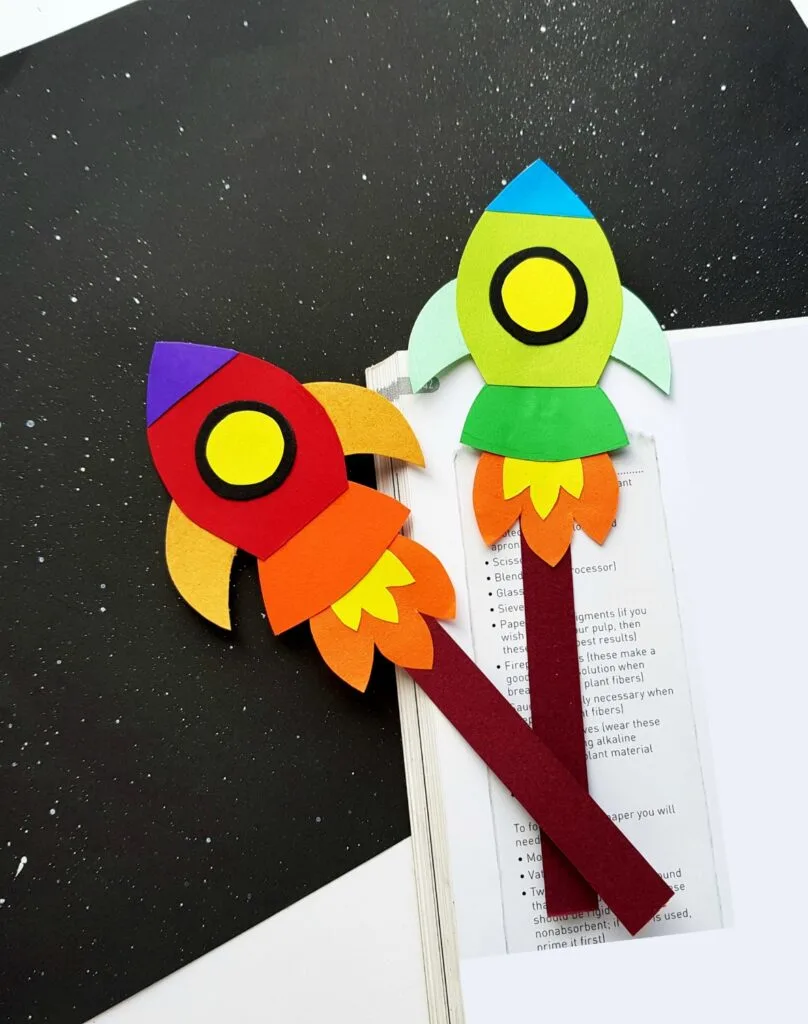
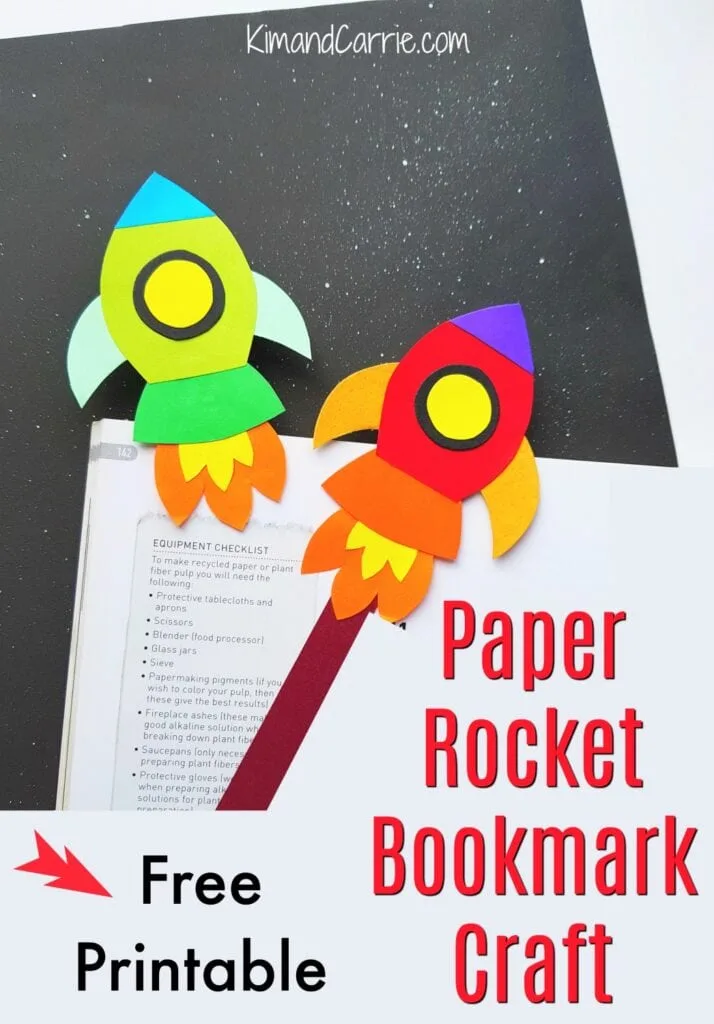
Looking for a super easy craft for your kids? And still want an educational aspect to it? Then this easy rocket craft bookmark is ideal. It’s simple enough for preschoolers, yet all kids will enjoy creating their very own space rocket!
The best thing? All you need is paper scraps to make this kid-friendly craft. You can even use some scraps from other DIY projects.
Be sure to see my video of what it’s like behind the scenes of a NASA rocket launch!
How to Make a Paper Rocket Craft Bookmark
Supplies
- Colored craft papers
- Cardstock paper
- Pencil
- Scissors
- Craft glue
- Rocket craft template
Instructions
Step 1:
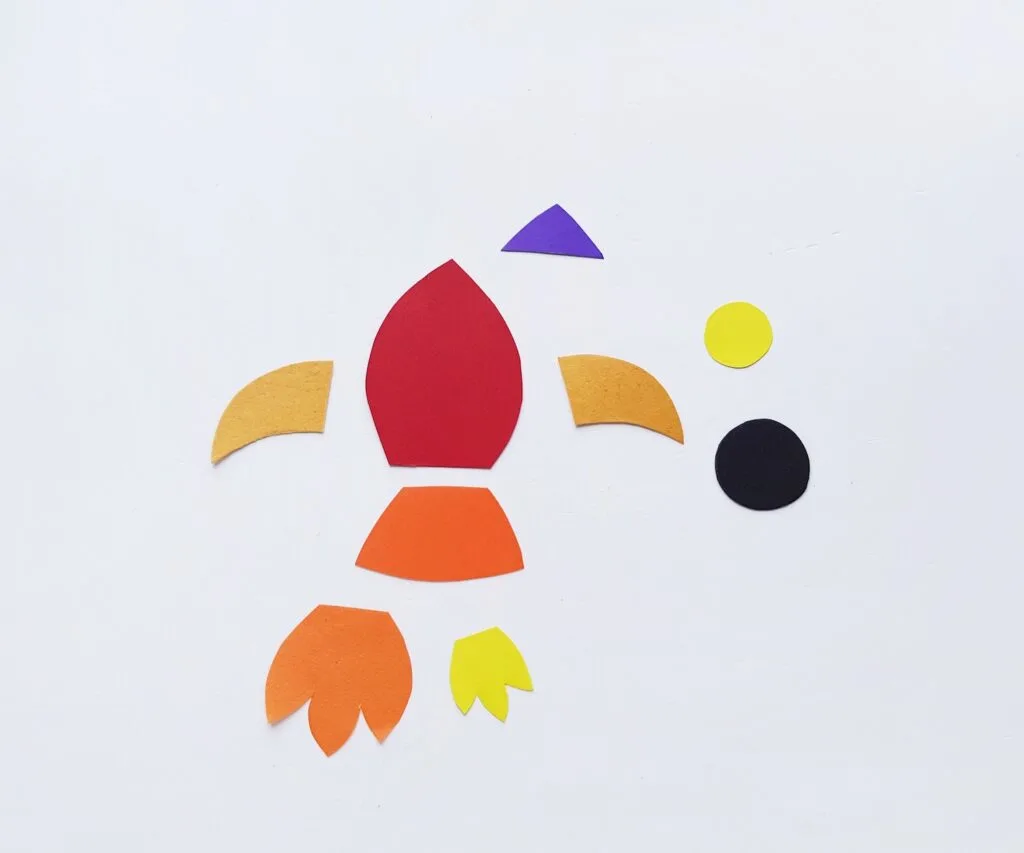
Select colored craft papers for the rocket pattern. Prepare the template patterns by printing and cutting them out. Trace the patterns on the selected craft papers and cut them out using scissors.
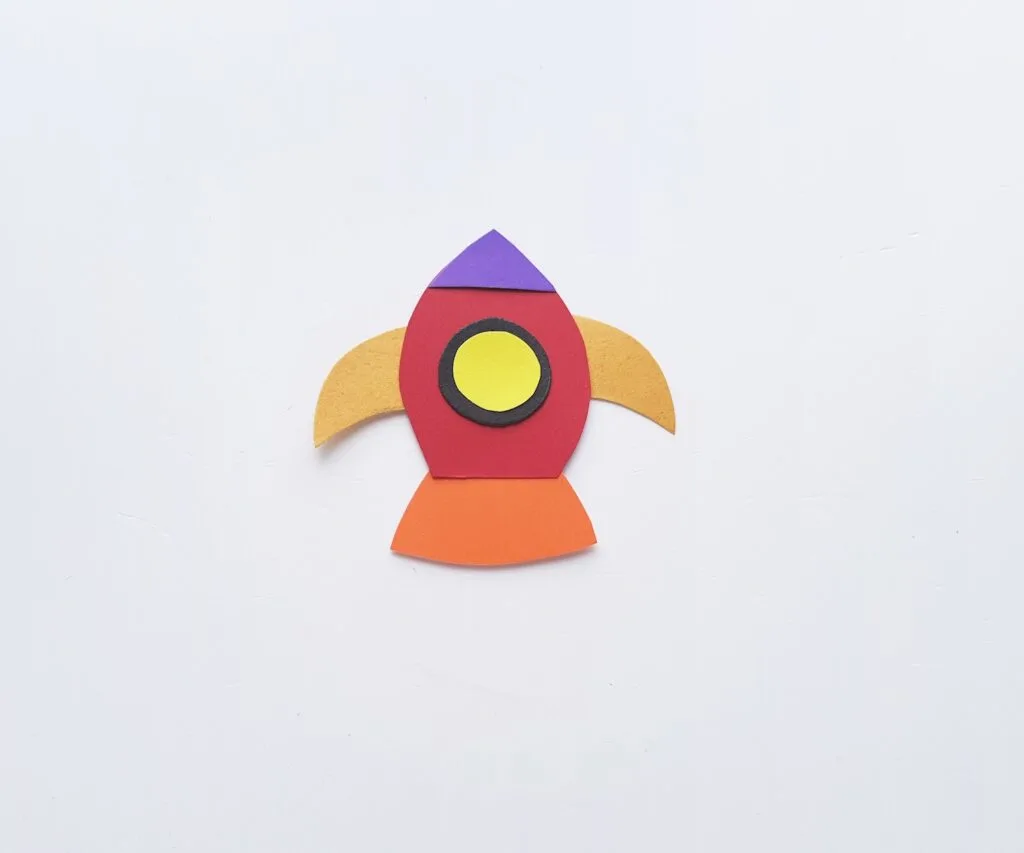
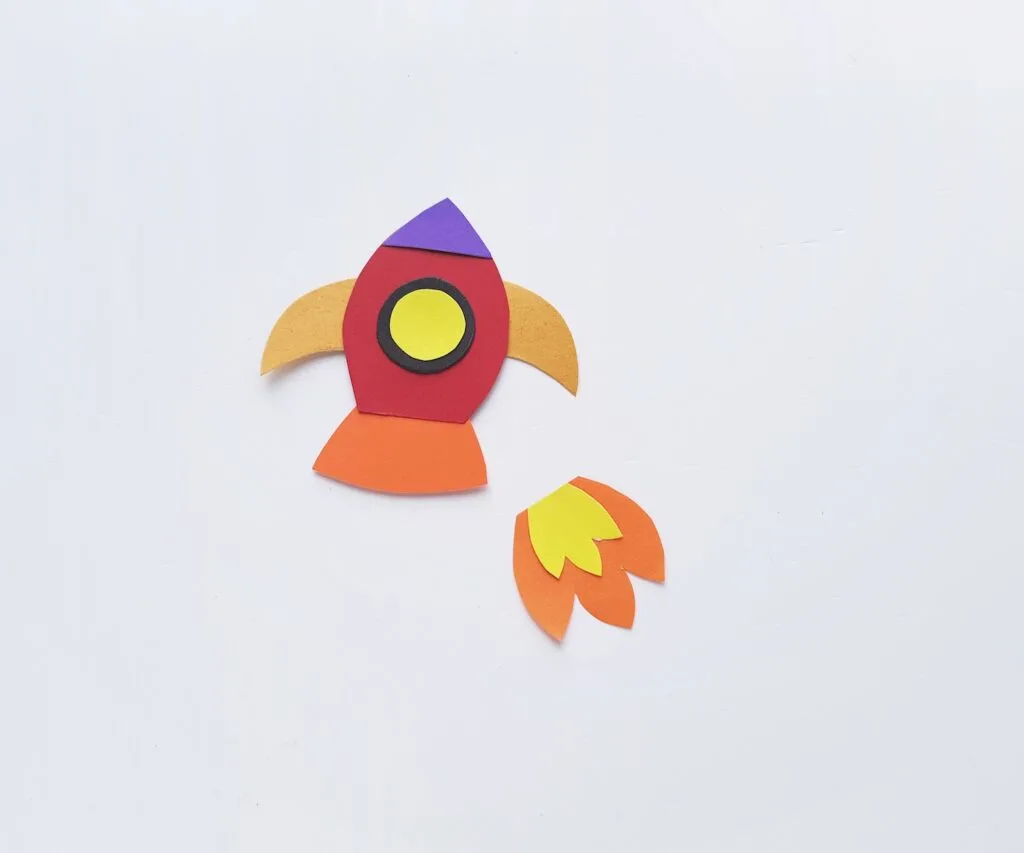
The template includes, main part of the rocket, 2 side wings, window (2 round shapes), triangular shape (the top end of the rocket), 2 flame patterns and bottom part of the rocket (trapezoid shaped).
Step 2:
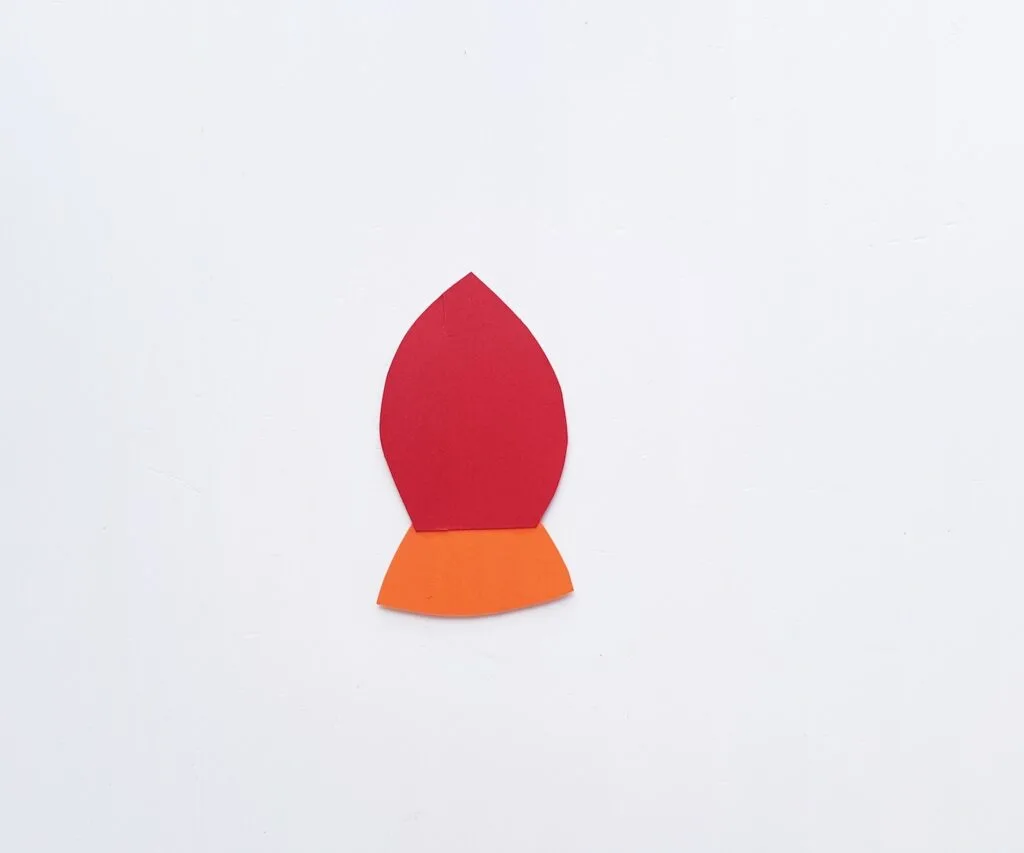
Grab the main body part and the trapezoid shaped paper. Stick the trapezoid shaped paper on the bottom side (straight end) of the main body.
Step 3:
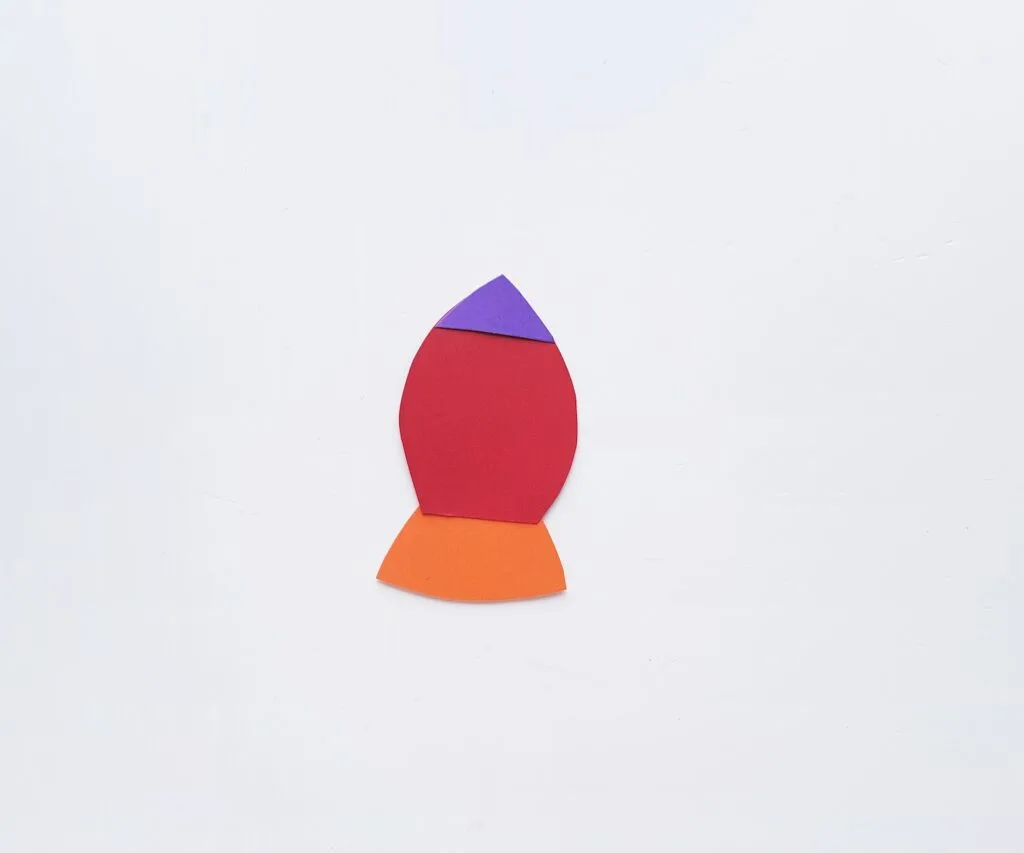
Stick the triangular paper cutout on the top end of the main body part of the rocket.
Step 4:
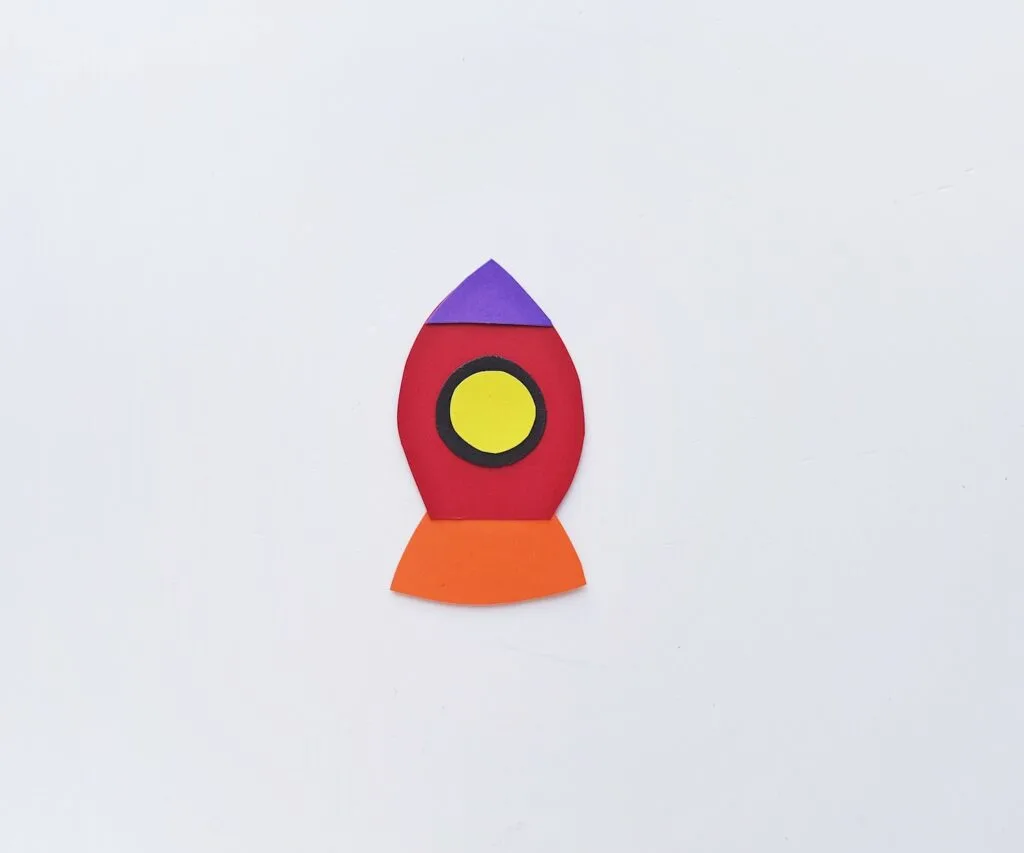
Take the 2 round shaped papers and stick the small round paper on the big round paper. Stick the round papers on the middle of the paper rocket pattern.
Step 5:
Take the sides wings of the rocket and stick them on both sides of the rocket, keeping the pointy ends facing outwards.
Step 6:
Now take the 2 flame cutouts and stick the smaller flame pattern on the middle of the big flame cutout.
Step 7:
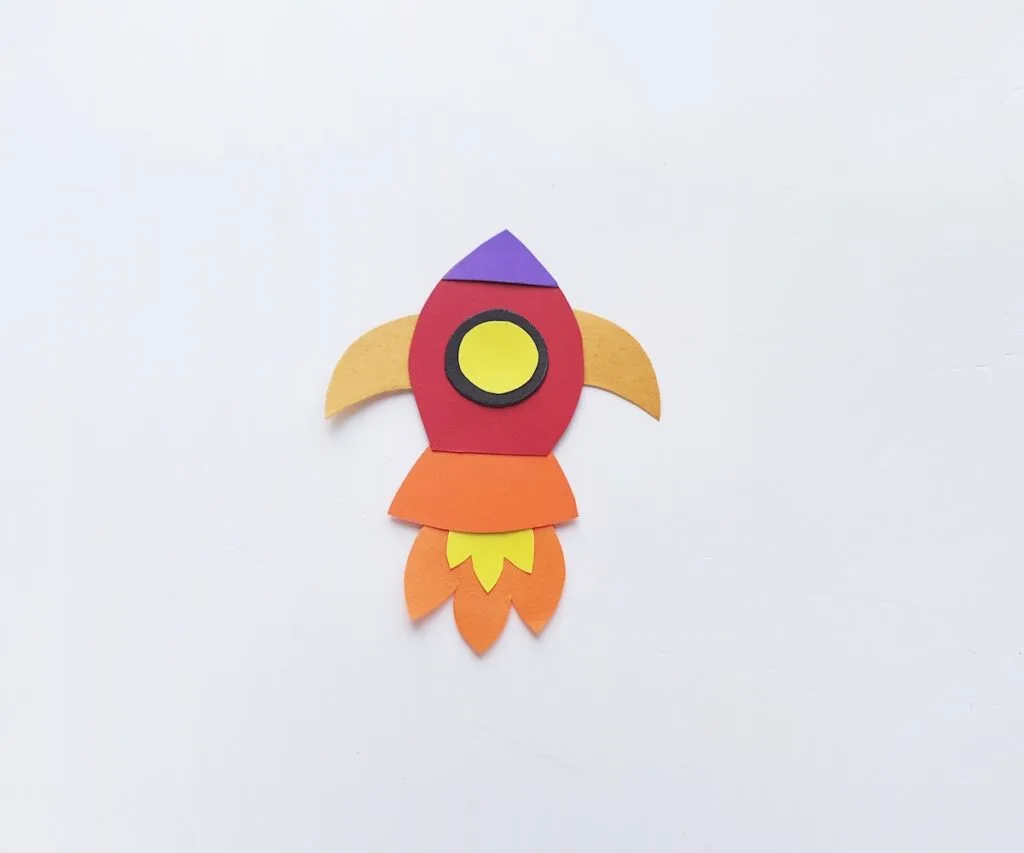
Stick the flame pattern on the bottom side of the rocket.
Step 8:
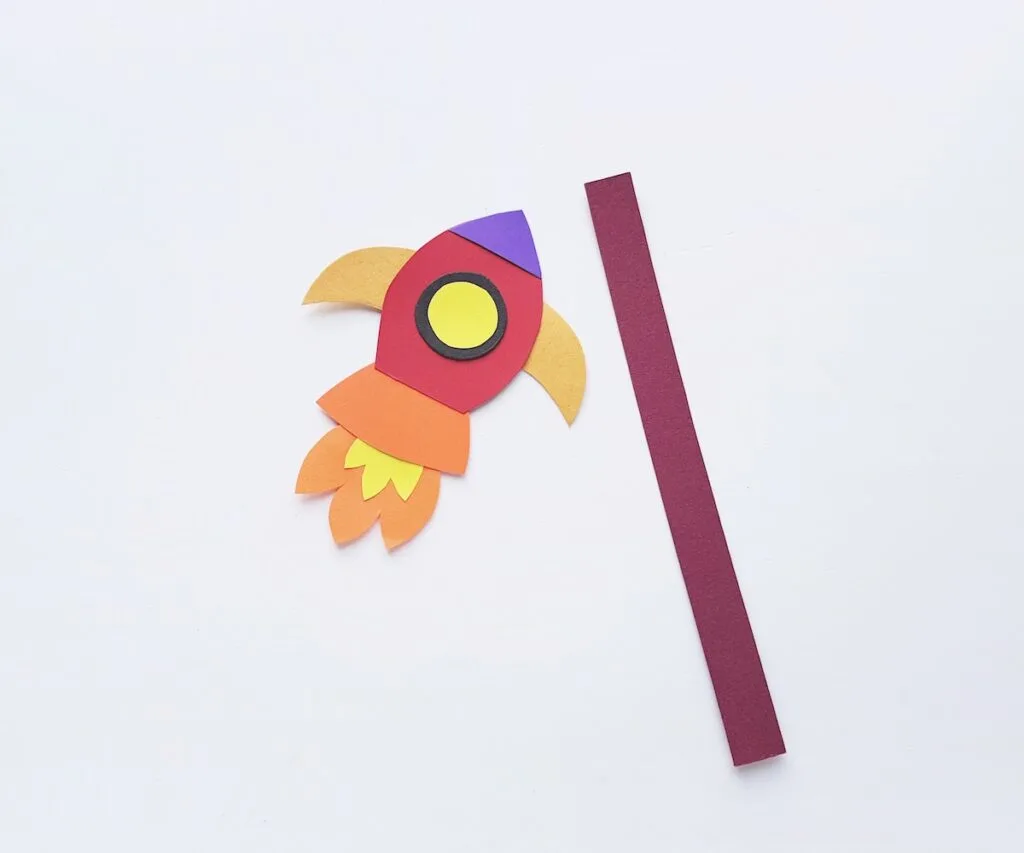
Cut out a strip of paper from cardstock paper, cardboard, paper or whatever you’d like to use. You could even choose ribbon if you’d like.
Step 9:
Stick the paper rocket on any one open ends of the cardstock strip. The bookmark is ready!
Pin It to Save for Later!
If you like this easy rocket bookmark craft, we’ve got lots more fun DIY projects!
