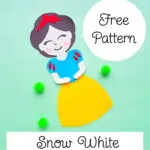
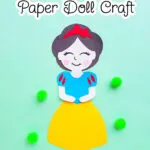
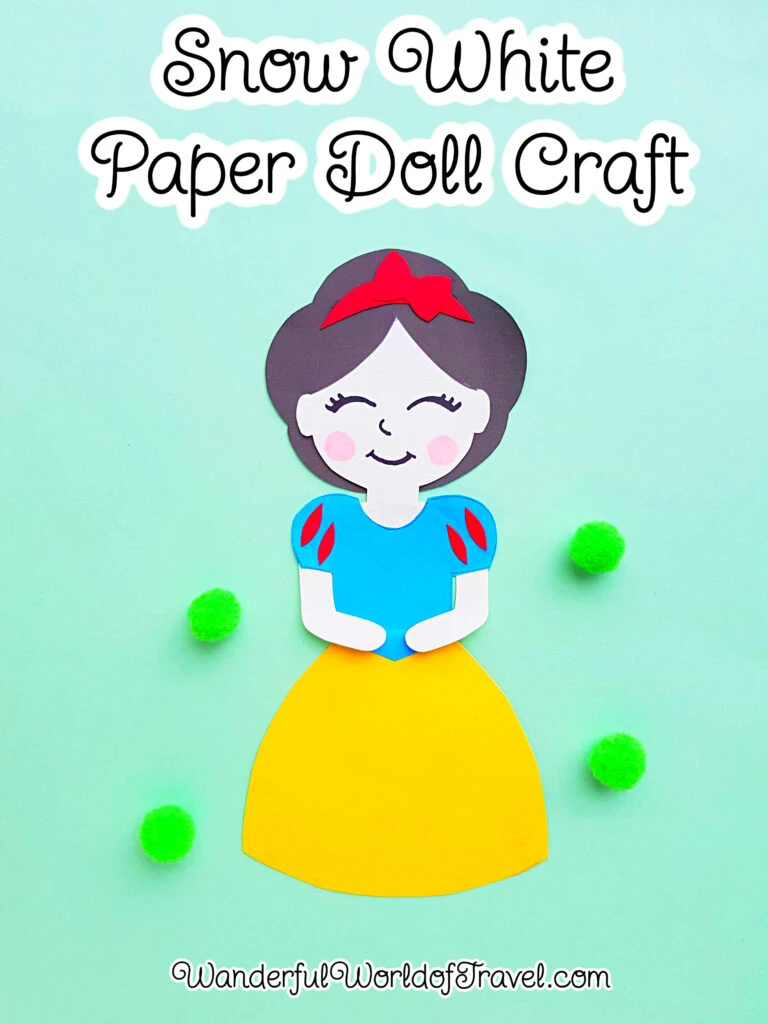
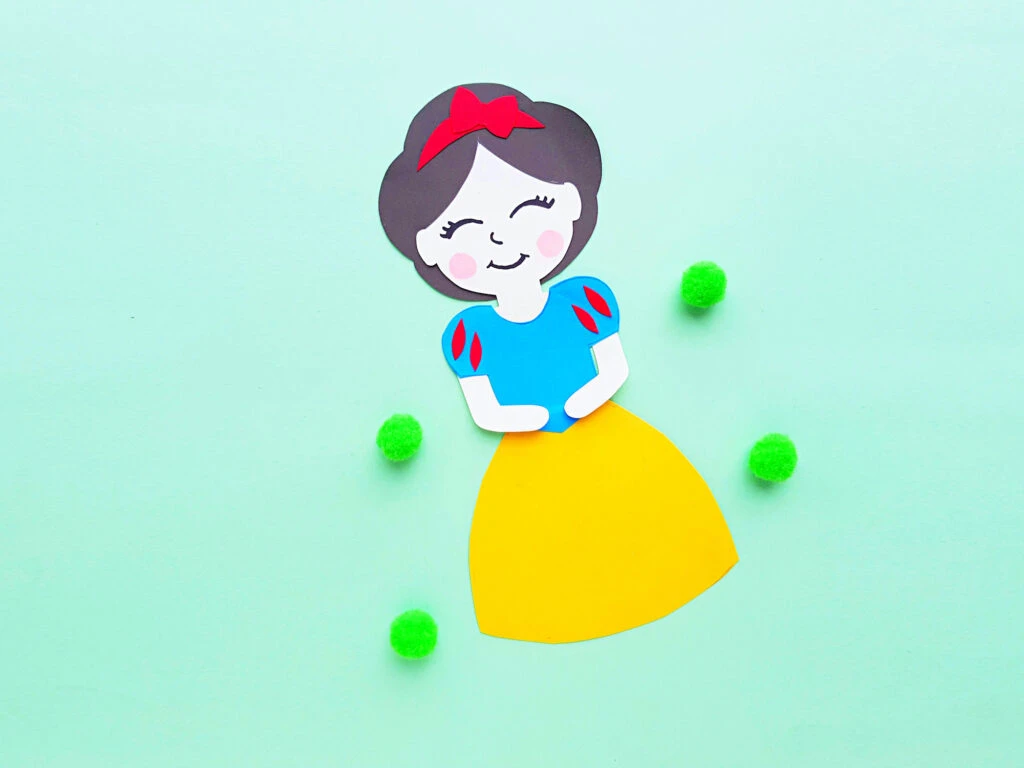
If your little girl loves Disney princesses, she will be thrilled to make this DIY Snow White paper doll. All you need is construction paper and our free pattern to download now.
This fun Disney princess craft is easy to make for a rainy day activity or before watching Snow White and the Seven Dwarves.
The DIY paper doll is also a great activity for the kids at a princess themed birthday party or as a road-trip activity as you are driving or flying to Disney World.
You will also want to see our pretty Cinderella princess paper doll craft with a free pattern, too.
Be sure to see all of our Disney DIY projects.
How to Make a Snow White Paper Doll
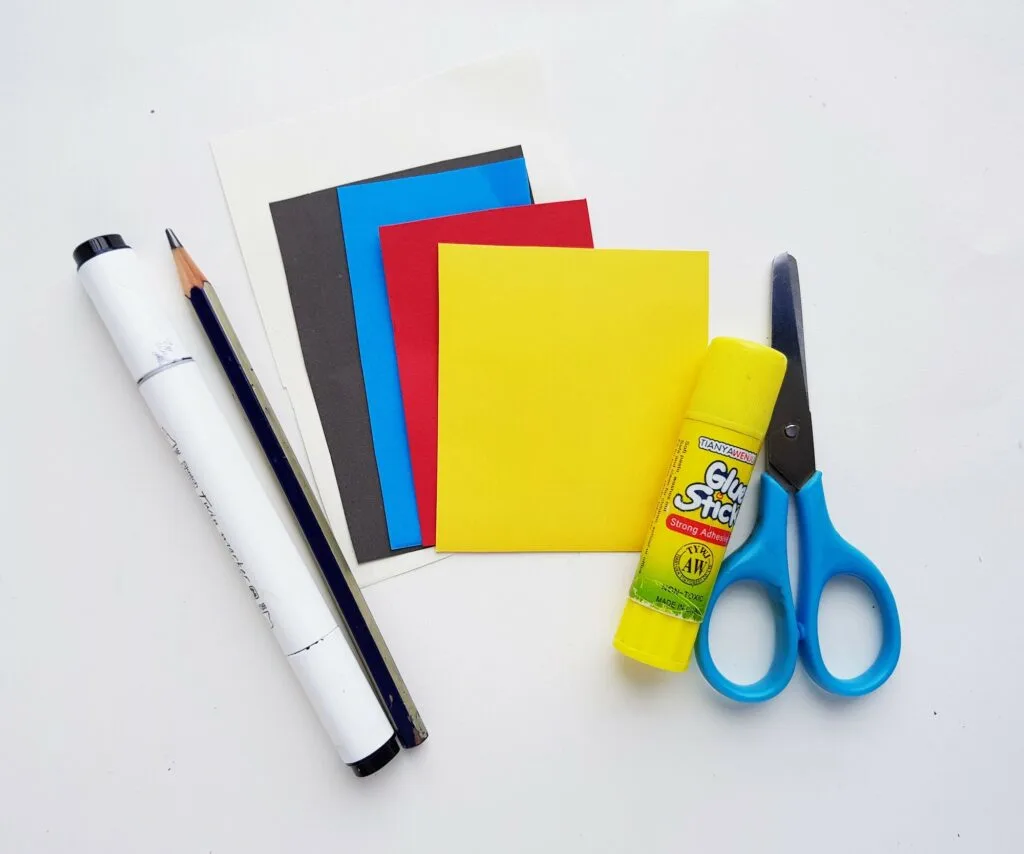
Supplies
- Free Snow White Pattern
- Colored construction papers
- Craft glue
- Black Sharpie
- Pink marker or crayon
- Pencil
- Scissors
Instructions
Step One
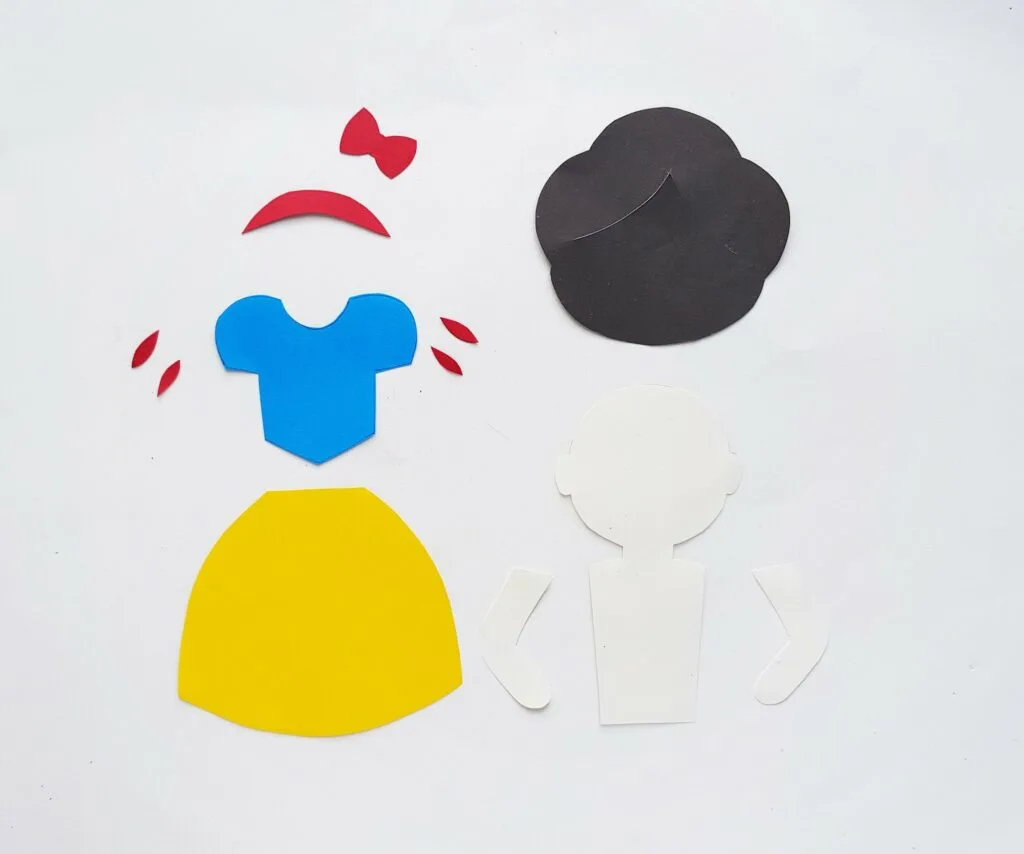
Select colored craft papers for each pattern. These are the colors we used:
- Blue for bodice of dress
- Red for bow and pleats on sleeves
- Black for hair
- Yellow for skirt
- White for body parts
Trace the patterns on the papers. Cut out the patterns.
Step Two
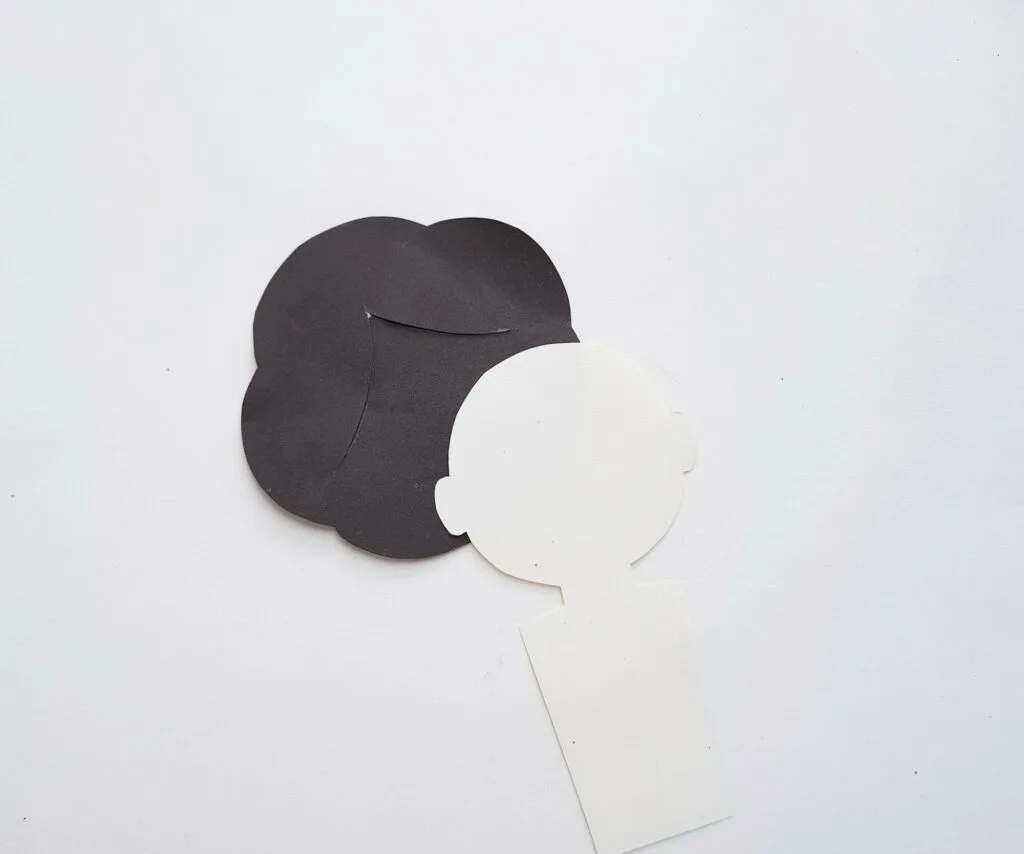
Cut a slit along the marked line inside the hair pattern.
Step Three
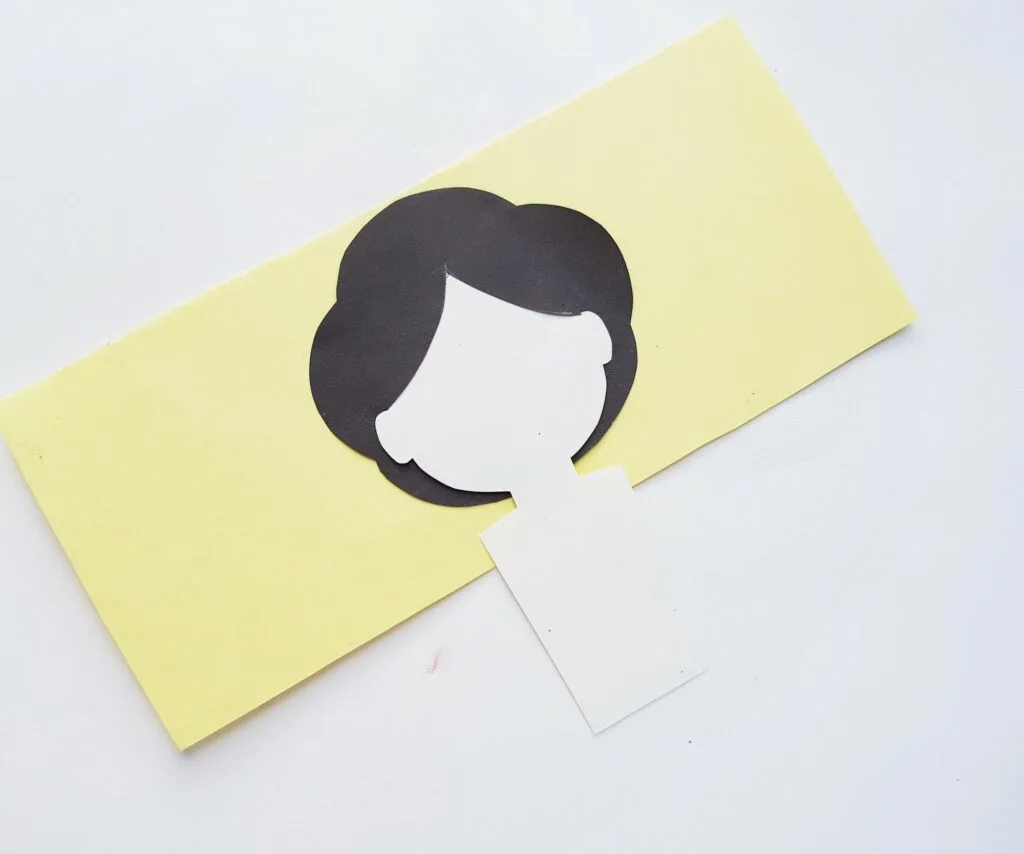
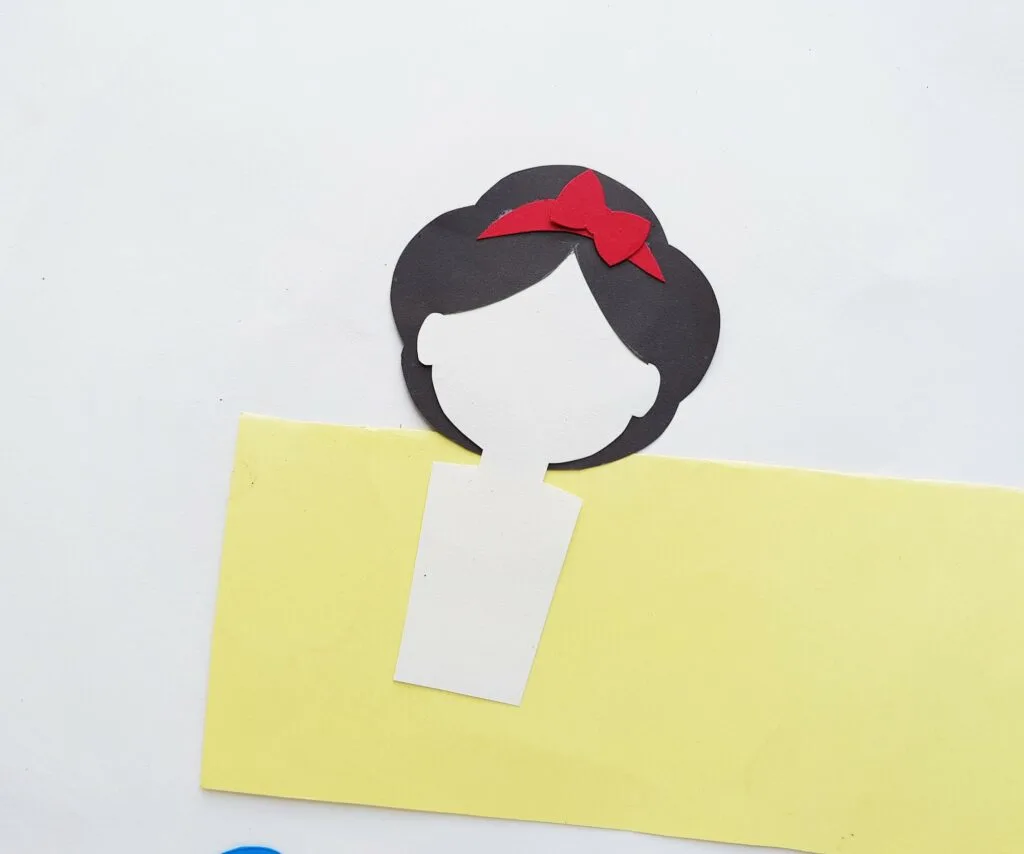
Slide the top of the head through the slit from the bottom side of the hair.
Add a little bit of glue to attach the head and hair together.
Step Four
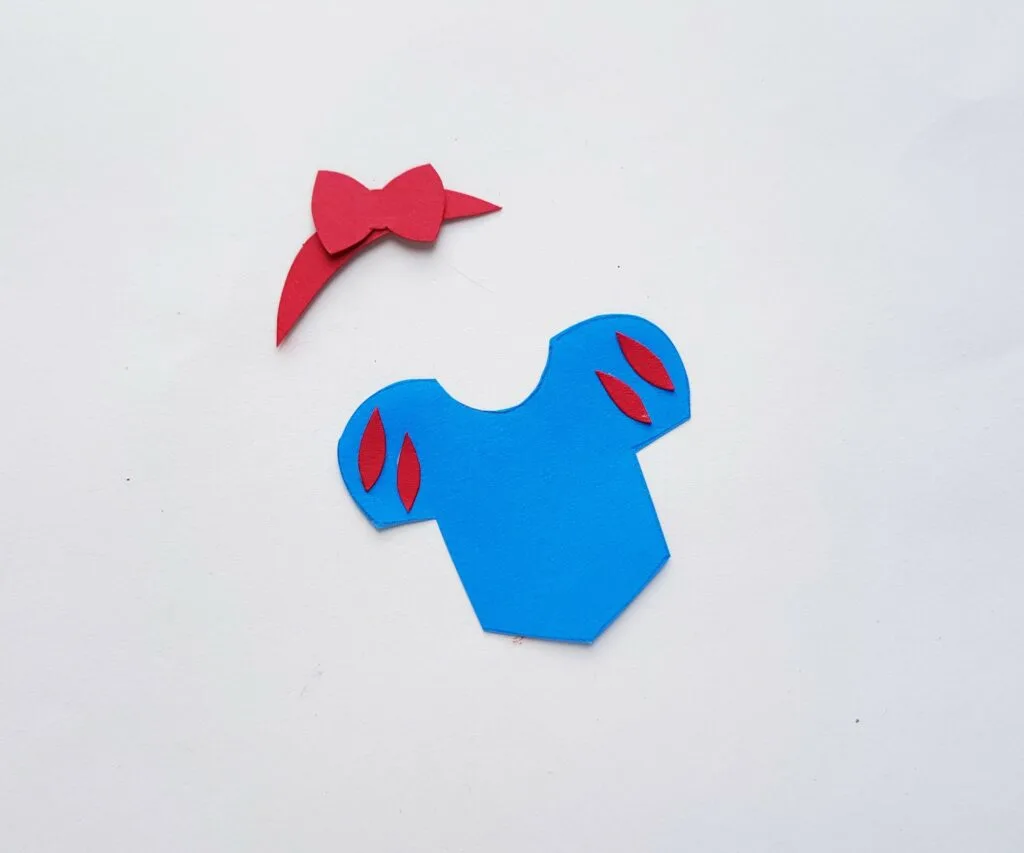
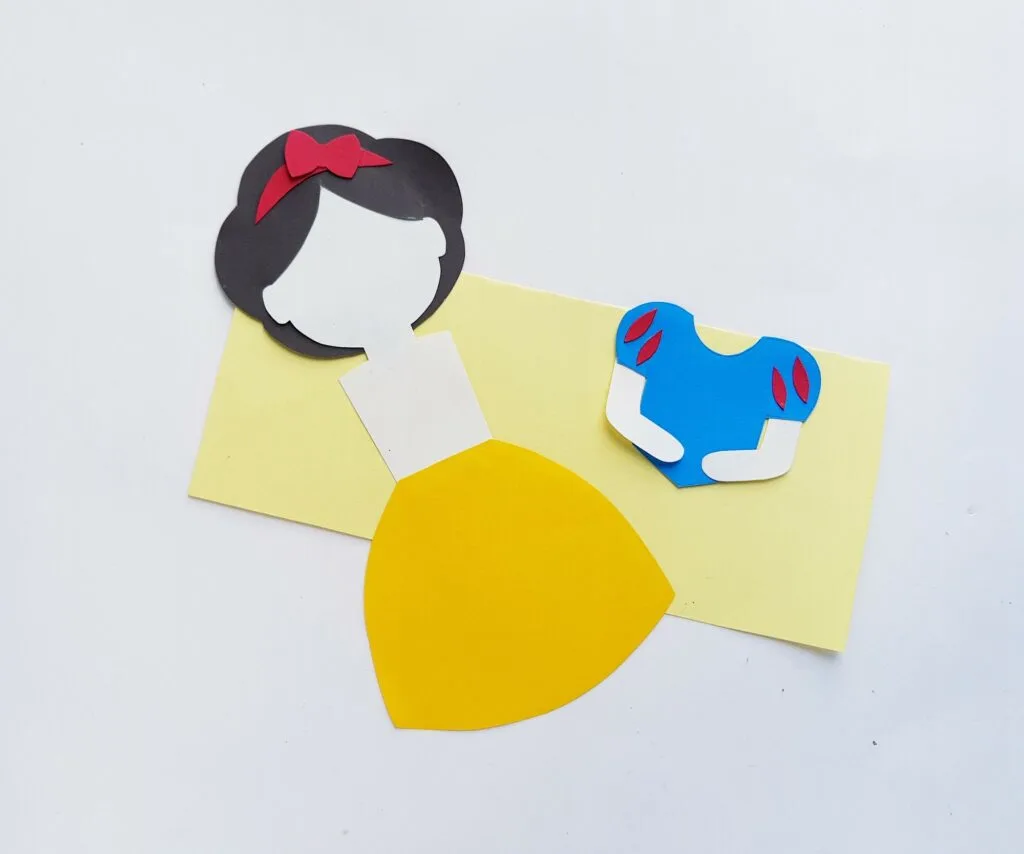
Glue the red pleats cutouts on the sleeves of the bodice of the dress.
Then glue the bow on the headband cutout.
Step Five
Glue the bow/headband on the top side of her hair.
Step Six
Glue the skirt on the bottom of the body base pattern.
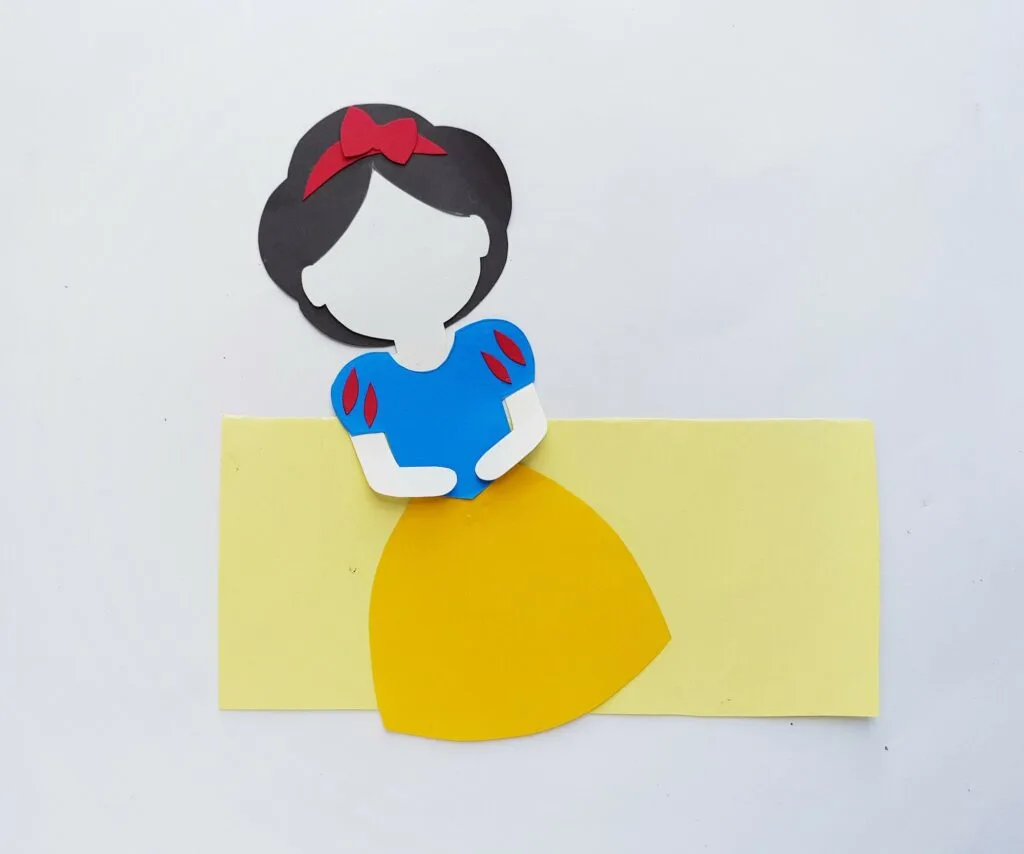
Then glue the arm and hand cutouts onto the open ends of the sleeves of the dress top.
Step Seven
Attach the dress top to the body, overlapping the blue bodice over the yellow skirt.
Step Eight
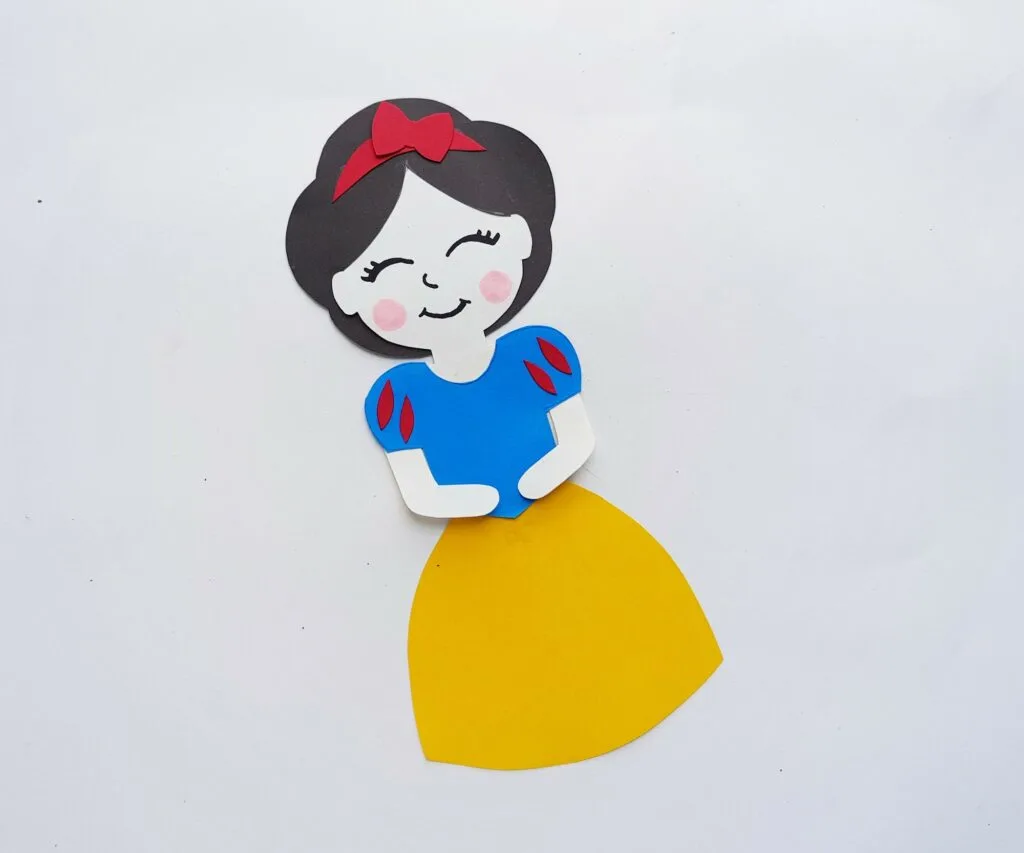
Use black marker pens to draw the eyes, nose, and mouth of the paper Snow White doll.
For the cheeks, use a pink marker or crayon.
No time to download the free pattern for our Snow White paper doll craft right now? No worries! Just Pin It and you will have it for later!
