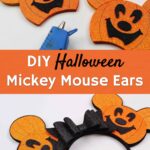

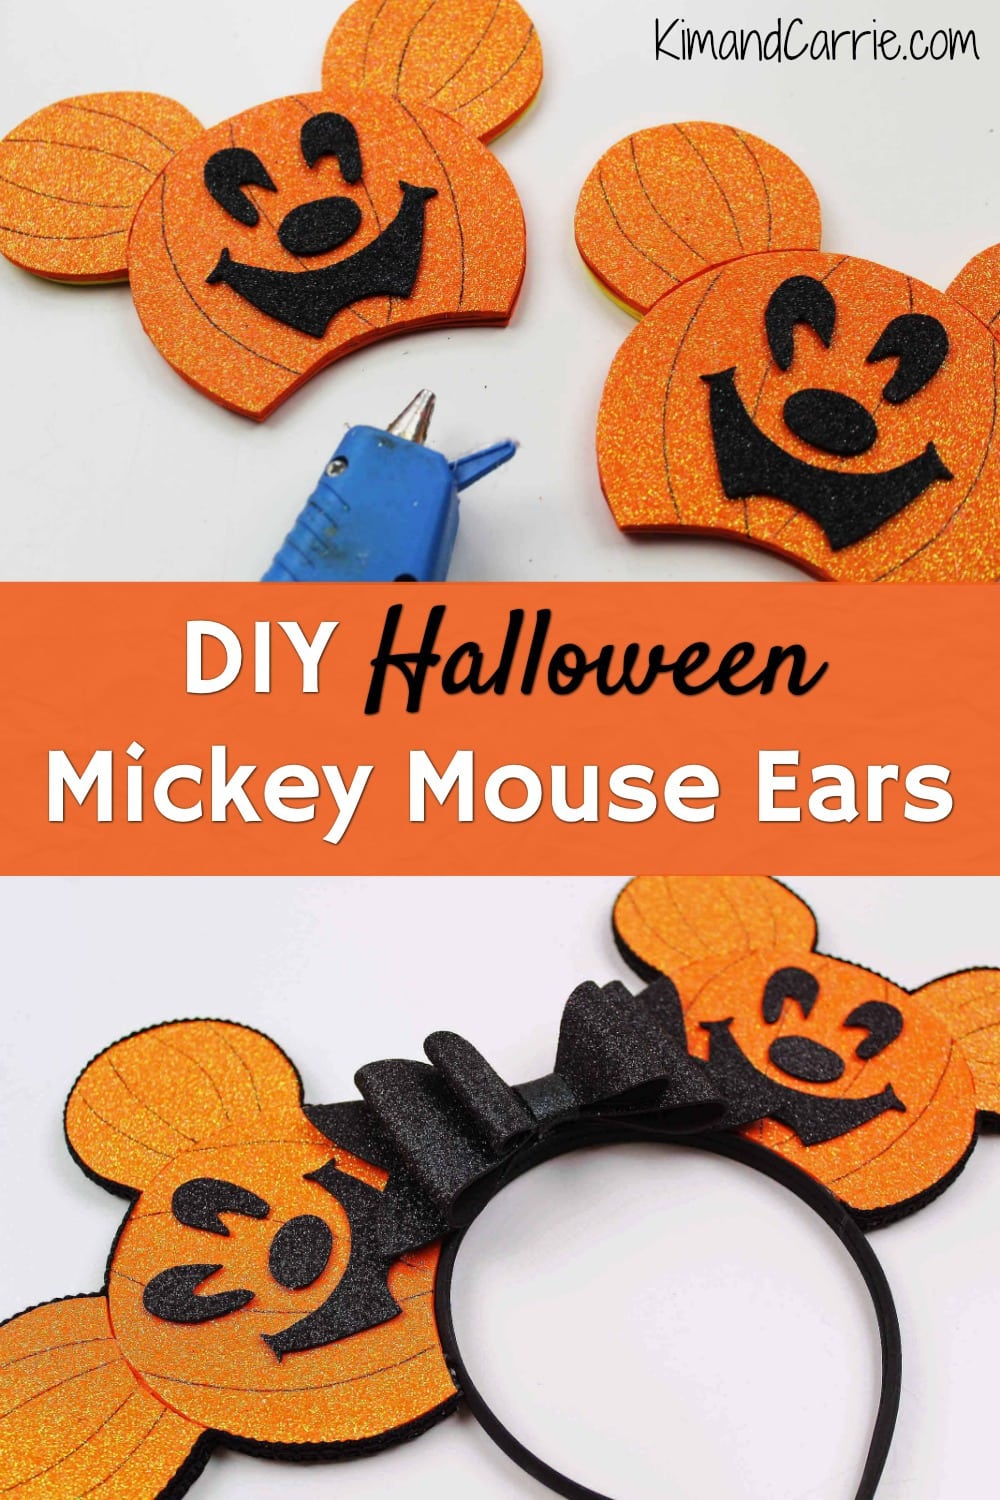
Looking for an easy Halloween Party costume for Disney? Or just wish you could make your own pair of cute Mickey Ears at home? These DIY Halloween Disney Ears are so easy to make! And the Mickey Mouse pumpkins are cute!
Making Your Own Halloween Mickey Ears to Save Money!
Buying Mickey Mouse ears in the Disney World theme parks can be expensive. Prices for Disney headbands start around $30 each!
So why not make your own before you go to Disney World?
These easy Disney Halloween ears might look like they are complicated. But they are not.
All it takes is cutting foam pieces and gluing them together.
How to Make Disney Halloween Ears
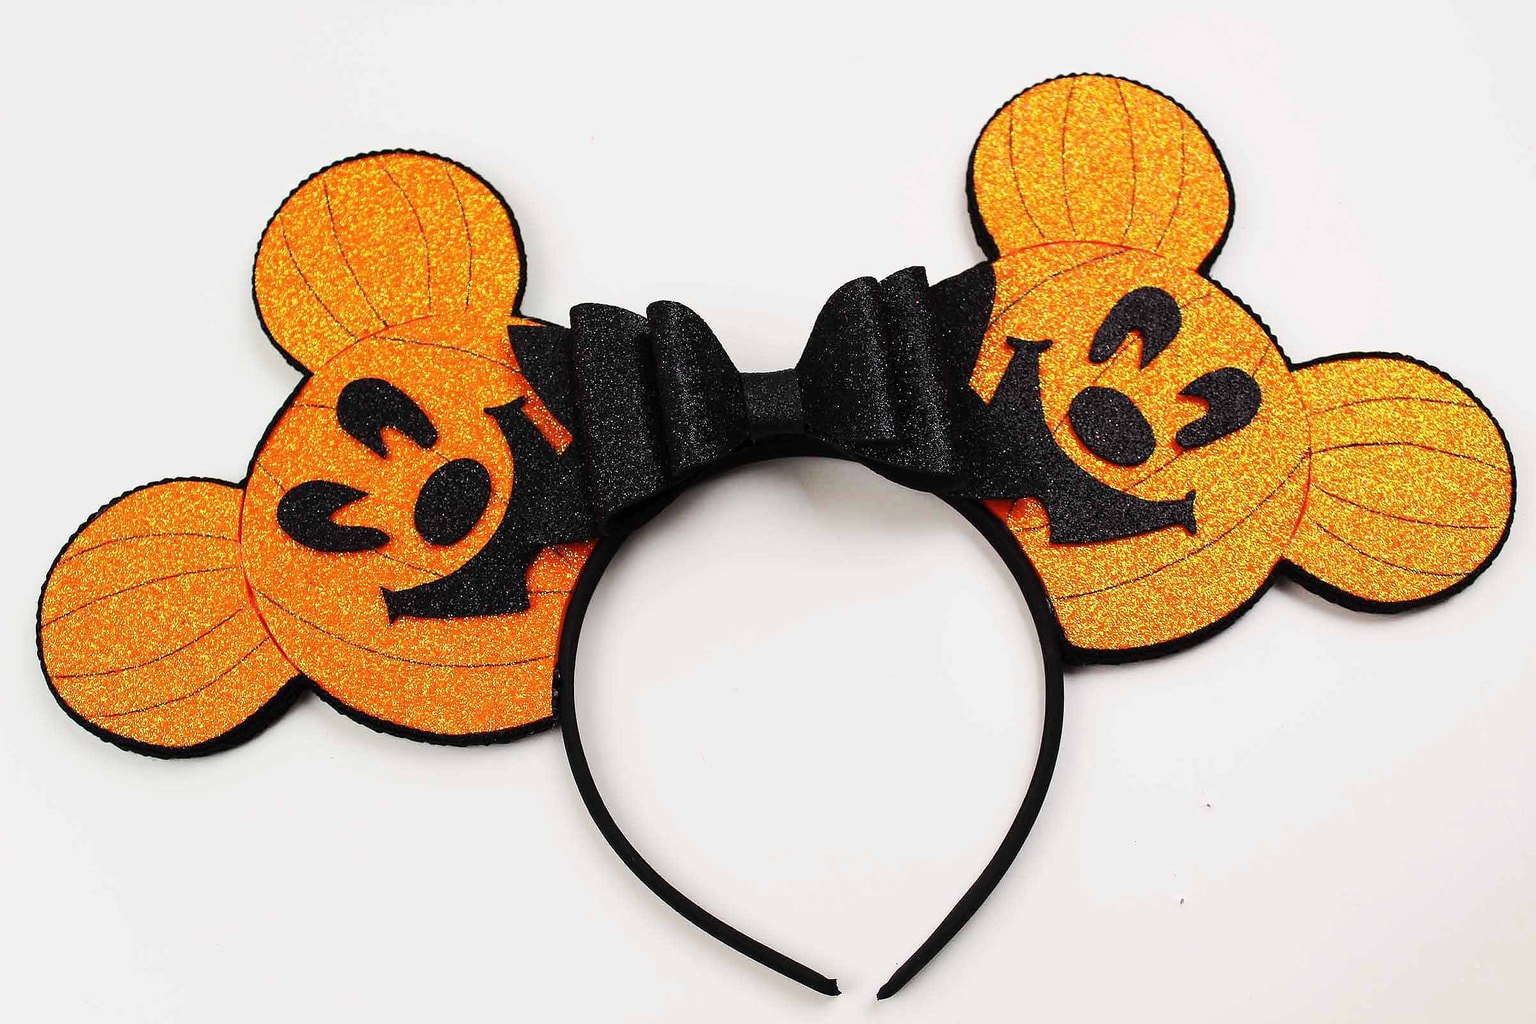
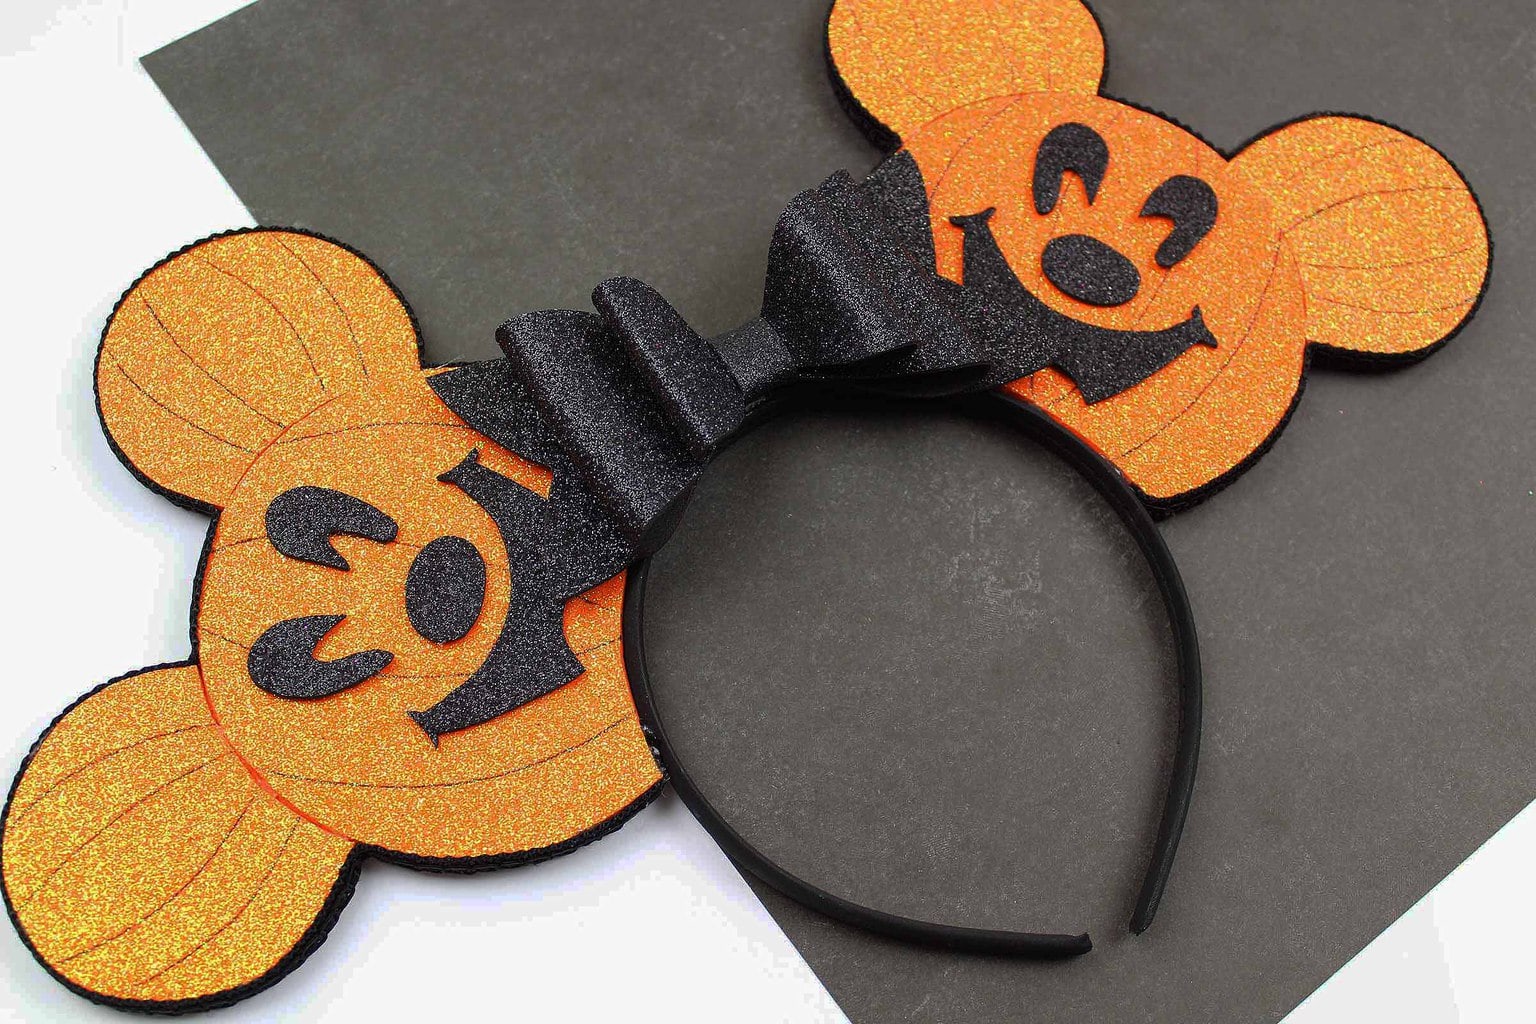
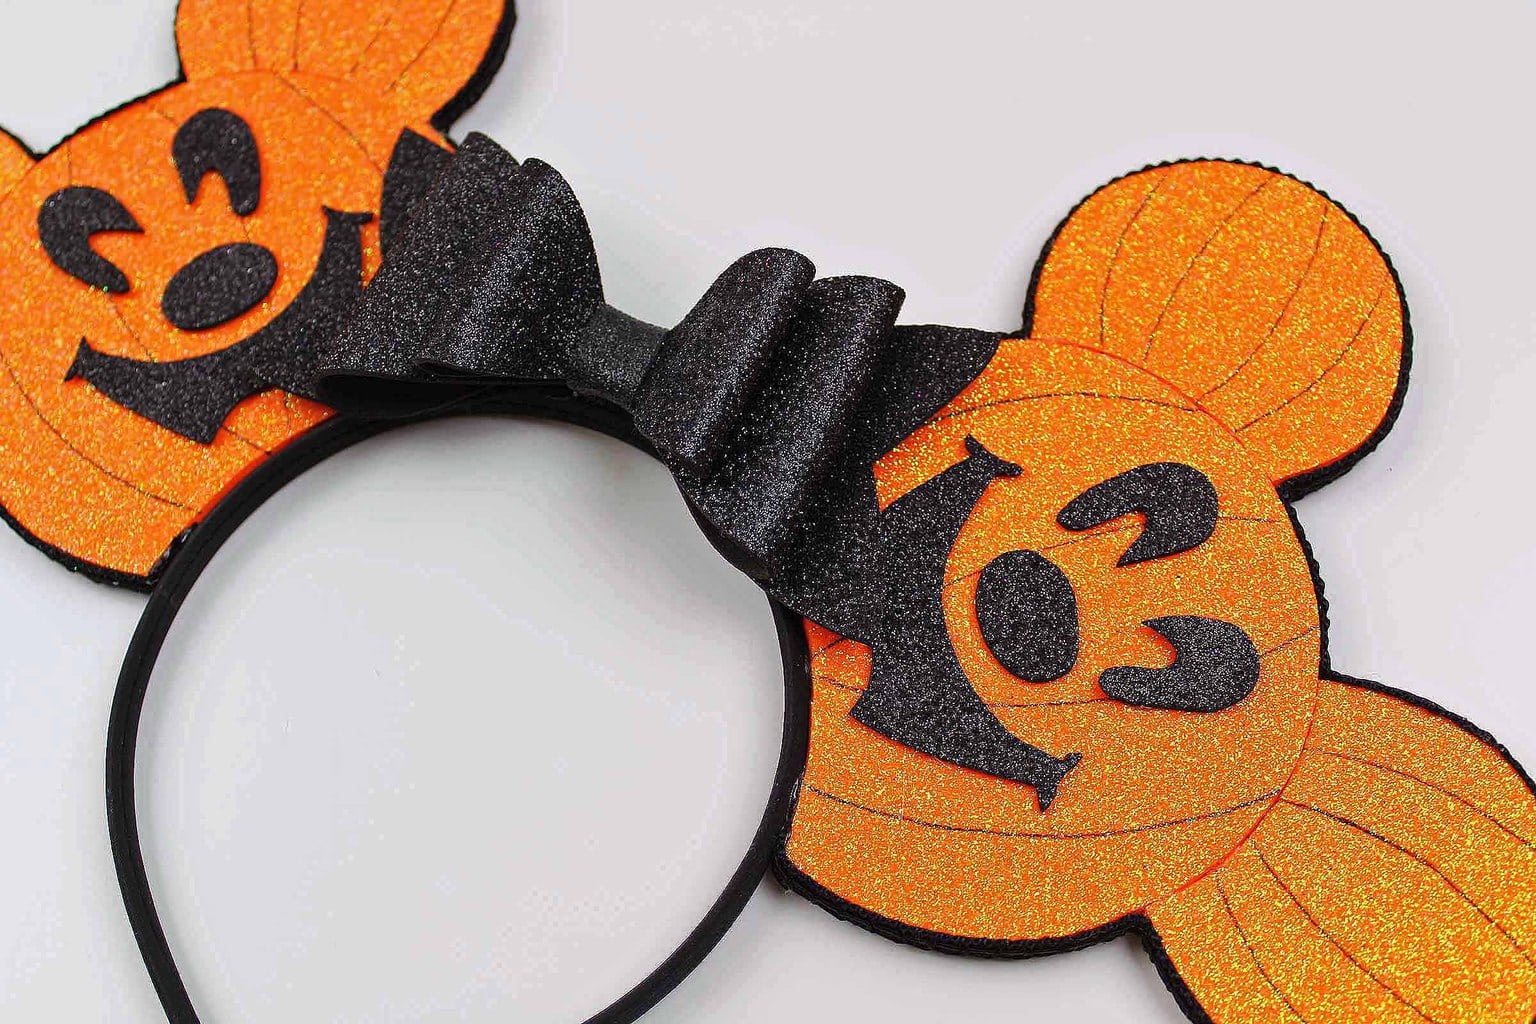
Here’s the instructions to make your own Halloween Mickey Ears. We’ve added a lot of photos so that you feel confident in this DIY project.
Materials
Many of these materials can be found at The Dollar Tree or a craft store. Or they can easily be ordered to arrive at your doorstep by using the links below.
- Orange foam sheets
- Black and orange glitter foam sheets
- Scissors
- Hot glue
- A Black Marker (like an ultra-thin Sharpie) or pen
- Black decorative sewing trim (make sure it’s the width of your headband)
- Black headband (we used a thin one, though you can use a wider one)
- Halloween Mickey Ears template (free download!)
Instructions
Step 1
Trace the Mickey Mouse ears template pieces onto the foam with a pen or marker.
You will need:
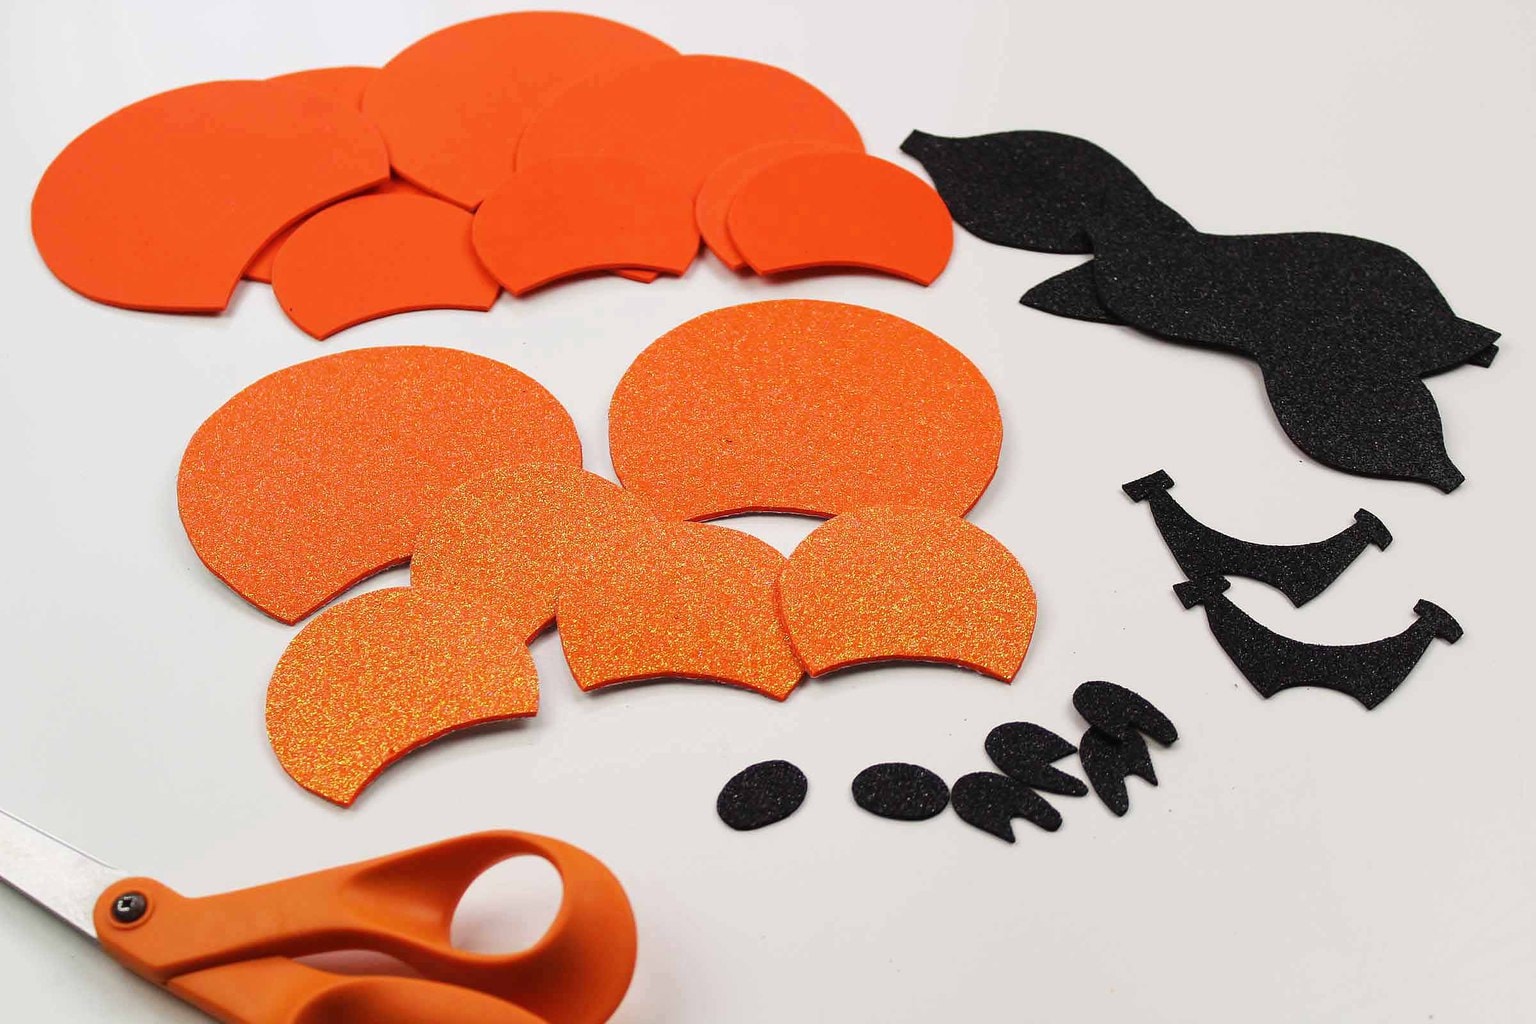
- 4 large ears (solid orange)
- 2 small ears (solid orange)
- 2 large ears (glitter orange)
- 4 small ears (glitter orange)
- 4 eyes (glitter black)
- 2 noses (glitter black)
- 2 mouths (glitter black)
- 1 large bow (glitter black)
- 1 small bow (glitter black)
- Bow base (glitter black)
- 1 rectangular strip – cut your own size as needed (glitter black)
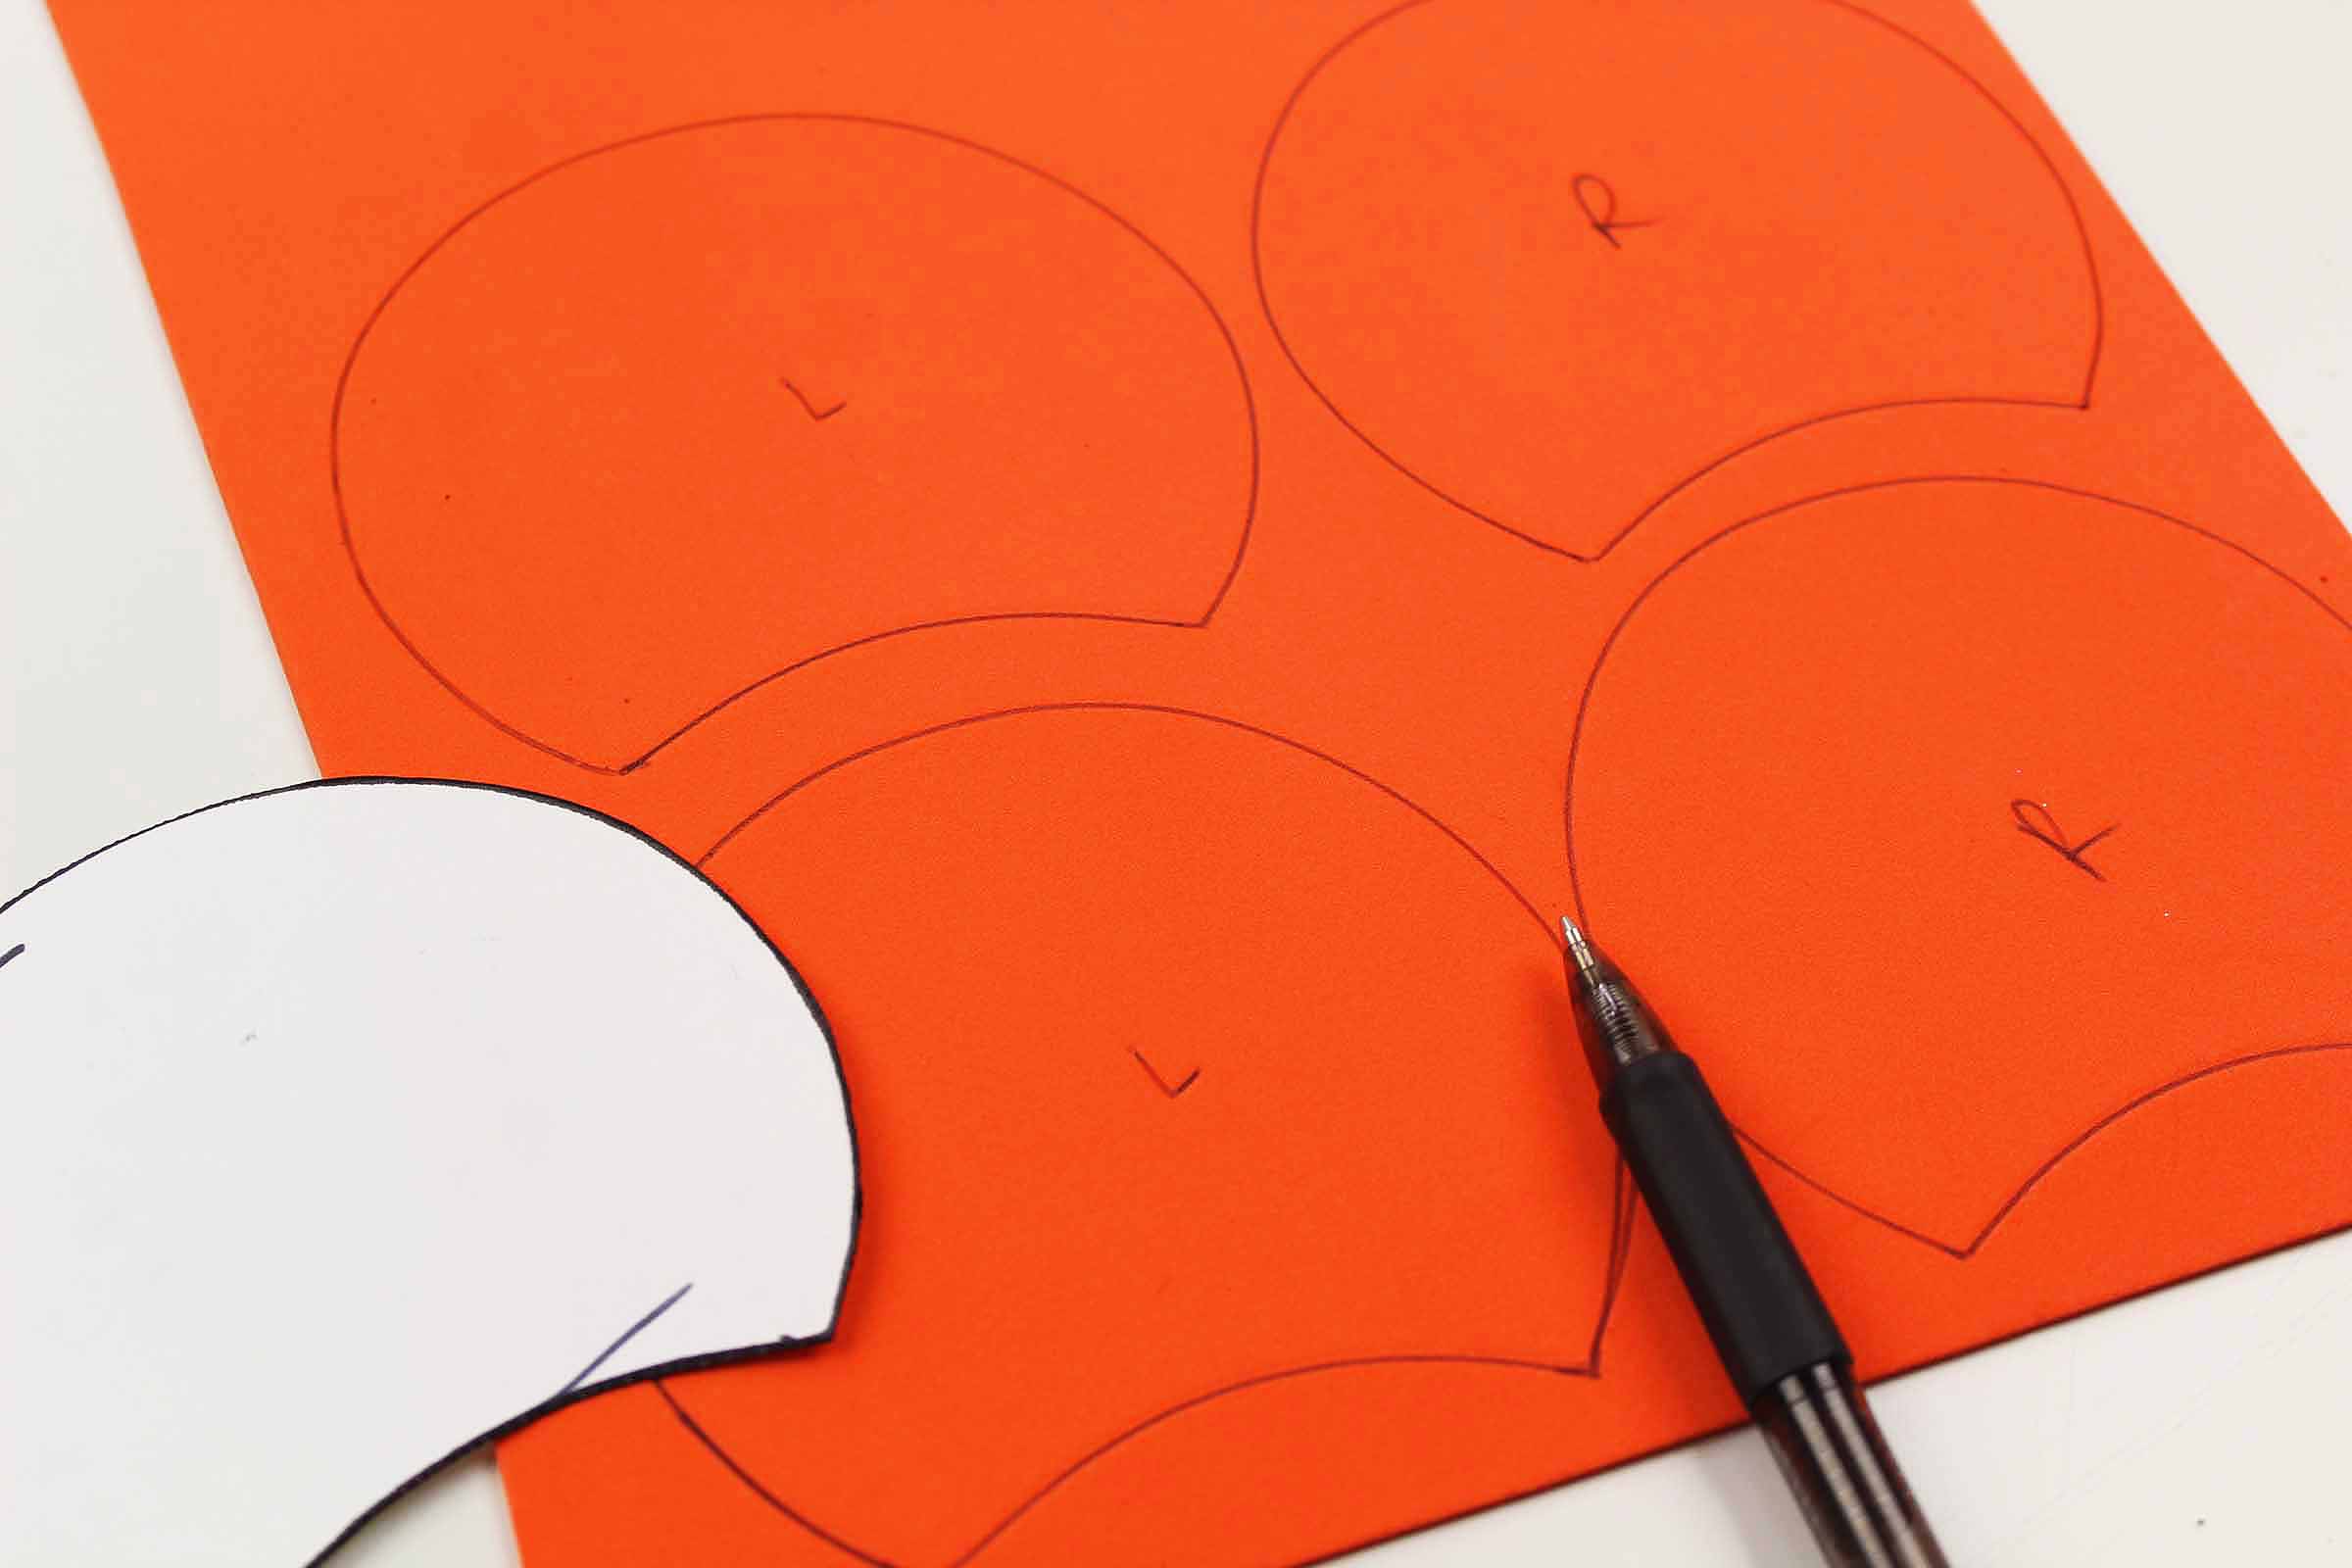
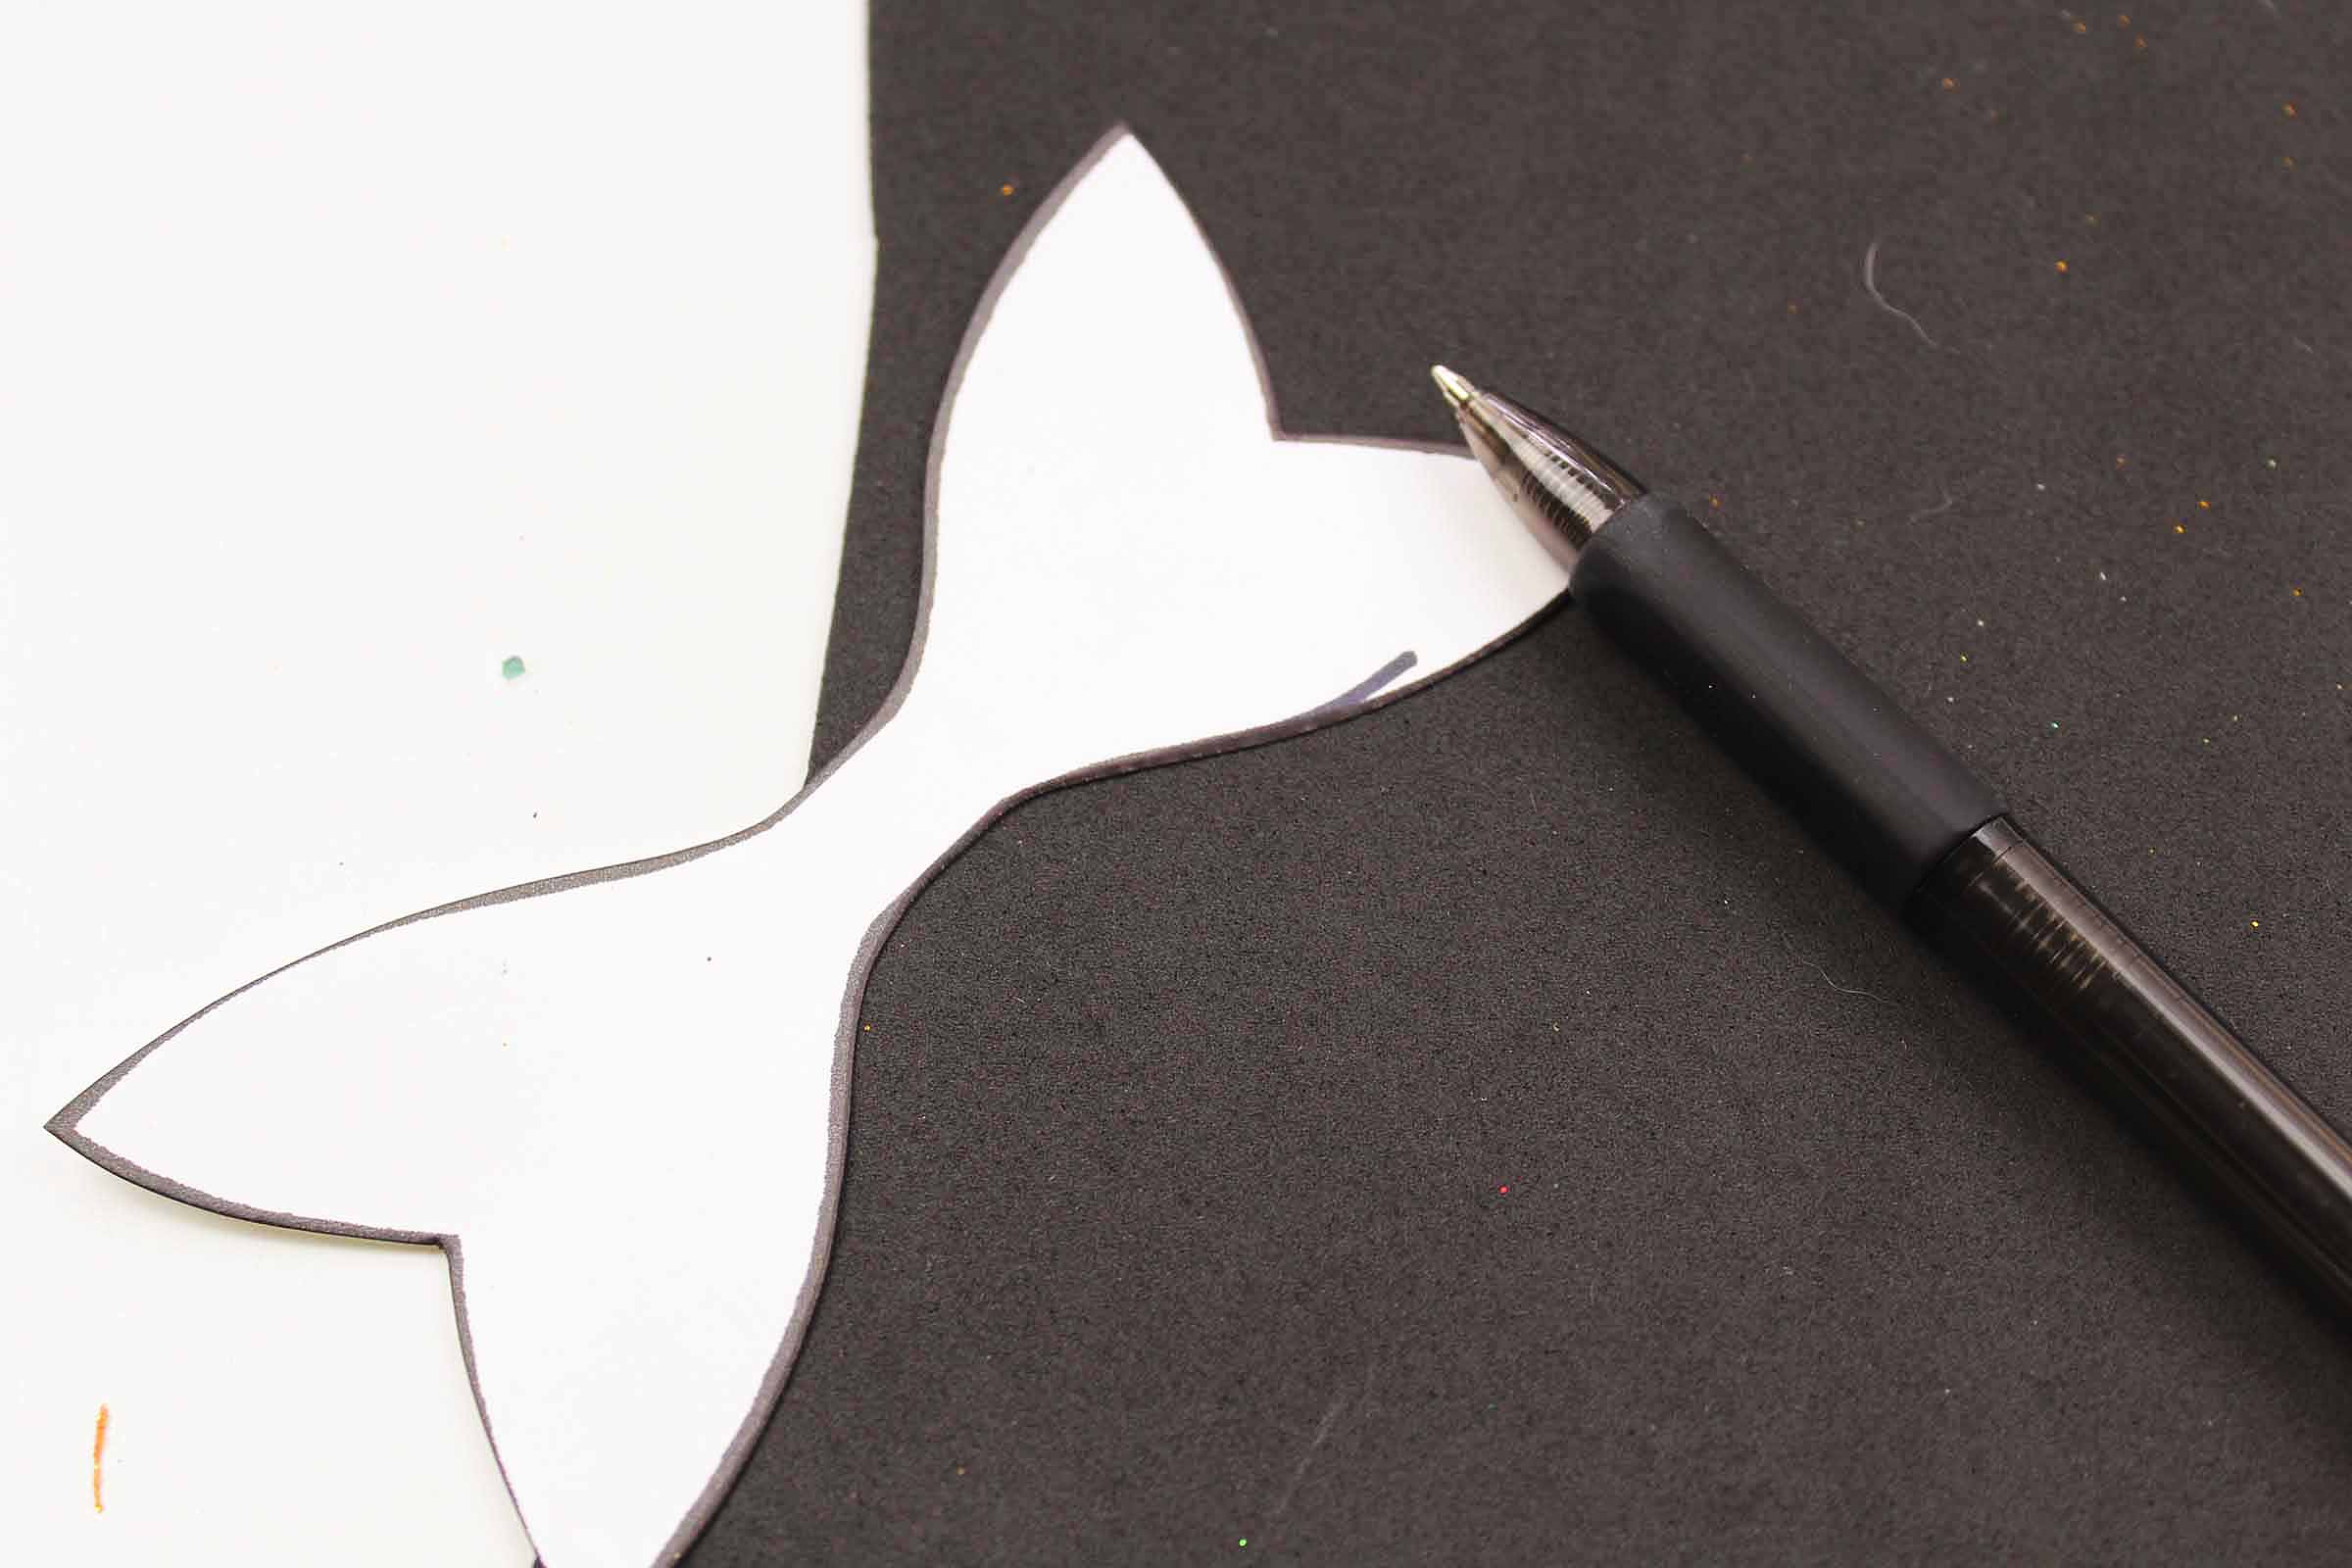

Cut the foam pieces out and set aside.
Helpful Tip: Cut inside the marker lines so that they don’t show up in your finished piece.
Step 2
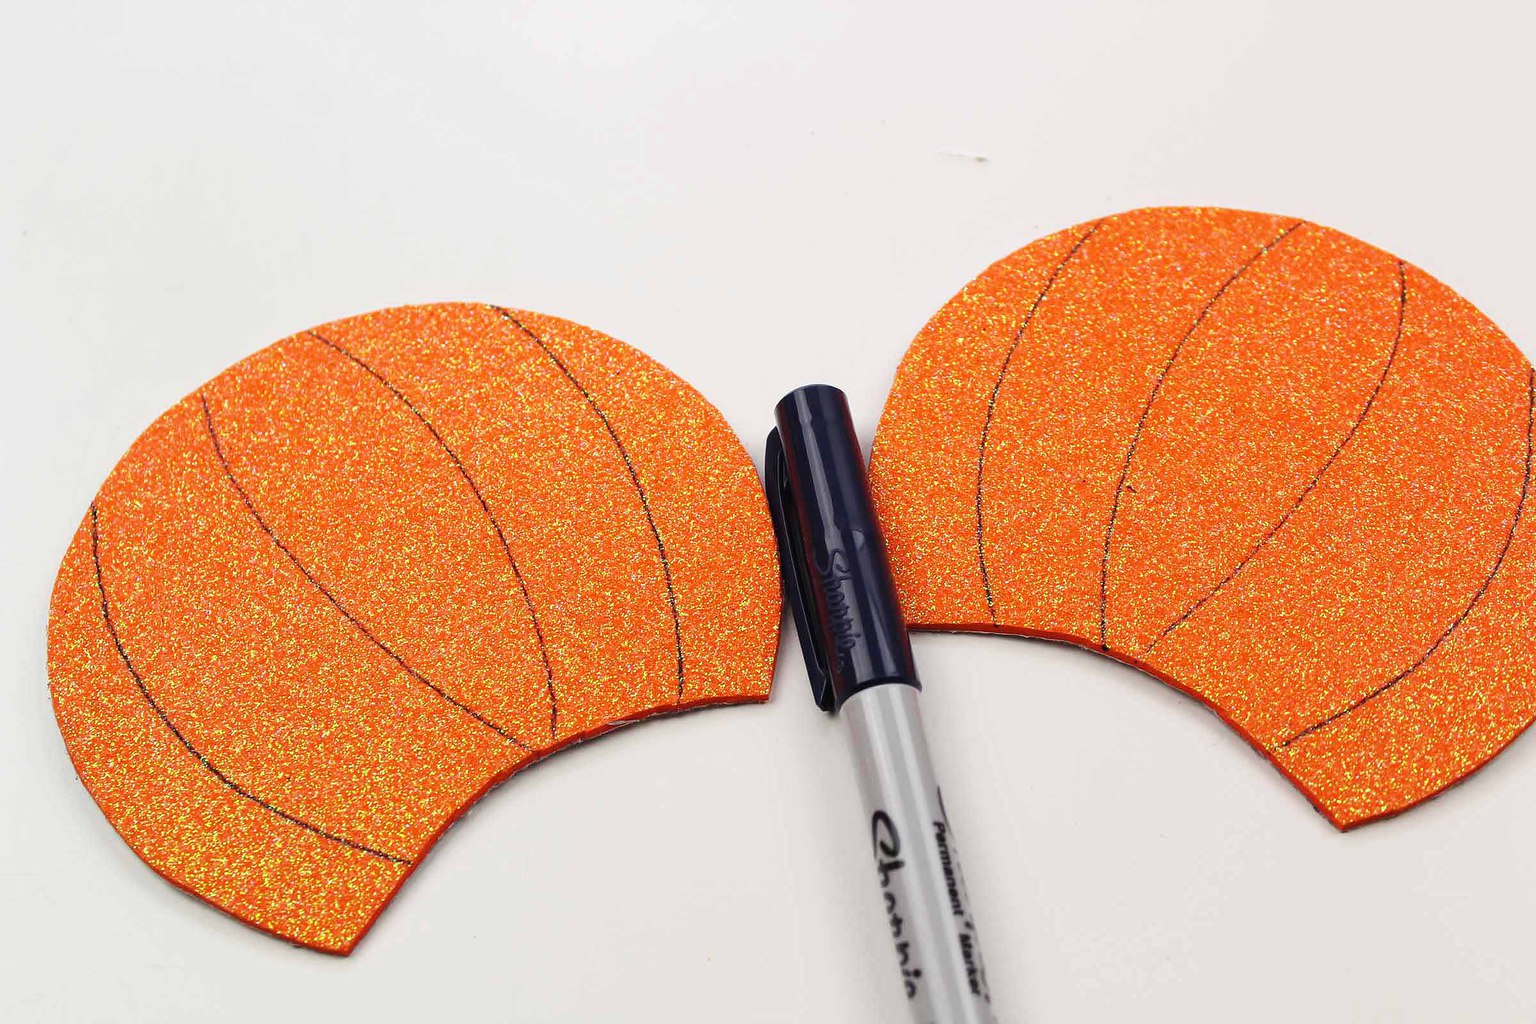
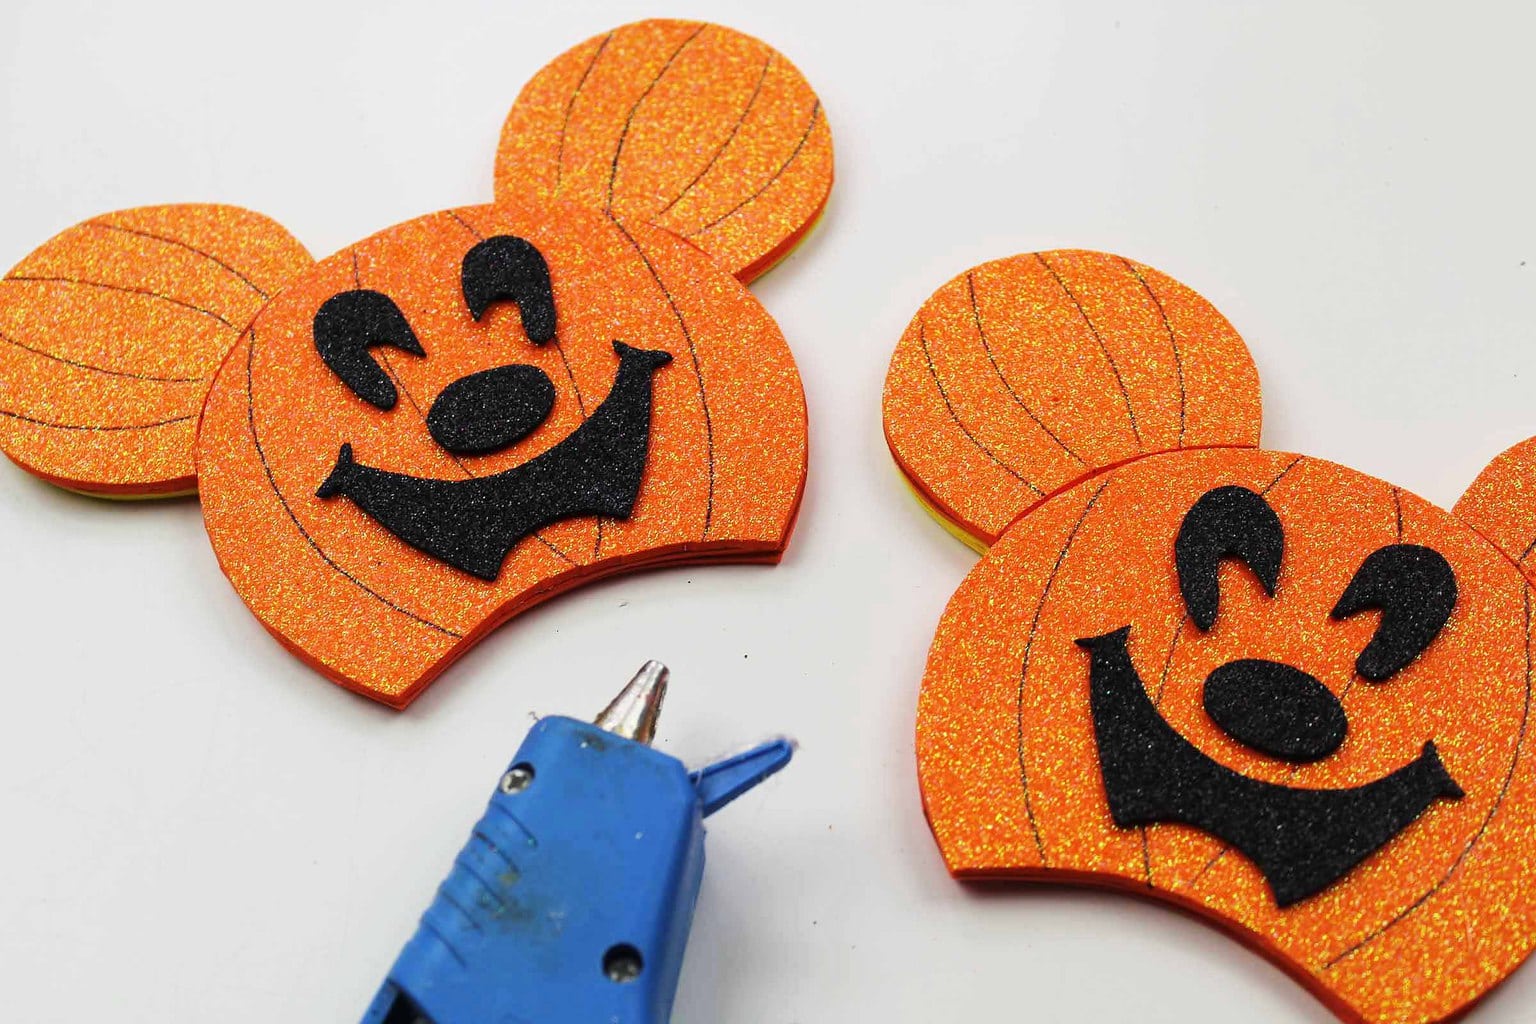
Using the black marker, detail the glitter orange ear pieces with lines similar to what you would see on a pumpkin (refer to the photo for inspiration.)
Step 3
Each ear will use three orange foam pieces. Glue the 3 pieces of orange foam together, making sure the glitter piece faces outwards toward the front.
Repeat the steps again, this time using the smaller ears which will go on top of Mickey’s head.
Step 4
Glue the pieces of Mickey’s face to the front of the Halloween ears.
Next, glue the smaller ears on top of Mickey’s face.
Set these ears aside for now.
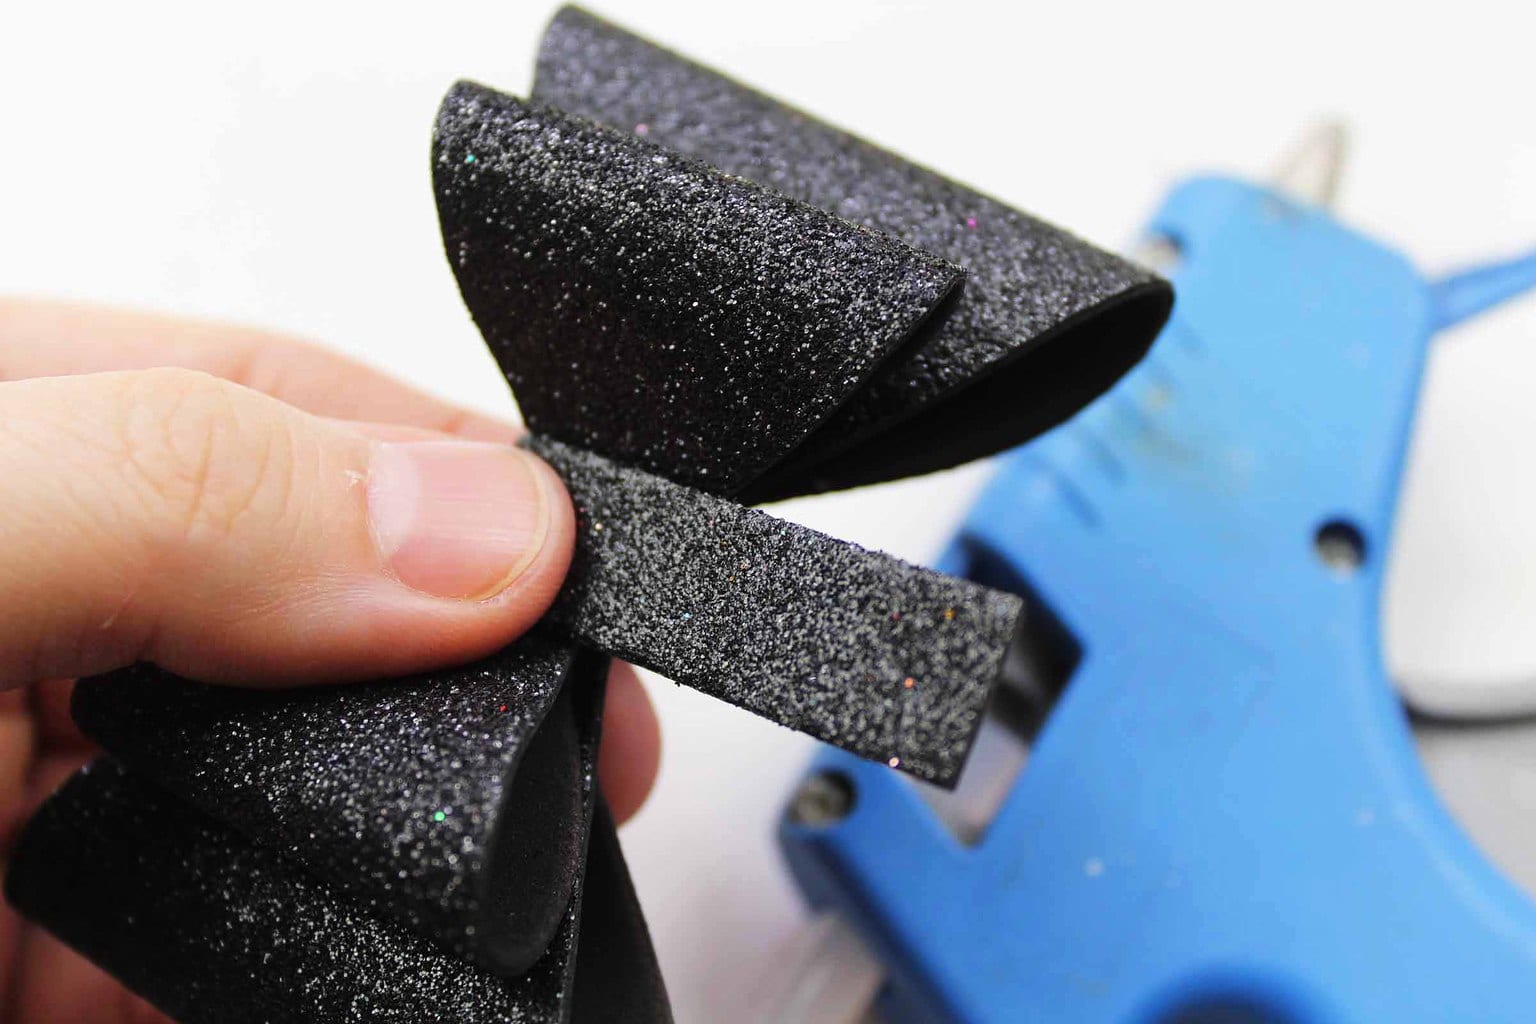
Step 5 – Making the Bow
Now it’s time to make the bow. Bend the larger pieces of each side of the bow together, meeting the smaller ends together in the middle and keeping the glitter side outside. Glue to keep in place. (see the photo below for an example.)

Do this again with the second, smaller pieces.
Place the bows you just made on the bottom piece (the one that looks like bow-tie macaroni) and then wrap a small rectangular strip around the middle and secure underneath in the back with glue.

Step 6- Finishing the Mouse Ears
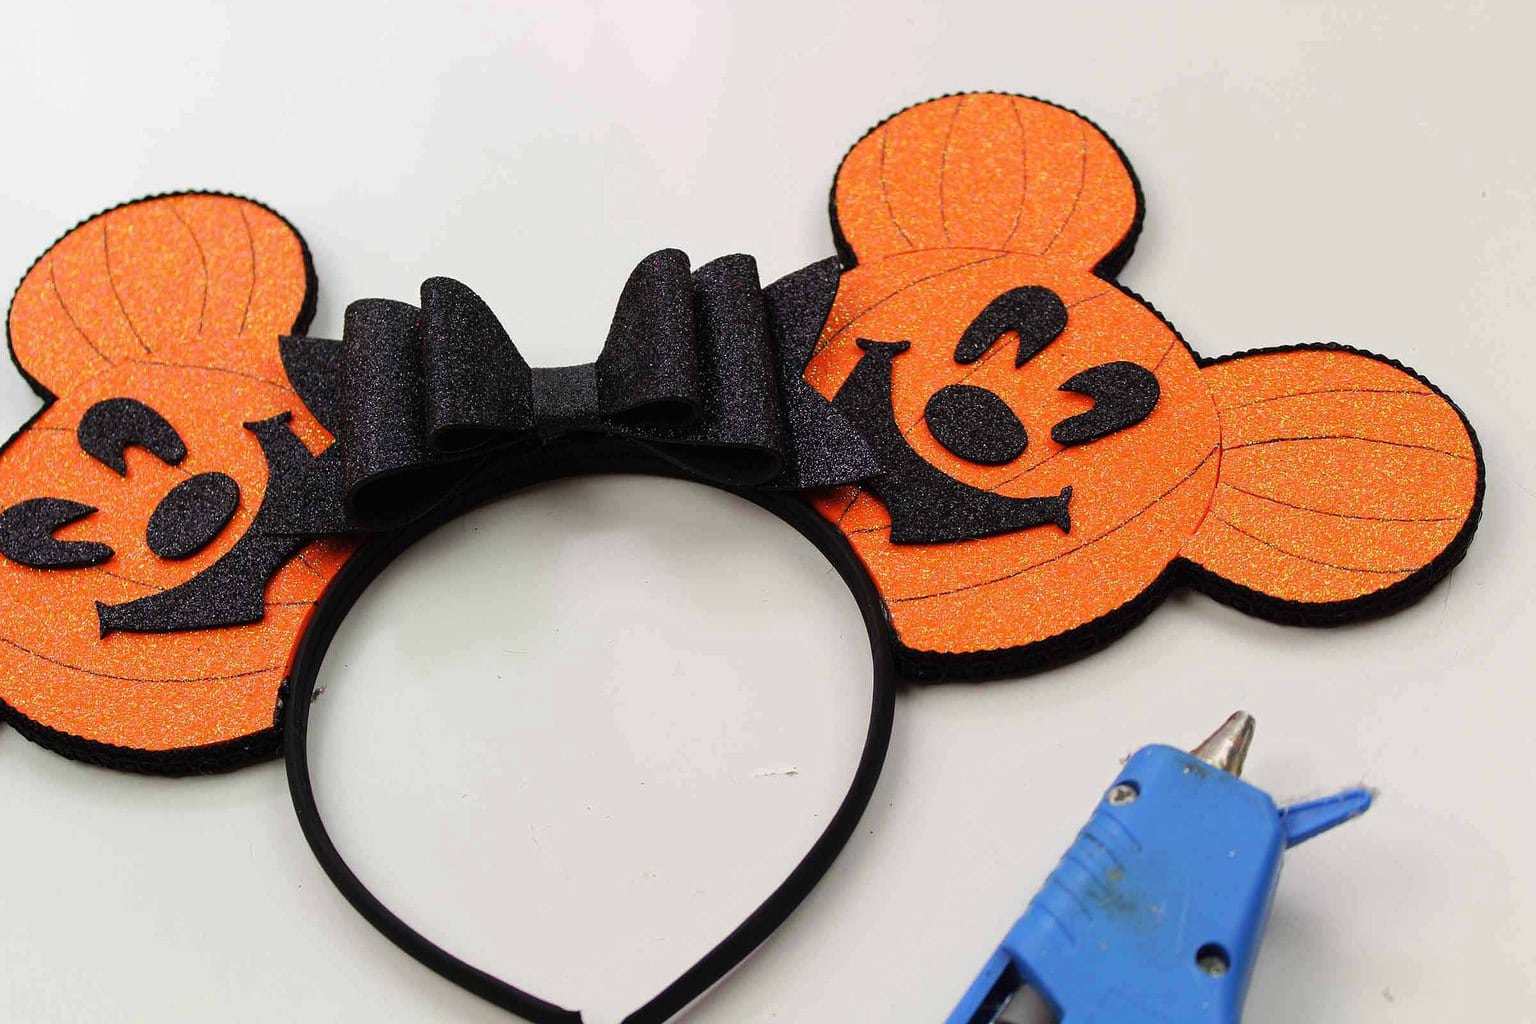
Glue a border around the ears with decorative black sewing trim.

Next, glue the ears onto the headband.
Finally, glue the bow in the center. You’re done!
Feel free to Pin this article so that you can keep the instructions and refer back to them when you are ready to make your own Halloween headband perfect for trick or treating at home or at Mickey’s Not So Scary Halloween Party.
More Easy DIY Halloween Crafts
If you enjoy how easy it is to make Halloween Disney Ears, be sure to see our other Disney Halloween crafts and ideas: