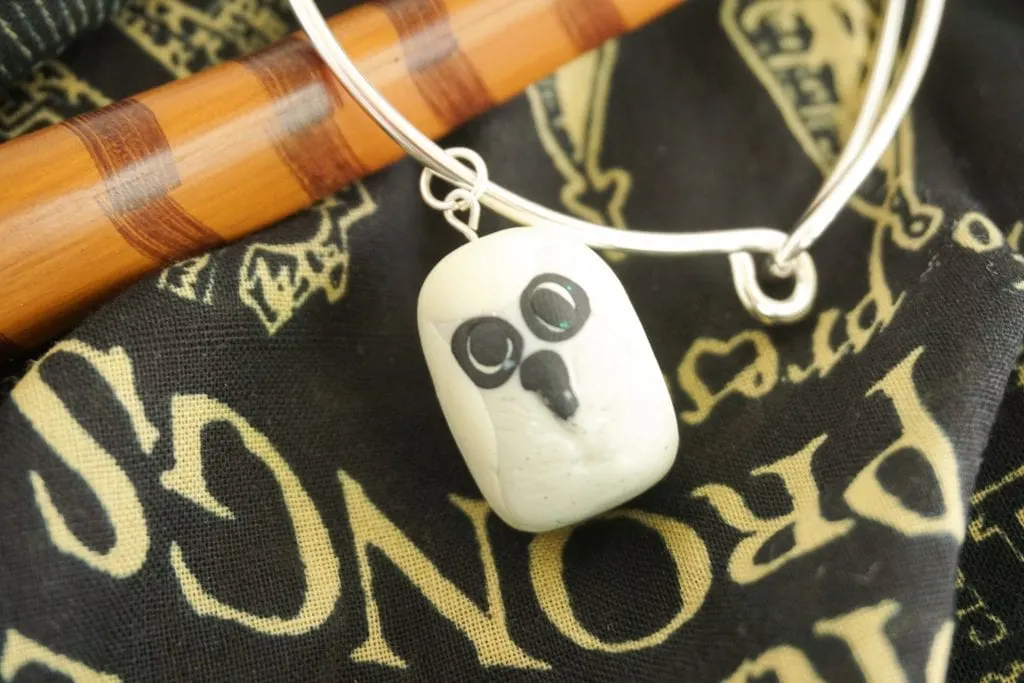
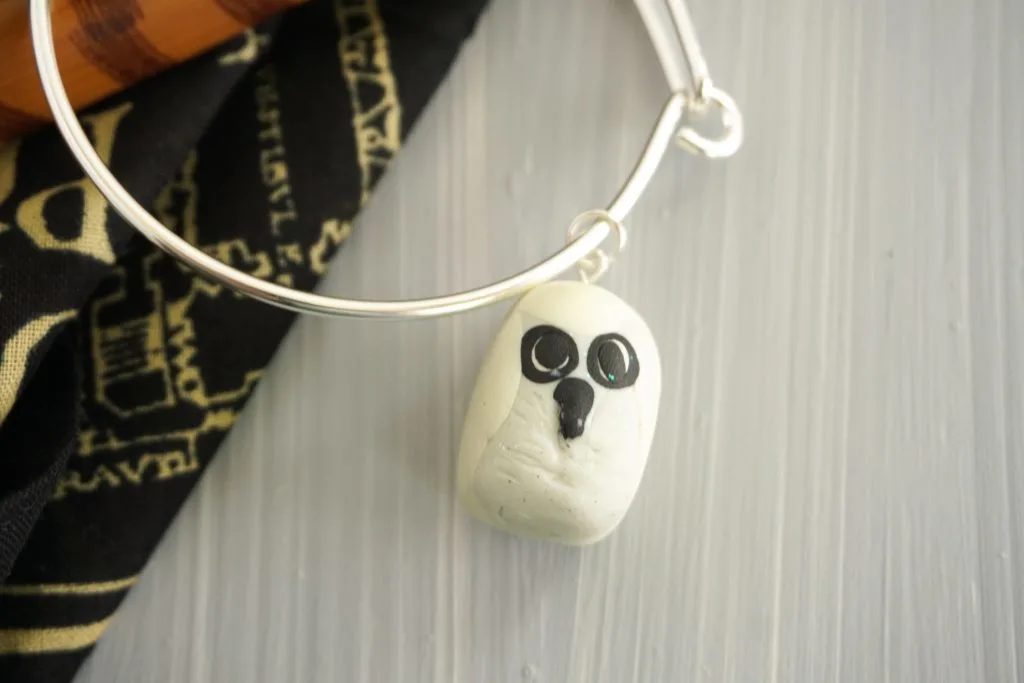
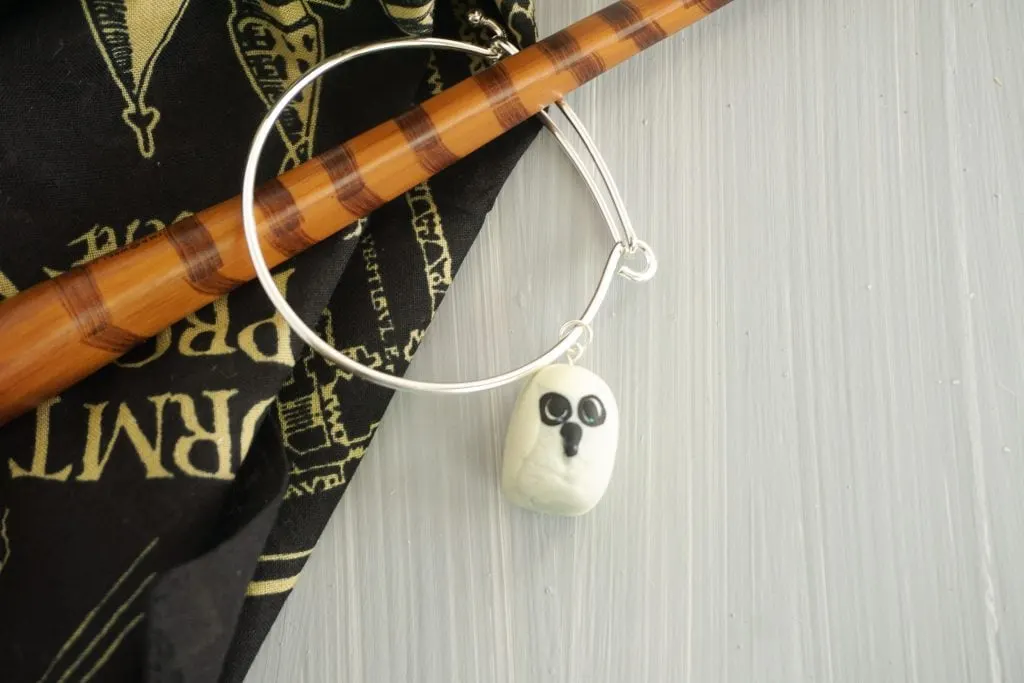
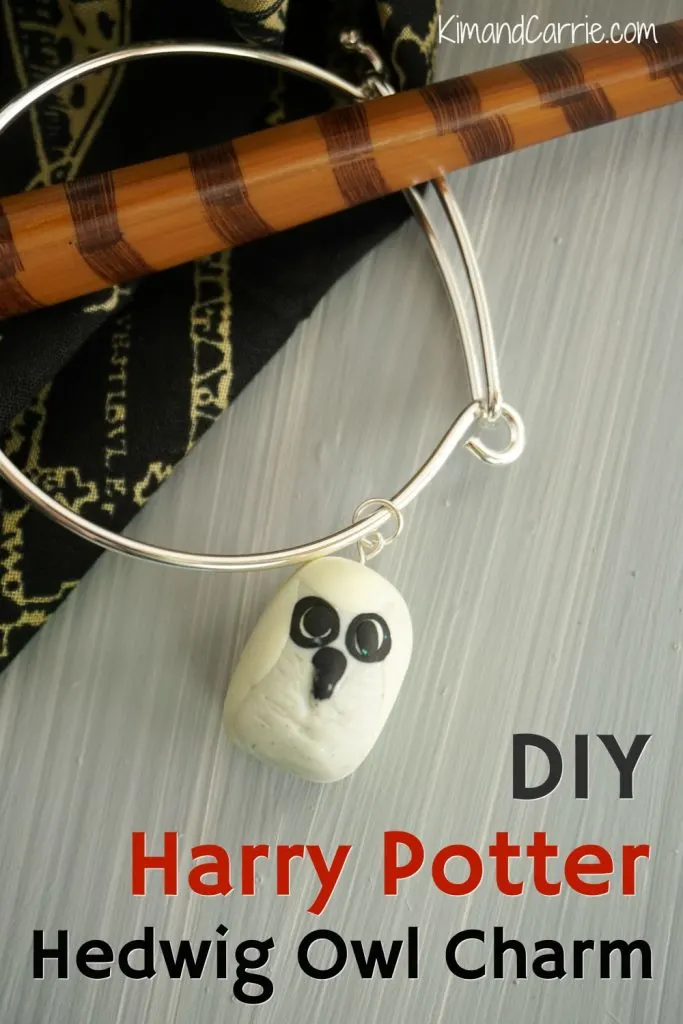
Are you a Potterhead? Love all things Harry Potter? Then you’re going to love this DIY tutorial to make a Harry Potter Hedwig Owl Charm that you can wear on a necklace or charm bracelet.
Living in Orlando right next to Universal Orlando Resort, we can see the spires of Harry Potter land when we drive to get groceries 😉 It’s so much fun to live so close to Diagon Alley and Hogsmeade!
Be sure to see our Ultimate Guide to the Wizarding World of Harry Potter if you plan on visiting!
If you love all things Harry Potter, too, be sure to check out our other Harry Potter DIY tutorials, including the delicious DIY Harry Potter Chocolate Frogs Candy and the fun Harry Potter Crafts: Golden Snitch Necklace.
You might also like our Guide to Harry Potter Spells on iPhone Using Siri.
Harry Potter Hedwig Owl Charm DIY Tutorial
Supplies
- 1/10 package white Filmo polymer clay
- 1/10 package silver glitter Filmo polymer clay
- Tiny pinch of black Filmo polymer clay
- 1 eye pin
- 1 jump ring
- Charm bracelet
- Clay glaze
Tools
- Plier and wire cutters
- Wax Paper
- Oven
- Paintbrush
Instructions
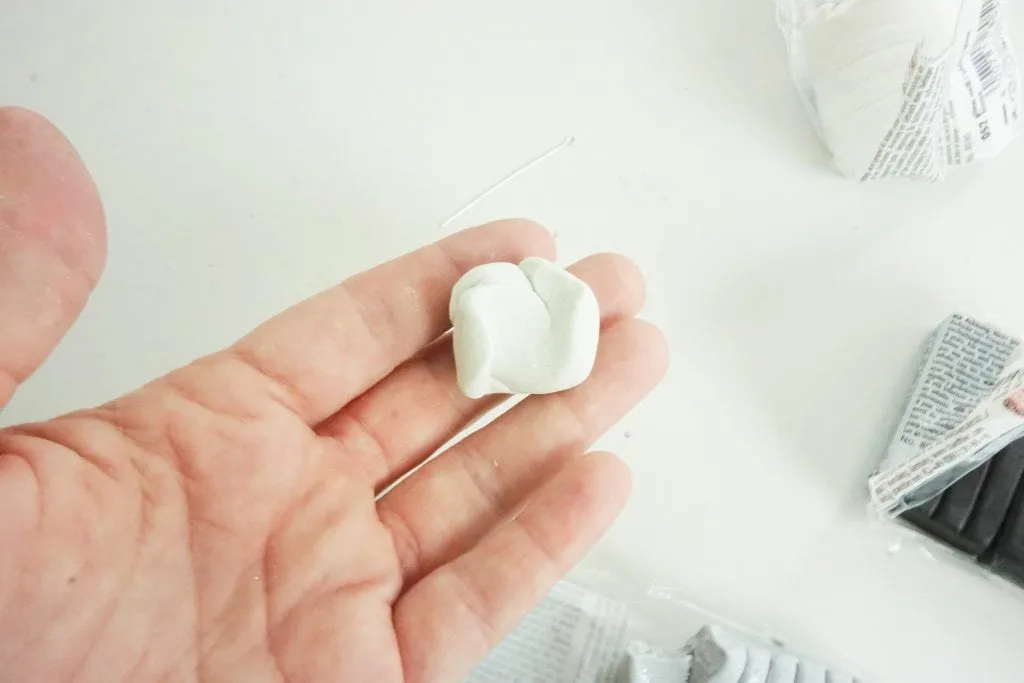
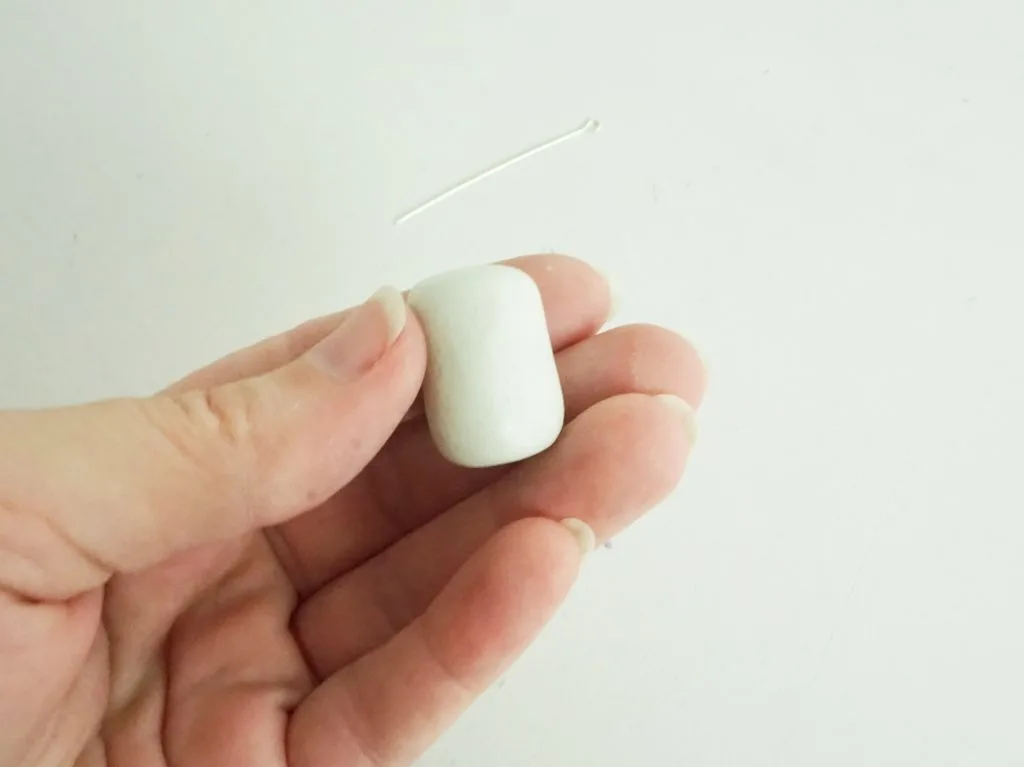
Set aside about 1/2 of the white and 1/4 of the silver clay.
Combine remaining white and silver clay until the color is consistent throughout.
Roll this light silver clay into a cylinder, flattening one end and rounding the other over, creating the owl body. Set aside.
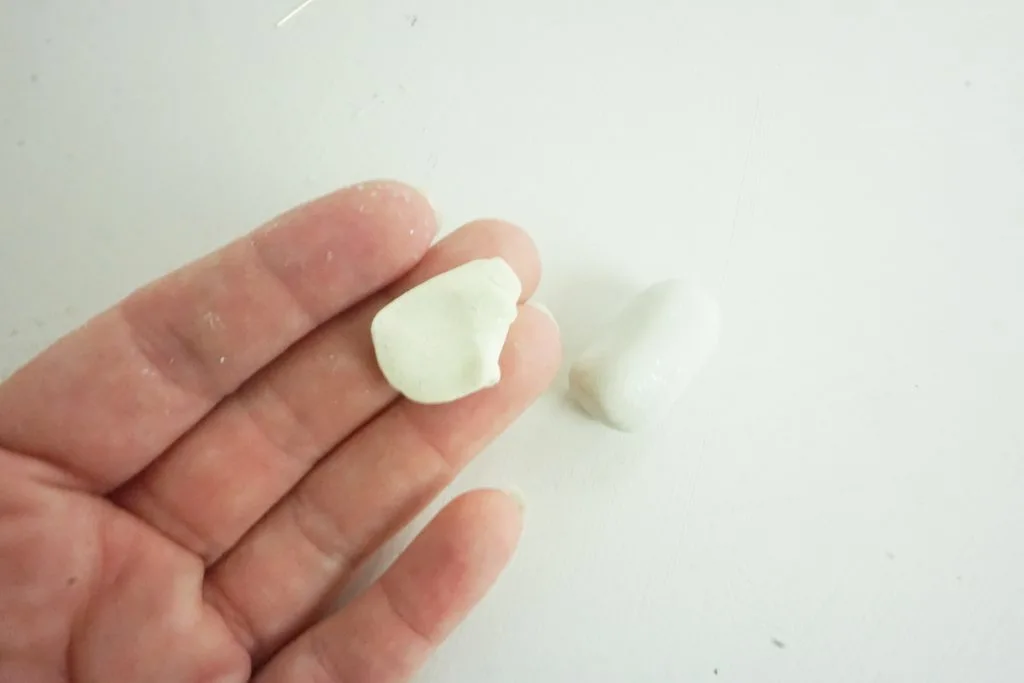
Combine remaining silver and white clay until the color is consistent throughout.
Split this off-white clay into 3 portions.
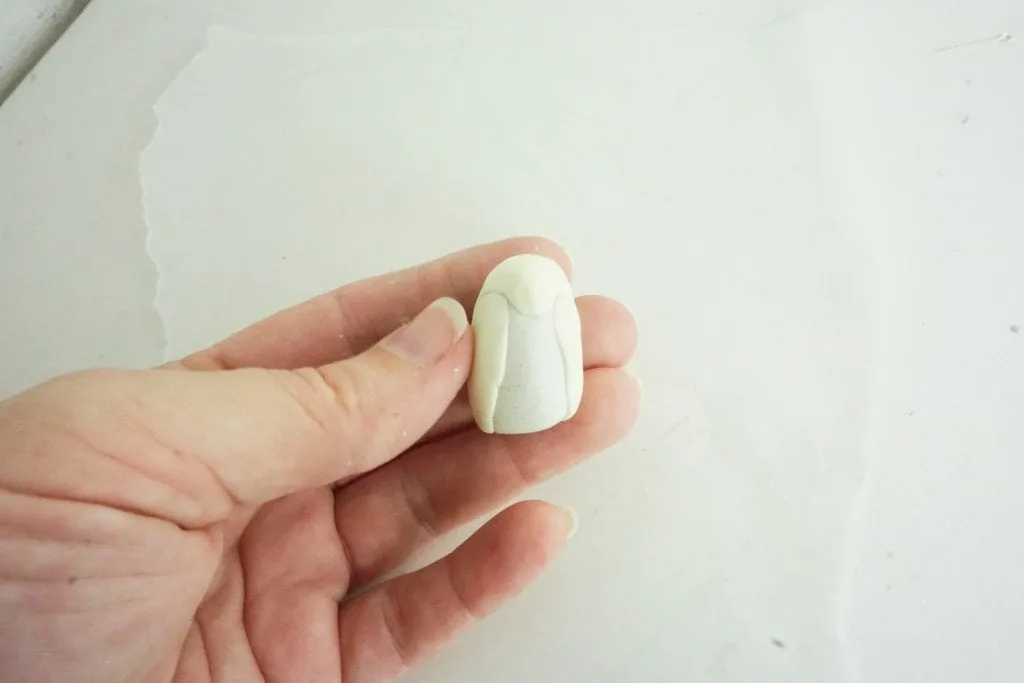
Flatten and elongate one portion of this off-white clay into the shape of a wing that is large enough to cover ¾ of your owl body from top to bottom and 1/3 of the owl body from front to back.
Copy this wing shape to a second portion of the remaining off-white clay.
Place the wings on either side of the owl body, leaving a large gap between.
With the final remaining portion of off-white clay, create a long triangle with the base being rounded creating the owl’s cap.
Place the owl’s cap on the owl’s head, centering the pointed triangle end squarely between the wings.
Making the Eyes
With black clay, make 2 small circles and two even smaller circles. Set aside.
With white clay, make two circles that are between the sizes of the black clay circles. Set aside.
Place the larger circles of black clay on the owl’s face, below the owl’s cap. These are the outside rings for the eyes.
Place the circles of white clay on top of the black circles you just placed.
Add the smallest circles of black clay on top of the white circles.
With black clay, form a long, skinny rectangle and place below the eyes. This is the beak.
With your smallest fingernail, mark the stomach area of the owl with small ripples to represent feathers.
Roll this all a little flat so that nothing will fall off or break while on your wrist. If wearing this charm as a necklace, you can leave projections such as the beak without as much concern.
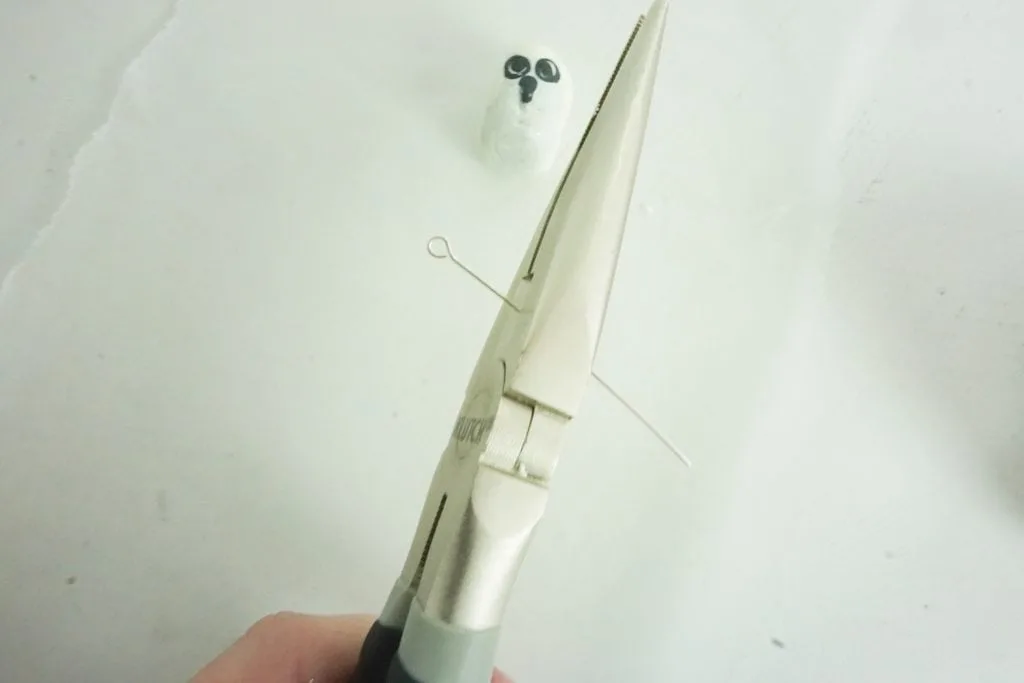
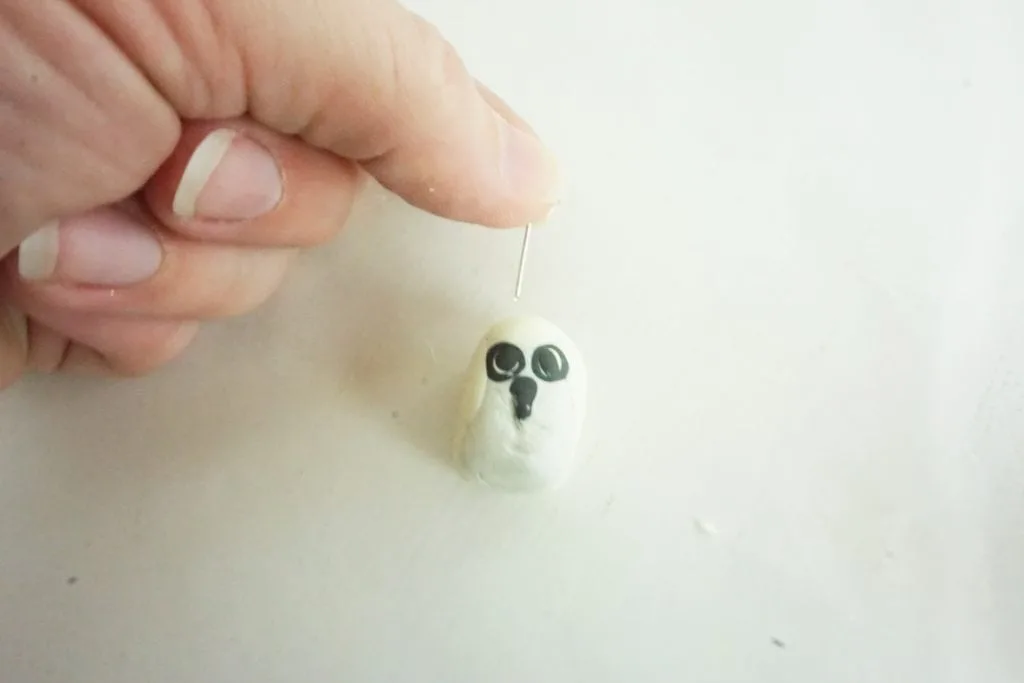
Trim the eye pin to about 1/2-inch long with pliers.
Slide eye pin into the head of the owl.
Place the owl into the oven on wax paper for 30 minutes according to package instructions (look at the clay package for temperature).
Remove from the oven and allow the Hedwig owl to cool completely.
Seal the owl according to clay glaze directions. Allow to dry completely.
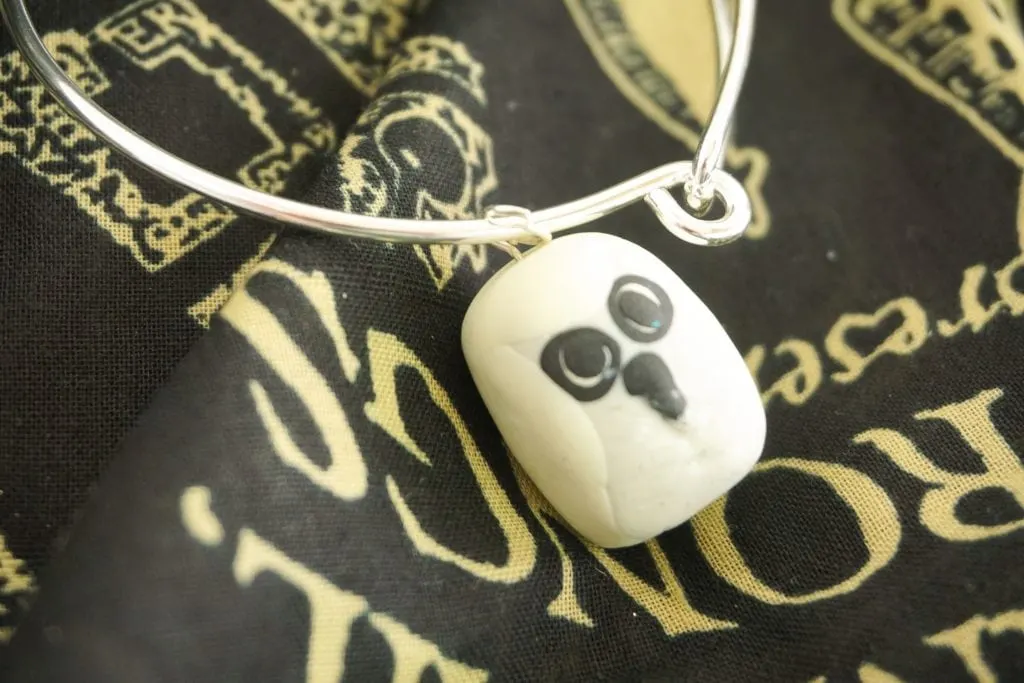
Attach a jump ring to the eye pin ring.
Thread bracelet through jump ring.
More Harry Potter DIY Crafts
These Harry Potter DIY Craft books are not to be missed, either: Unofficial Guide to Crafting the World of Harry Potter; The Wizards Craftbook; The Unofficial Harry Potter Beauty Potions Book; and The Unofficial Harry Potter Cookbook.
