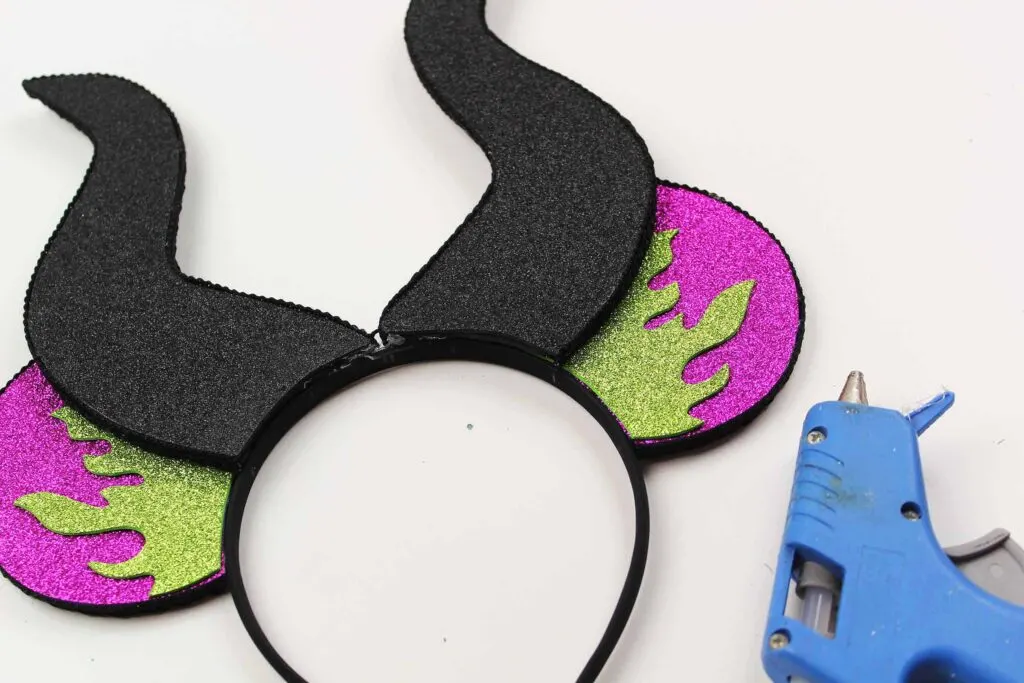
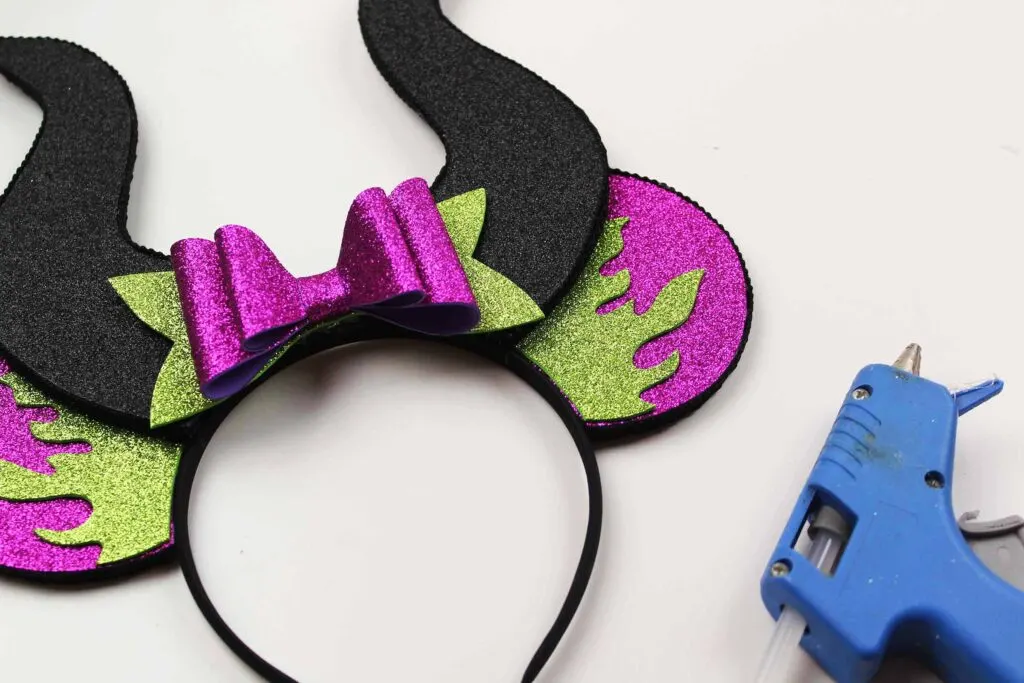
Do you have a favorite Disney villain? For many, it is Maleficent. If you’re heading to Walt Disney World for Mickey’s Not So Scary Halloween Party, you will want to make this easy Maleficent Horns DIY project!
Maleficent Ears for Your Disney Vacation
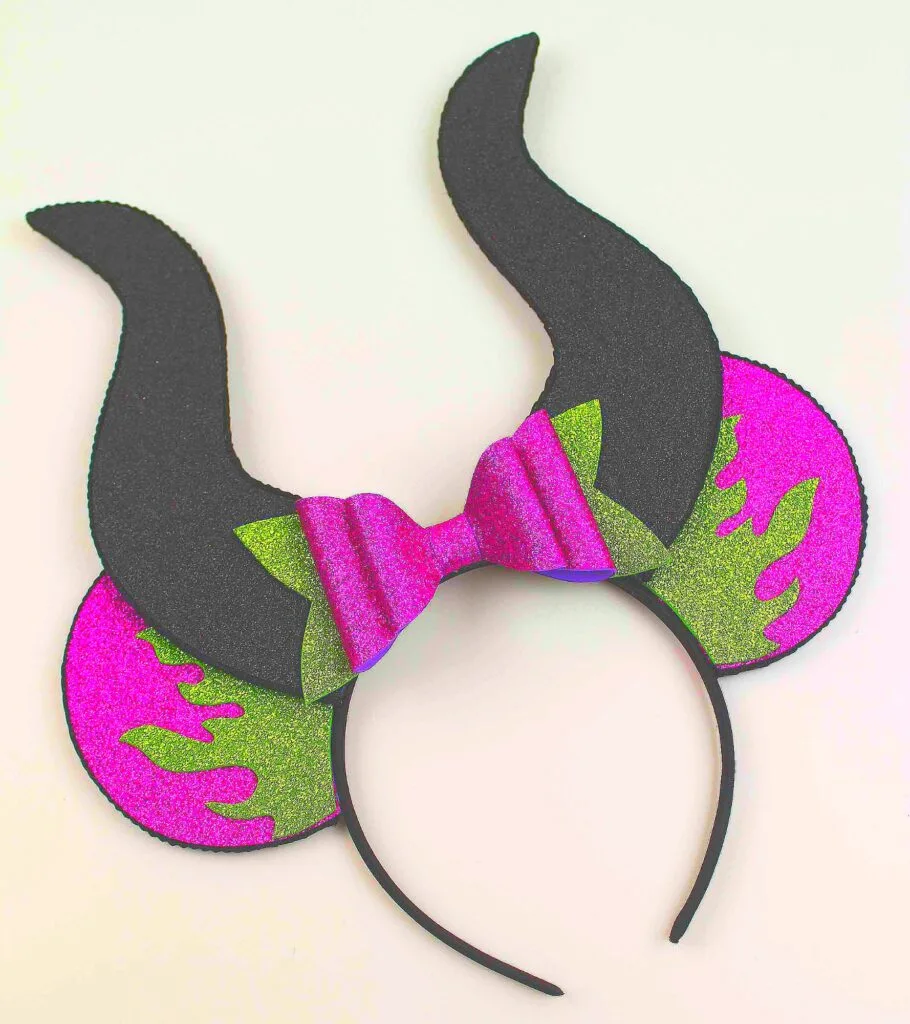
Combining the famous Maleficent horns with classic Mickey Mouse Ears, this Maleficent Mickey Ears headband is great to wear to Walt Disney World or Disneyland.
It’s especially great for Mickey’s Not So Scary Halloween Party or the Villains After Hours events! These are an easy and minimal Maleficent costume without investing a lot of money or having to wear a hot outfit.
Of course, these Maleficent Ears aren’t just for Halloween. Disney villains are part of Walt Disney World and Disneyland all throughout the year.
And since Mickey Mouse ears can be so expensive when you buy them at theme park gift shops, making these customized Maleficent Ears could save you money, especially if you make them for the entire family.
P.S. Check out our Halloween Mickey Mouse Ears tutorial, too. They look like Mickey pumpkins!
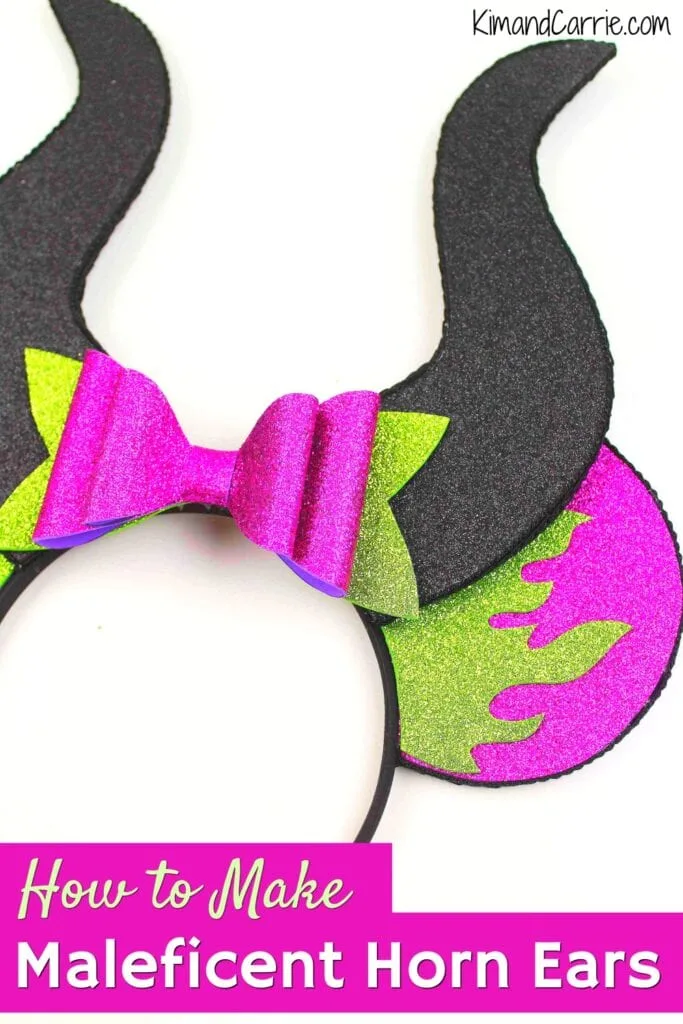
Pin this DIY tutorial so that you can remember it for later!
Maleficent Horns DIY Project
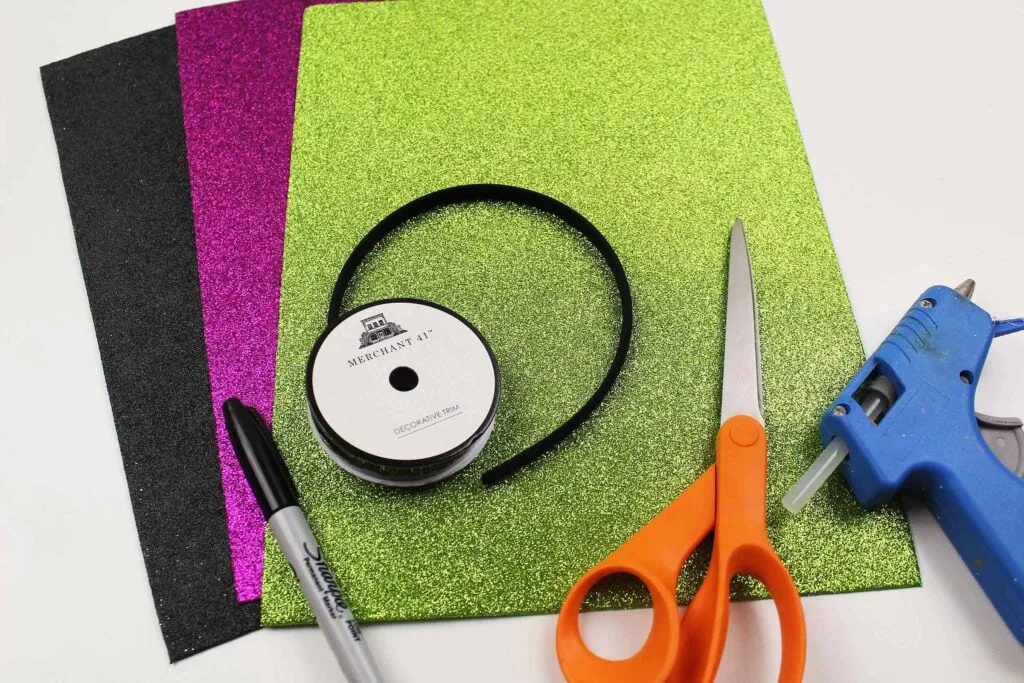
Materials
Many of these materials can be found at The Dollar Tree or a craft store. Or they can easily be ordered to arrive at your doorstep by using the links below.
- Black foam sheet (buy a craft foam multi-pack so you can have purple, too)
- Purple foam sheet
- Black, purple and green glitter foam sheets
- Scissors
- Hot glue
- A Black Marker (like an ultra-thin Sharpie) or pen
- Black decorative sewing trim (make sure it’s the width of your headband)
- Black headband (use a wide one)
Templates
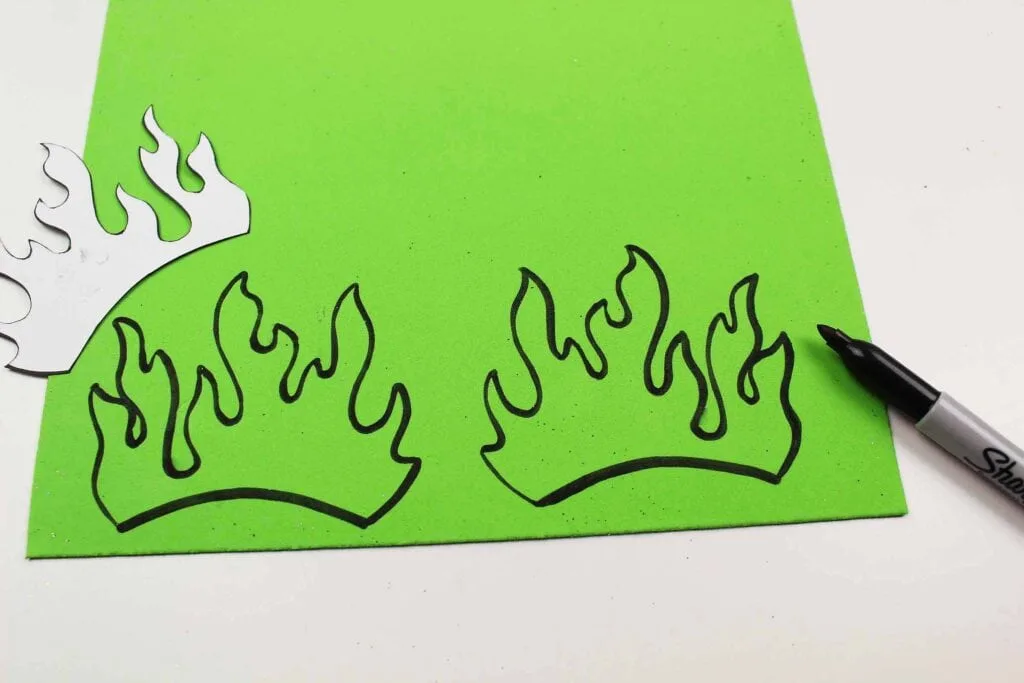
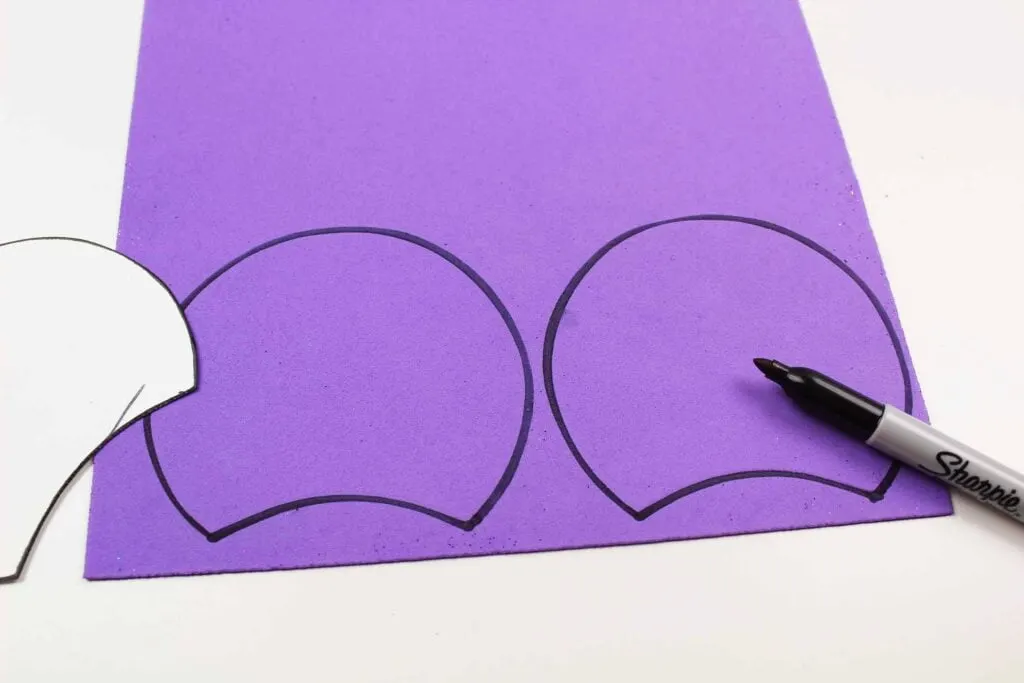
Download our Maleficent Ears template. Cut out the template pieces.
Trace the template pieces onto the foam with a pen or marker.
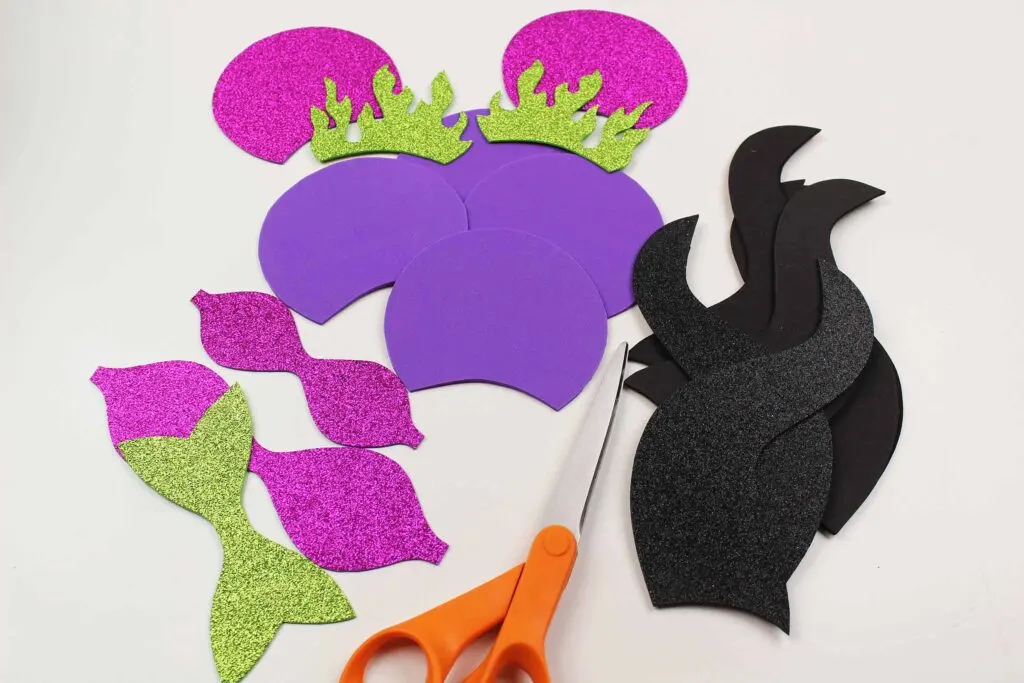
You will need:
- 4 ears (solid purple)
- 2 ears (glitter purple)
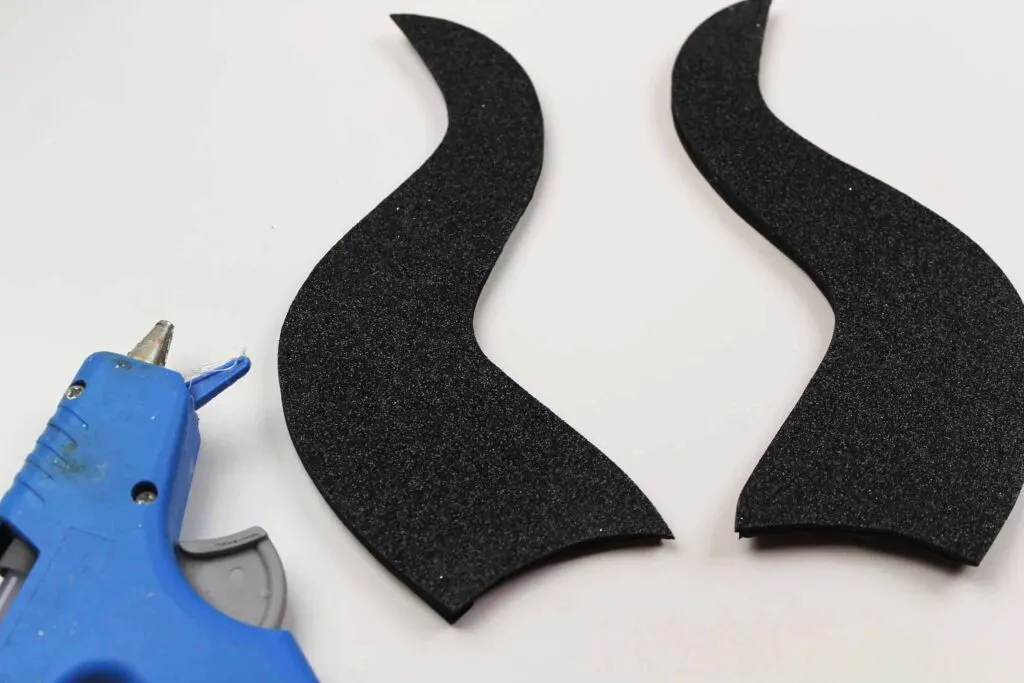
- 4 horns (solid black)
- 2 horns (glitter black)
- 2 flames (glitter green)
- 1 large bow (glitter purple)
- 1 small bow (glitter purple)
- Bow base (glitter green)
- 1 rectangular strip – cut your own size as needed (glitter purple)
Cut the foam pieces out and set aside. (Hint: Cut inside the marker lines so that they don’t show up in your finished piece.)
Instructions
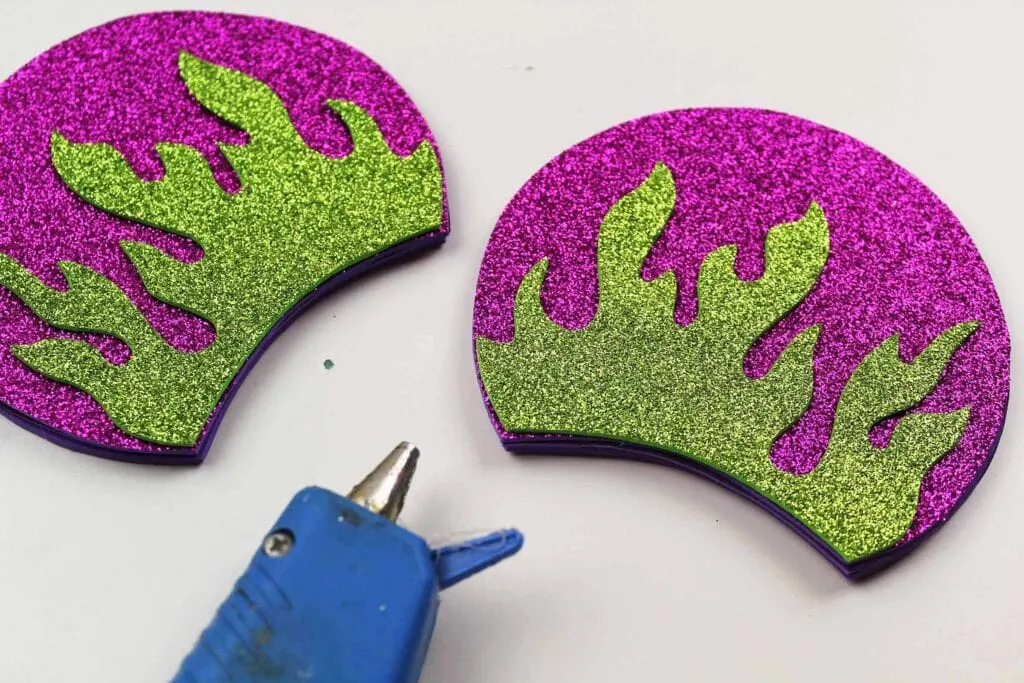
Each ear will use three foam pieces (two regular foam and one glitter foam). Glue the 3 pieces of purple foam together, making sure the glitter piece faces outwards toward the front.
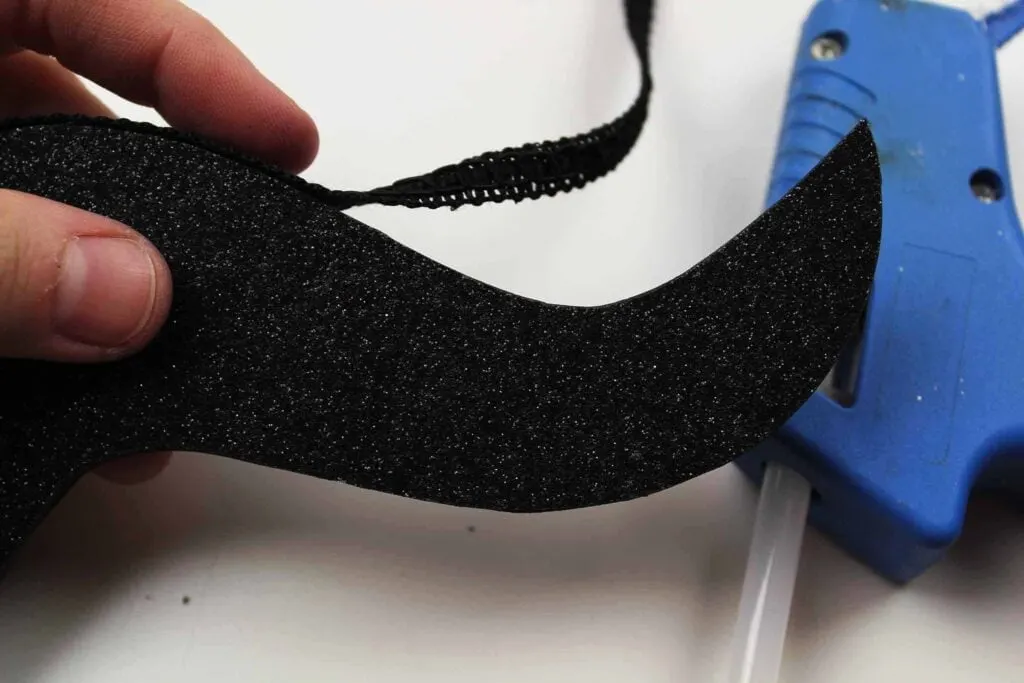
Repeat the steps again for Maleficent’s horns. Glue the two regular black foam pieces together, and put the third glitter black piece of foam on the outside.
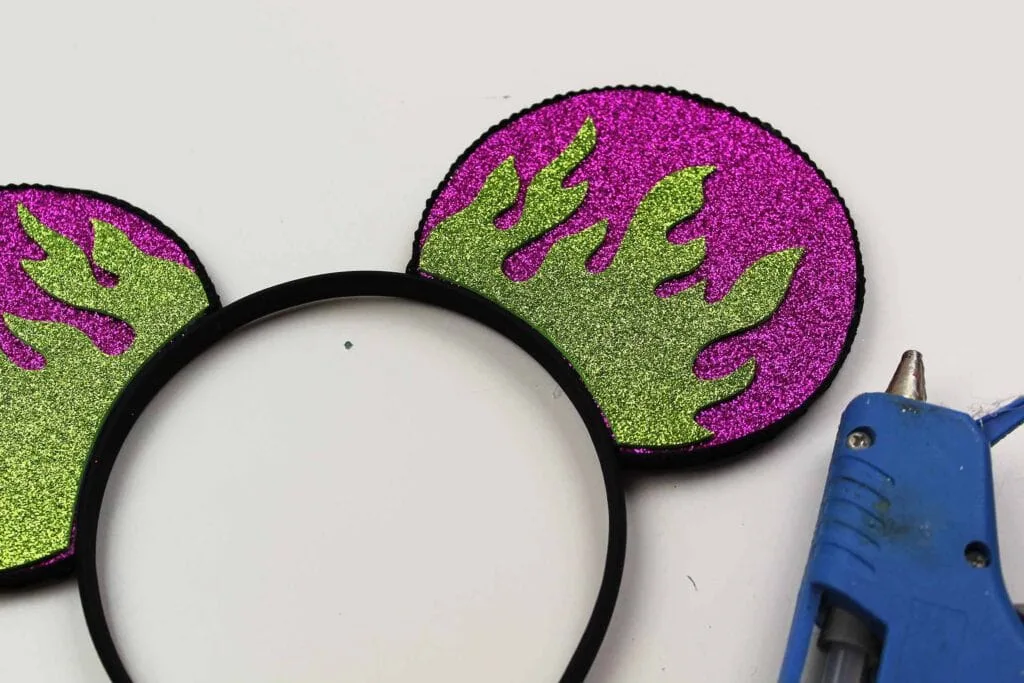
Now glue the green glitter flames onto the purple Mickey Mouse ears.
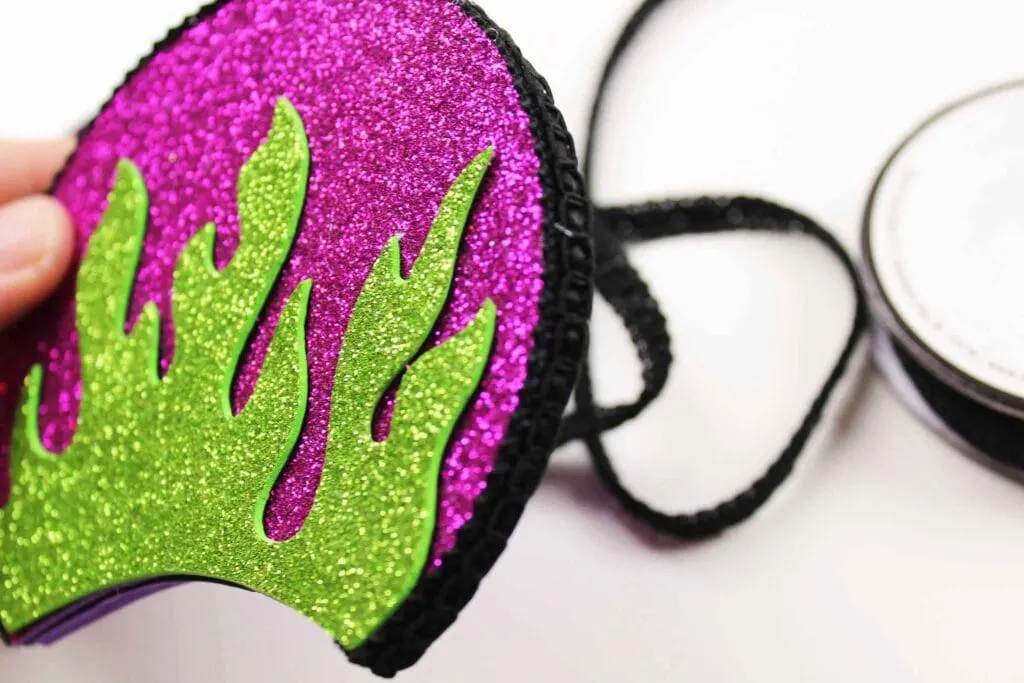
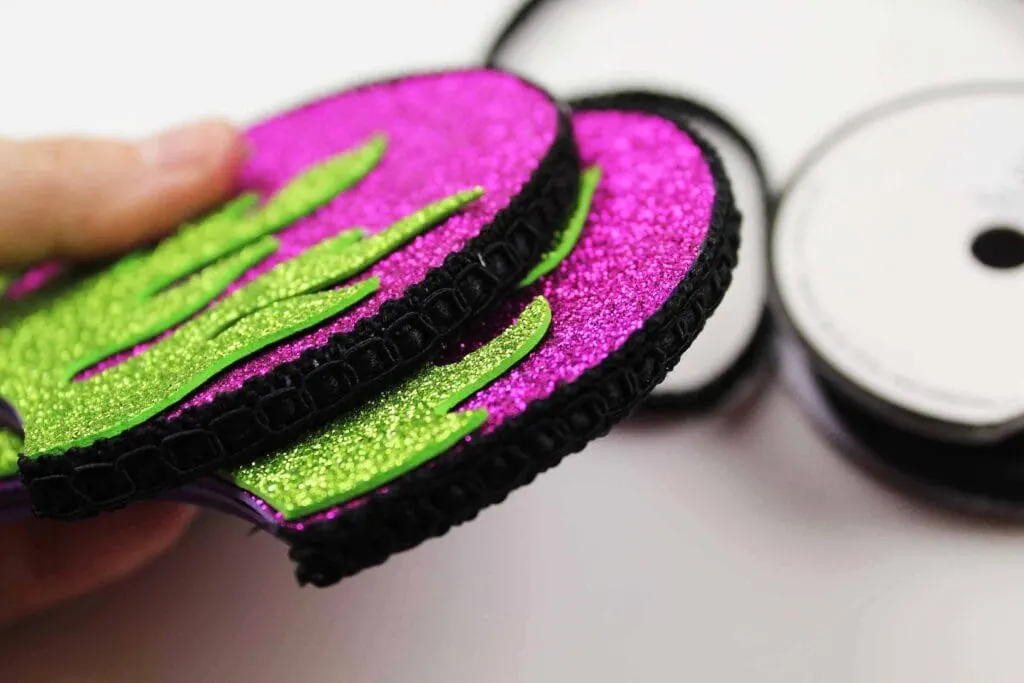
Glue a border around the horns and Mickey ears with decorative black sewing trim. Cut the decorative trim to the correct size before hot gluing to the edges.
Making the Bow
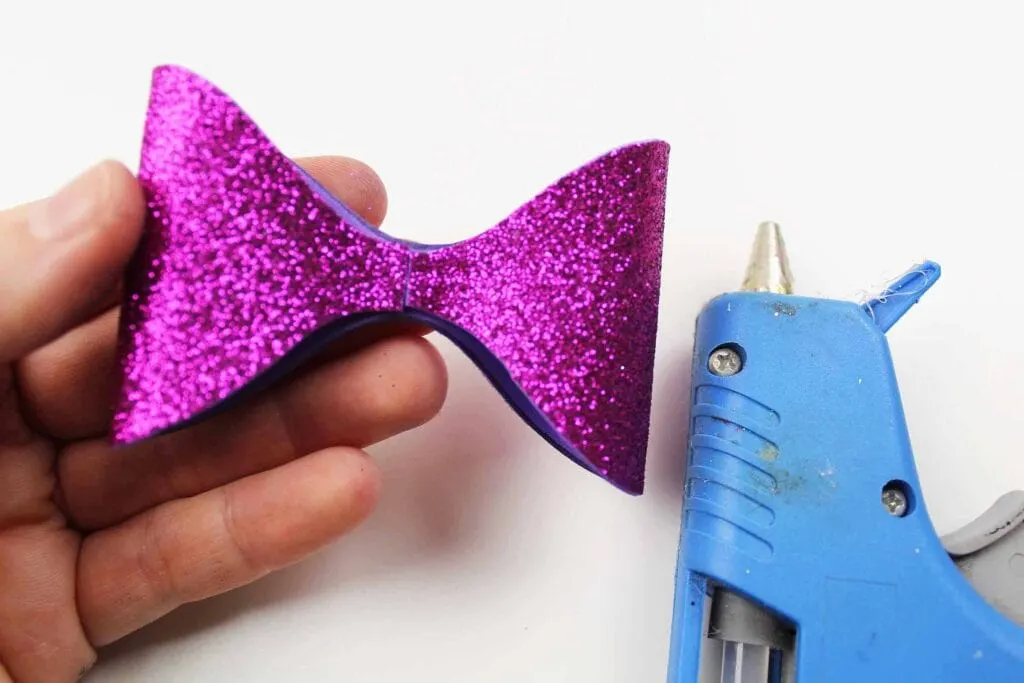
Now it’s time to make the bow. Bend the larger pieces of each side of the bow together, meeting the smaller ends together in the middle and keeping the glitter side outside. Glue to keep in place. (see the photo below for an example.)
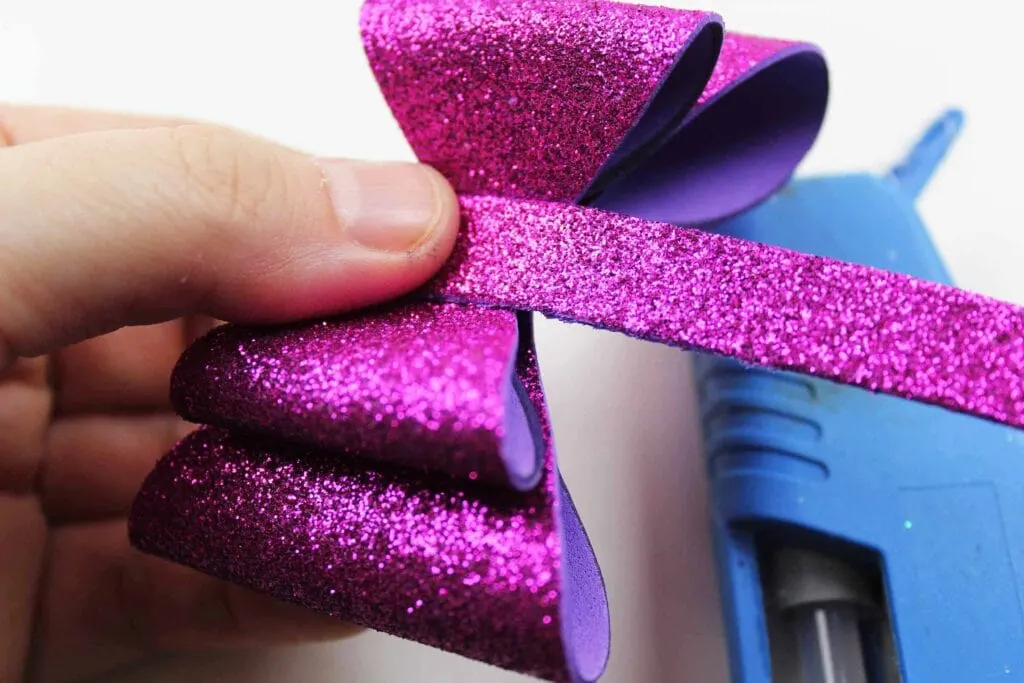
Do this again with the second, smaller pieces.
Place the bows you just made together (smallest one on top of the bigger one) and then wrap a small rectangular strip around the middle and secure underneath in the back with glue.
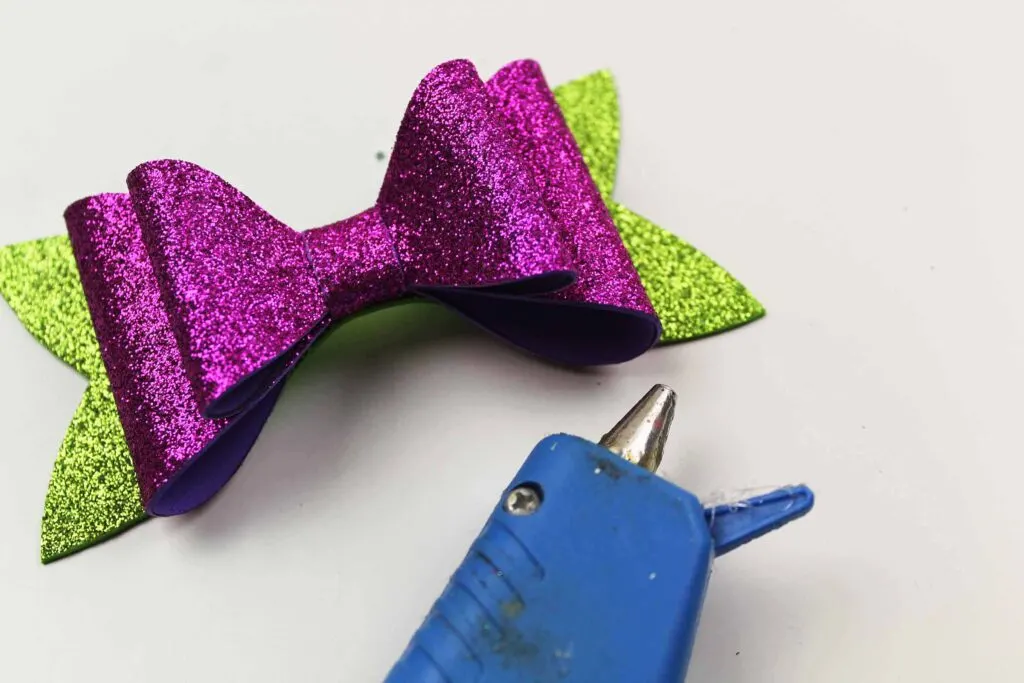
Glue the purple bow onto the green bottom piece (the one that looks like bow-tie macaroni).
Next, glue the ears onto the headband. Play around with the placement before you commit to gluing them on the headband. You’ll want to glue the Mickey Mouse ears wider than you might think, because you want the Maleficent horns to be glued in front of them, and both of them should show. Glue the Mickey Mouse ears a little further back on the headband, so that you have enough room to add the horns in front of them.
Glue the horns onto the headband in front of the Mickey Mouse ears.
Finally, glue the bow in the center on top of the horns.
You’re done!
More Disney DIY Crafts
There are so many fun (and easy!) Disney crafts to enjoy!
In addition to our Halloween Mickey Mouse ears, check out these Disney theme park map ornaments.
And see how to make fresh Mickey Mouse flowers!
We love these simple to make Dollar Store DIY Mickey and Minnie Mouse storage jars, too!
