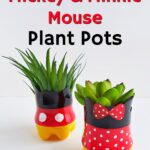

Recycling plastic water bottles is a great way to prevent waste from ending up in oceans. What’s even better than recycling, though, is upcycling. And we absolutely love upcycling plastic bottles into cute Mickey Mouse flower pots (and Minnie Mouse, too!)
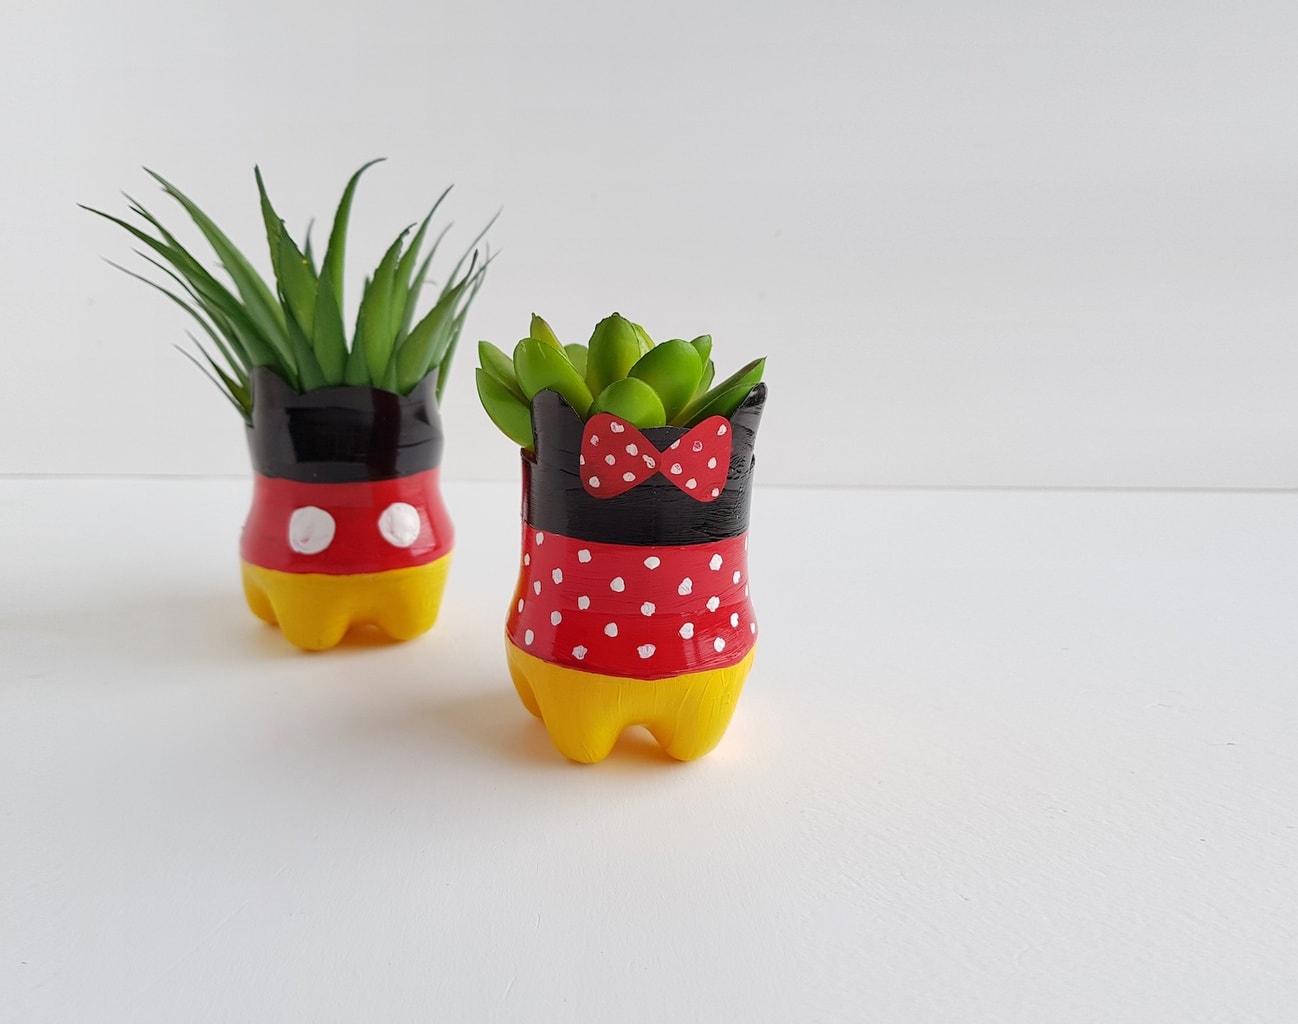
These Mickey Mouse flower pots are a great craft for any Disney fan! If you have a black thumb, don’t worry! Just use faux mini succulents instead of real ones.
P.S. Here’s how to get a call from Mickey Mouse for free!

Upcycled Minnie Mouse and Mickey Mouse Flower Pots
Here’s how to make the cutest Mickey Mouse and Minnie Mouse flower pots from plastic bottles that would otherwise go in the recycling bin or trash can. We think you’re going to love them, too!
Supplies
- Plastic water bottles
- Marker
- Craft Knife
- Scissors
- Paint
- Paint Brush
Instructions
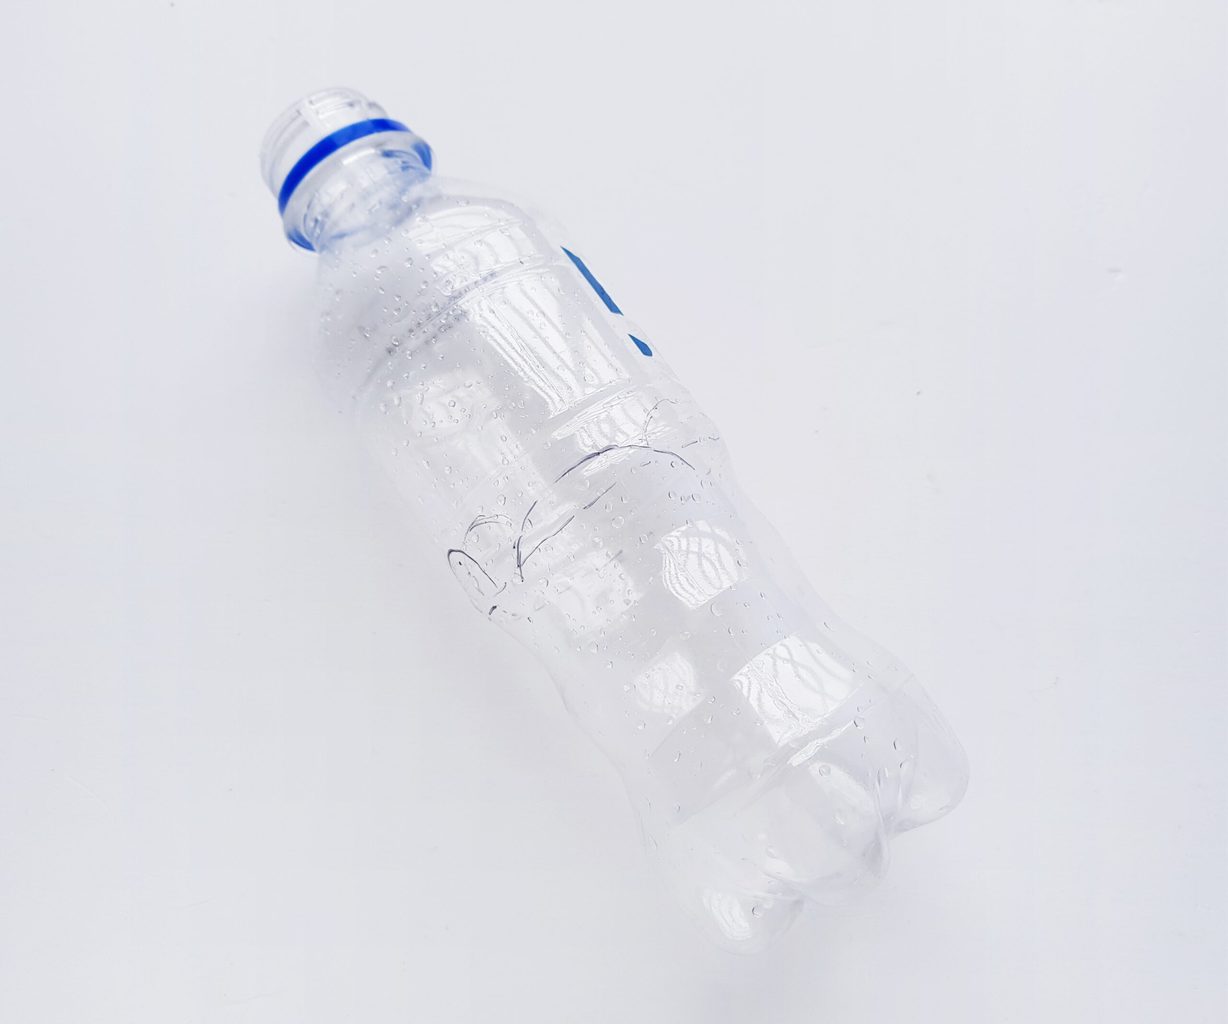
1. Wash, clean and dry the inside of the bottle.
2. If you are using these pots for real plants, you will want to make some drainage holes in the bottom of the plastic bottle. Punch holes with a nail and hammer, cut out holes with a knife, or use a drill made for plastic.
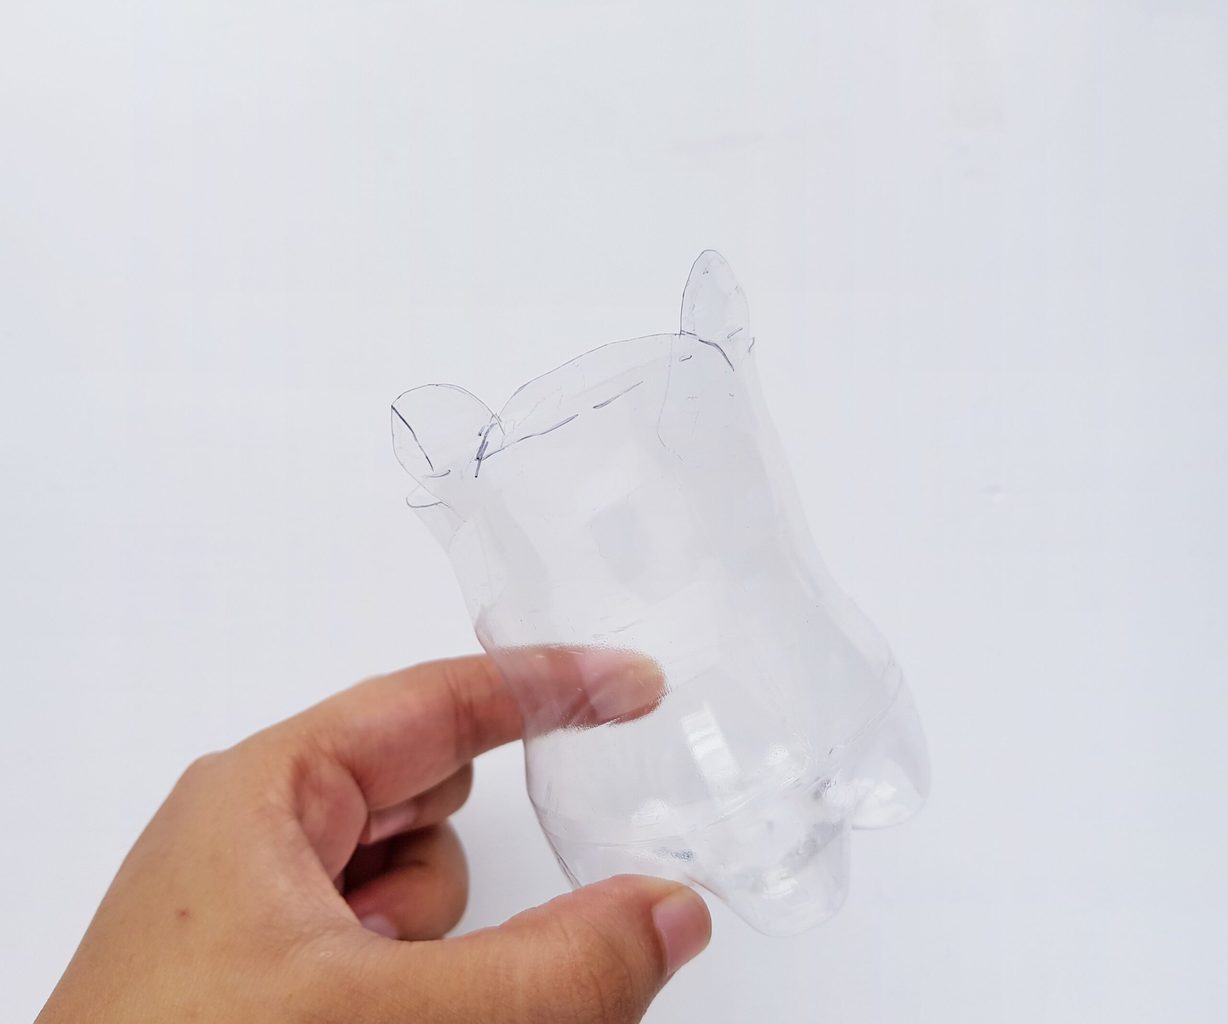
3. Use a temporary black marker to trace the layout of Mickey Mouse on the outer surface of the plastic bottle. In our photos, our Mickey Mouse ears ended up looking more like Pokemon Pikachu. LOL! But it was a fun learning lesson. Just be sure to make the mouse ears tall and big and round.
4. Cut out the top part of the bottle along the traced line. Use an x-acto knife to cut out the traced line.
5. Apply a coat of white acrylic paint and allow it to dry.
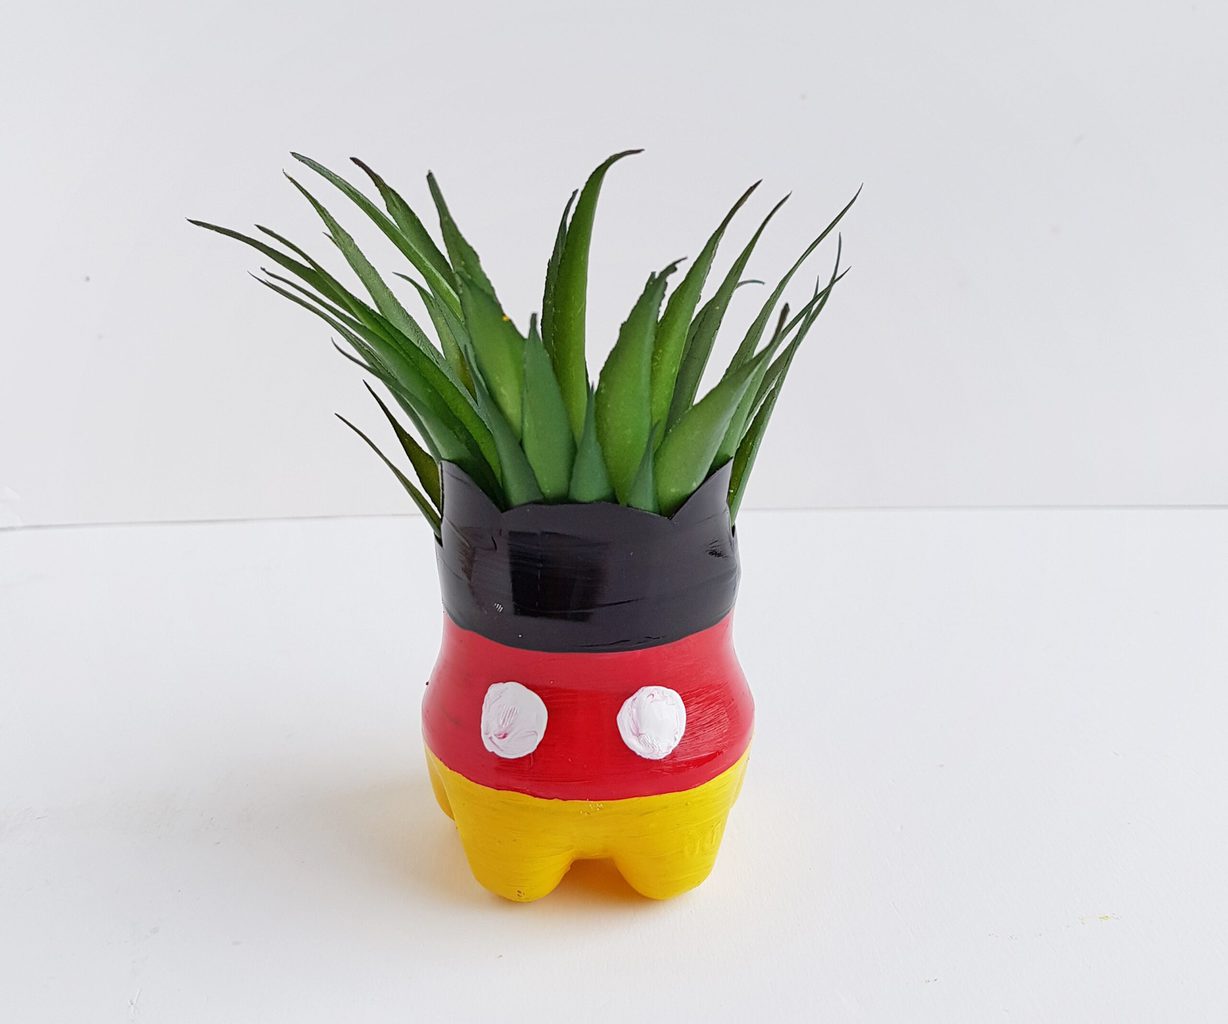
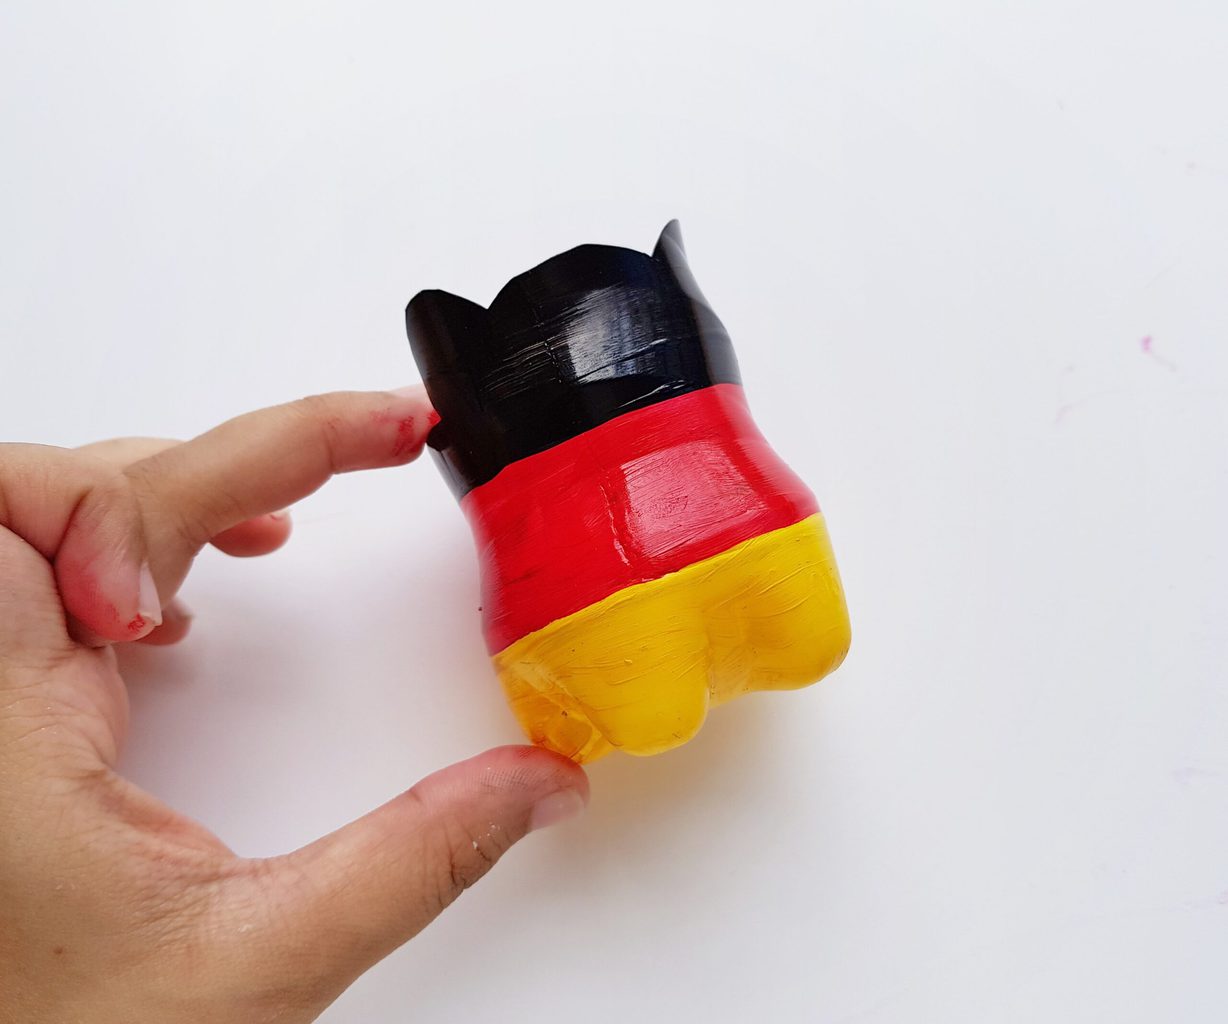
6. Divide the bottle into 3 even parts. We’ll be painting the top part black, the middle part red and the bottom part yellow. Start painting the lighter color (yellow) first.
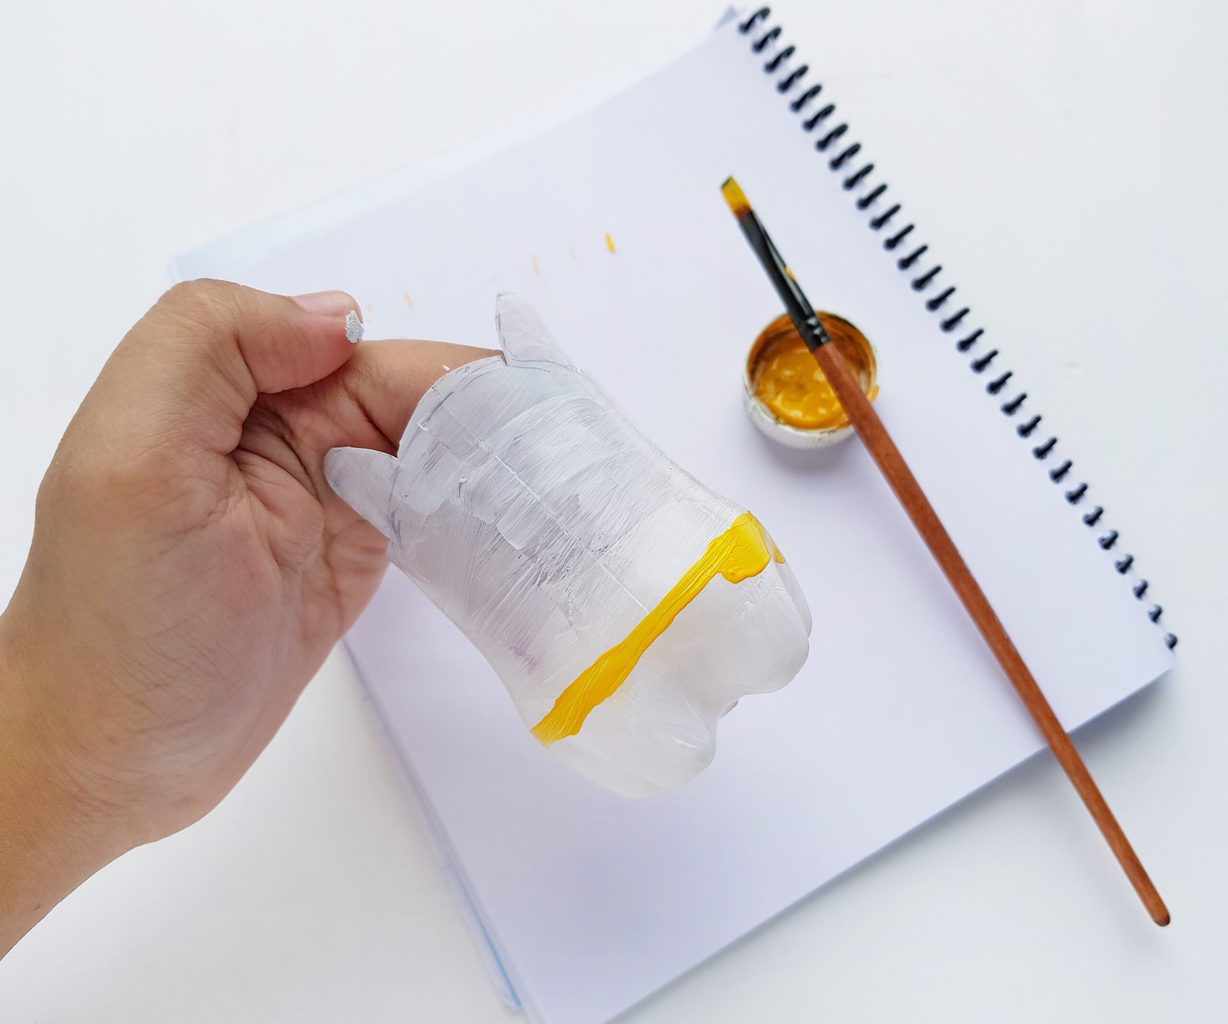
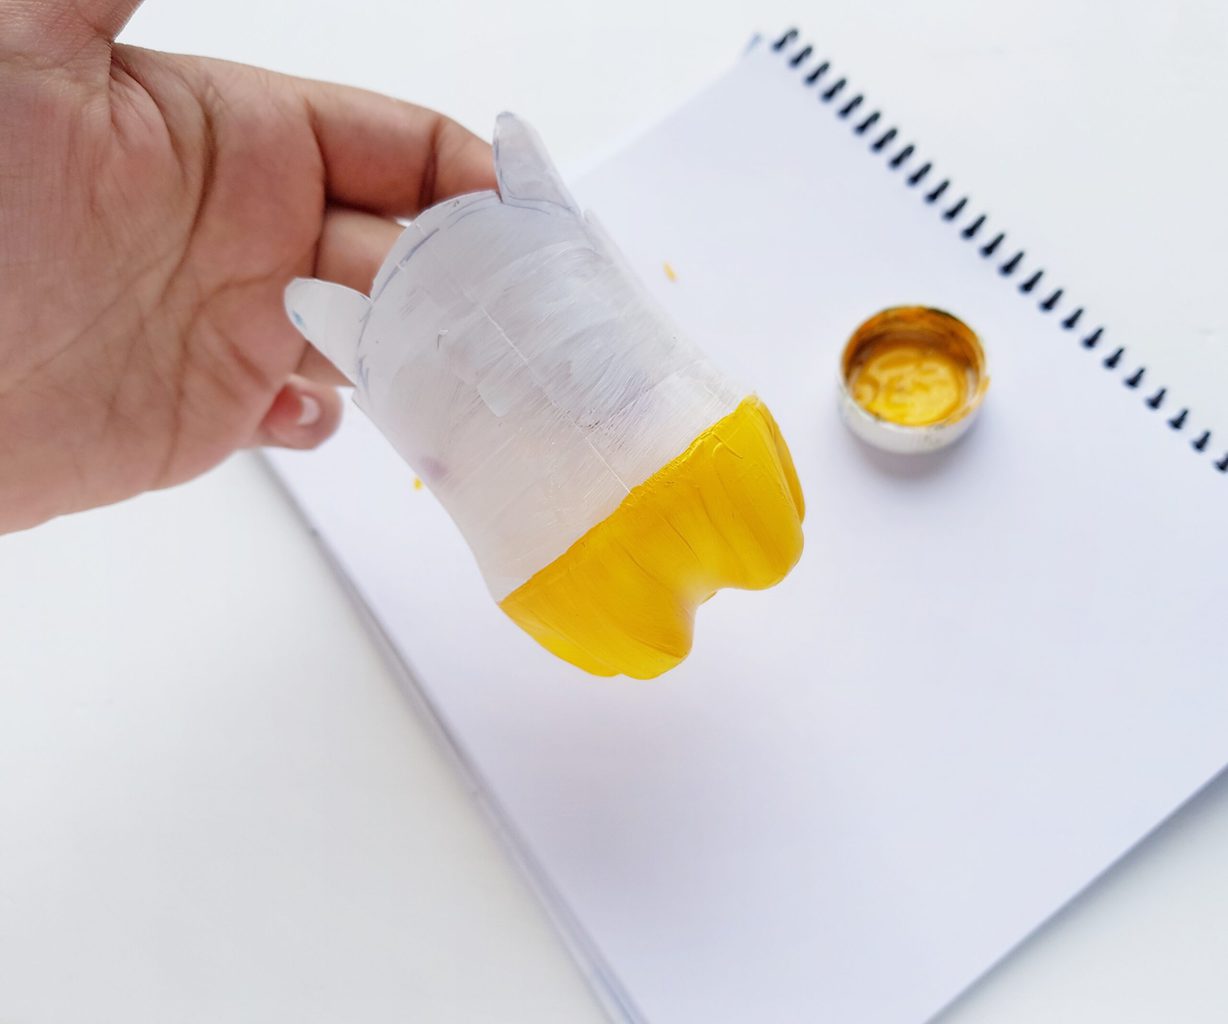
Fill each part with the selected colors. To make it easier, paint a border from where you’ll start the yellow painting. Fill the bottom part (of the 3 even parts) with yellow acrylic paint.
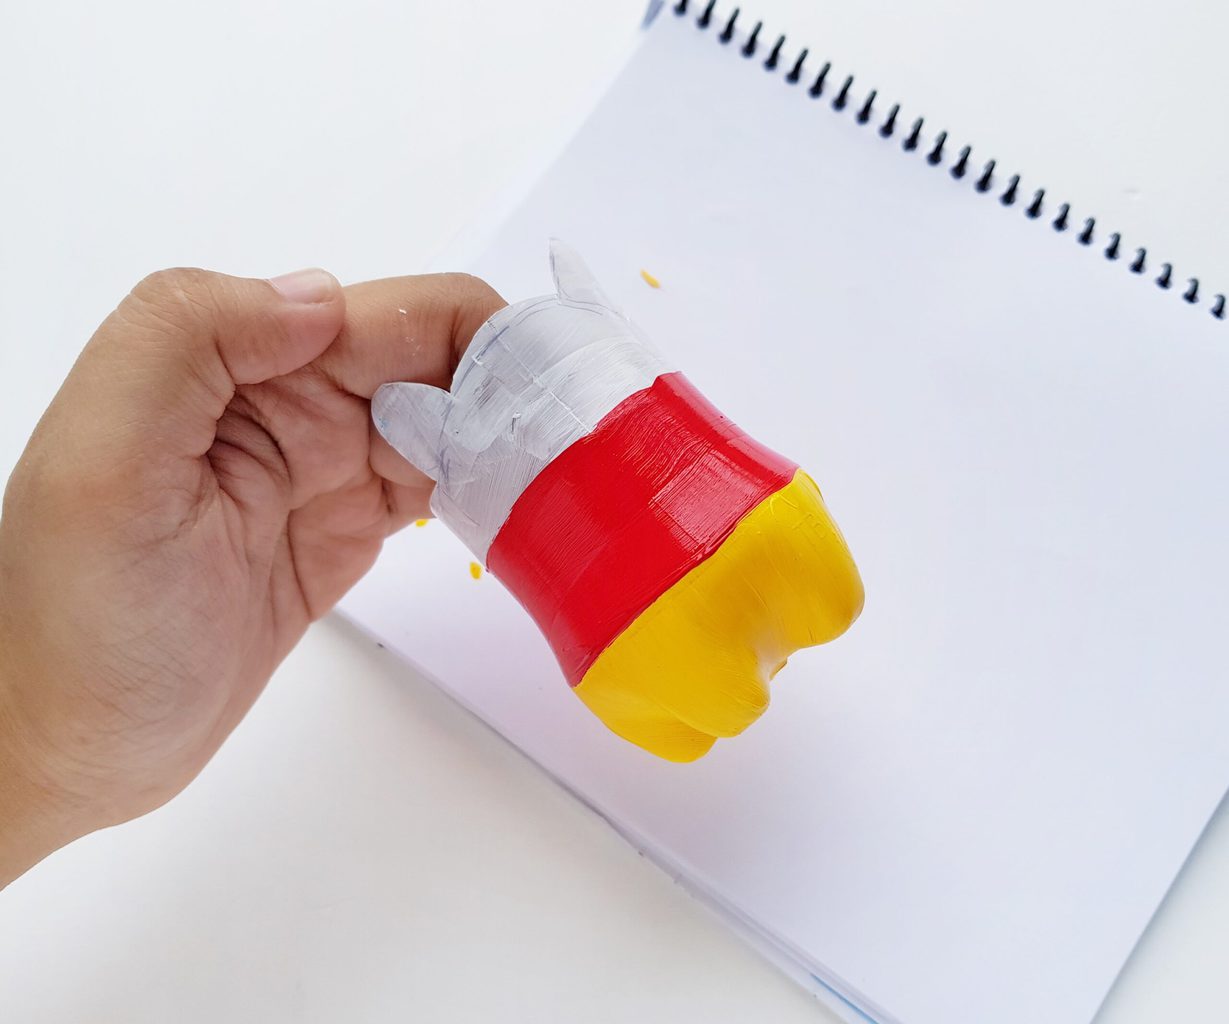
7. After painting the yellow part, paint the middle section with red acrylic paint.
8. Paint the top part with black acrylic paint. Allow the paint to dry entirely.
9. Take white acrylic paint to add small details, such as the two white buttons of Mickey Mouse’s shirt and the polka dots on Minnie mouse’s dress.
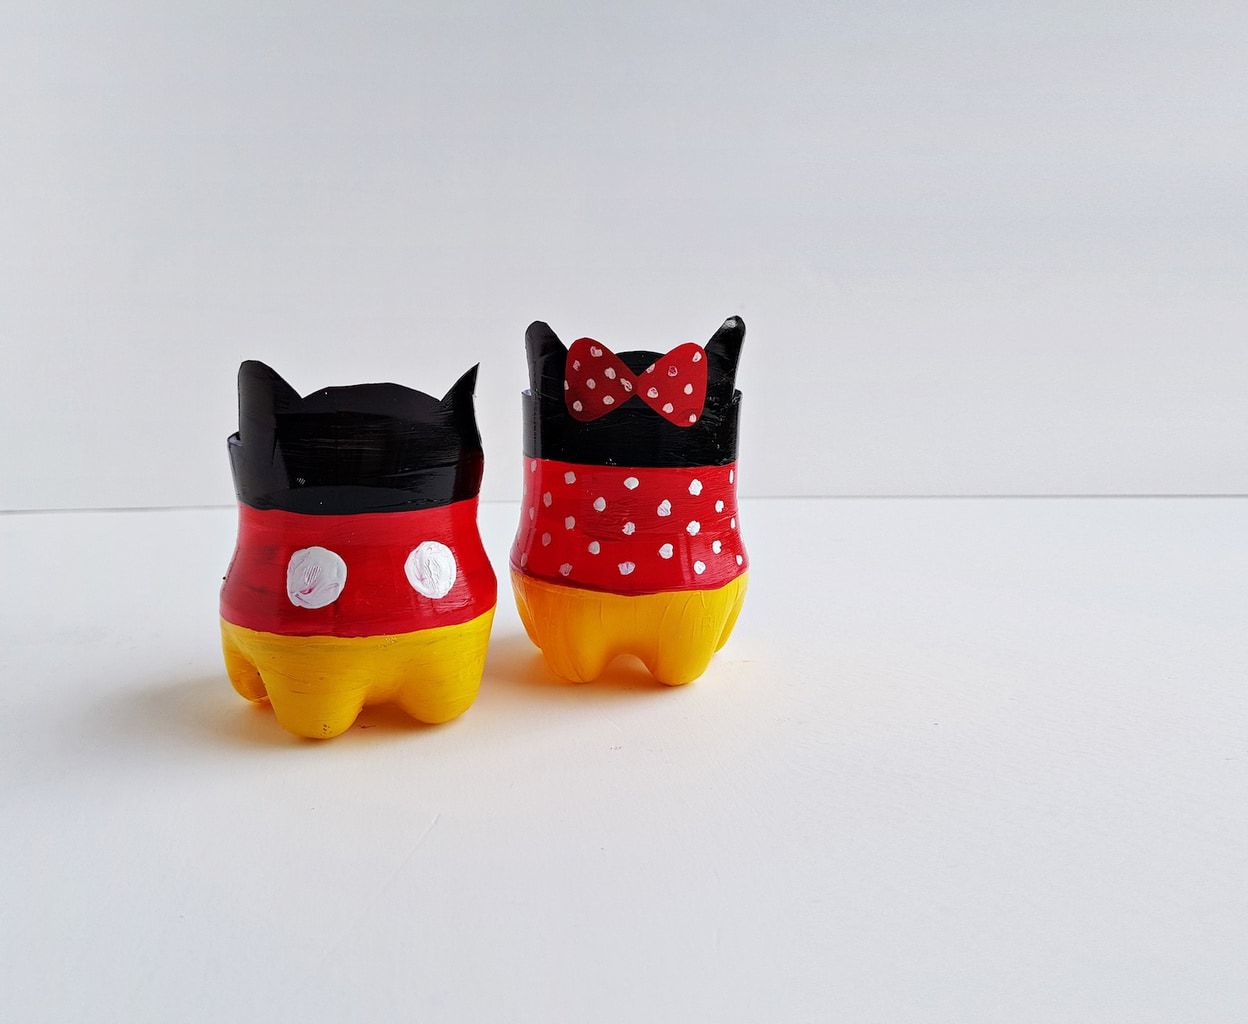
10. Allow the white paint to dry.
11. Once the paint is dry, you can add plants. If you are using fake plants, simply pop in the flower pot. Or add soil and a real potted plant.
If you need any help keeping houseplants alive, here’s a great free houseplants course revealing the hardest-to-kill plants that also help purify your indoor air.

More Disney DIY Crafts
If you loved upcycling plastic bottles into Mickey Mouse and Minnie Mouse flower pots, you’ll also love our other Disney DIY crafts. (Be sure to follow our Disney DIY Pinterest board!)
- Mickey and Minnie Mouse storage containers
- DIY Mickey Mouse Coasters
- Mickey and Minnie Mouse Sock Snowmen
- Disney theme park map Christmas ornaments
- Farmhouse Mickey Mouse wreath ornaments
- Mickey Mouse flowers
- Mickey Mouse ears for Mickey’s Not-So-Scary Halloween Party
- Maleficent Horn Mouse Ears, which are perfect for Disney After Hours Villains After Dark special ticket experience
Larry Curran
Saturday 4th of April 2020
Loved the planters wondering out loud could any vegetables be planted in them ???
Susan Ramsay
Friday 10th of September 2021
@Kim Button, There are lettuce mixes out there to be picked when they are small. I think they call this "Mesclan"
Kim Button
Tuesday 7th of April 2020
Hi Larry, I don't think vegetables would fit. Herbs would be smart, or small lettuce.